
A basic meet your needs bookcase can be transformed into an anything but basic bookcase in a weekend.
Storage is a universal need from office to home and beyond, and a stylish bookcase or bookcases meets that need and masters the built-in look.
If you don’t have a carpenter on speed dial or the $$$$ for a custom built-in bookcase(s), a DIY project of the customizing prefabricated bookcases kind is the way to go.

The search for a white prefab bookcase is not a daunting hunt- they are everywhere and affordable.
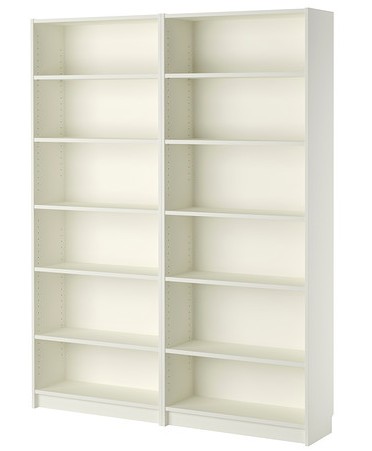
The South Shore Furniture Freeport Pure White 5-Shelf Bookcase shown above and below is from Home Depot.
At almost 6′ feet tall and an affordable price point, this particular style bookcase is an inexpensive, no frills(yet) great foundation to build upon.

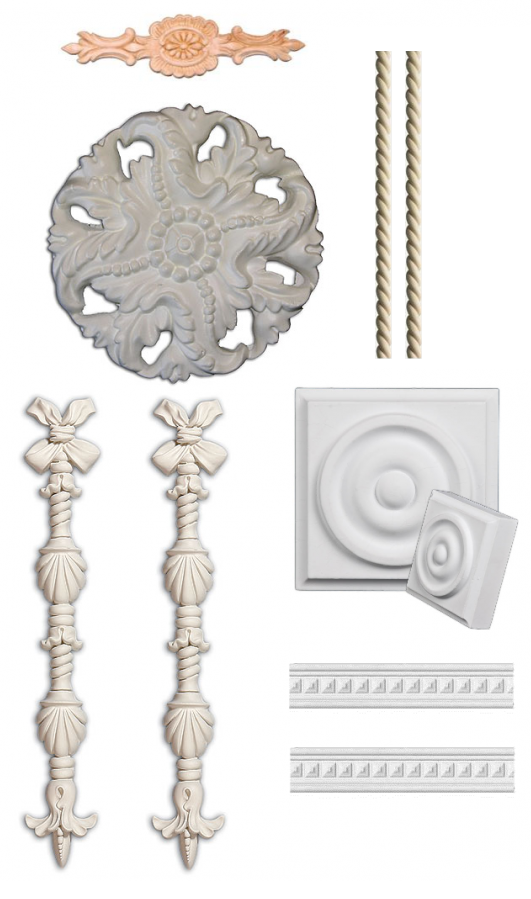
The addition of molding and pre- primed embellishments to the top, base, and sides of the unit will set the designer wheels in motion.
It is amazing how decorative molding, trim, and accents will upgrade the bookcase to designer piece status.
If using more than one unit, screw the pieces together before adding the accents.
Anchoring the bookcase(s) to the wall with “L” brackets will keep the bookcases(s) in place and prevent tipping over.

The bookcase has an assembled height of 71.25 inches.
Decorative molding will have to be cut as it is usually sold in 8 ft lengths.
Measure the selected area of the bookcase where the molding will be placed.
Keep things as simple as you can by marking the area on the molding to be cut with a pencil.
Carefully make the cuts on the molding using a miter saw.
Sand each finished cut with sand paper to smooth edges.
For Top Crown:
Nail the crown molding into place at the top and sides of the unit.
Fill the gaps with caulk and allow to dry for approximately 30 minutes before paint application.
For side trim and accents:
Apply small beads of Liquid Nails Paneling and Molding Construction Adhesive to the molding or accents and put in place.
Apply pressure for a few minutes to ensure tight adhering.

Once the shelves are in their desired positions, you may want to consider covering all or some of the exposed peg holes and any other exposed screw holes.
Using a putty knife, apply Bondo Home Solutions All-Purpose Putty over each hole to fill and cover.

Smooth away excess with putty knife.
Allow to dry (approximately 45 minutes) and sand the area smooth.
All needed materials for this step are available at home improvement, hardware, and big box stores.
Now we’re ready to take things to the next phase of decorative wow factor.
Stay tuned for more ideas, suggestions, and resource information.