Thanksgiving Wreath

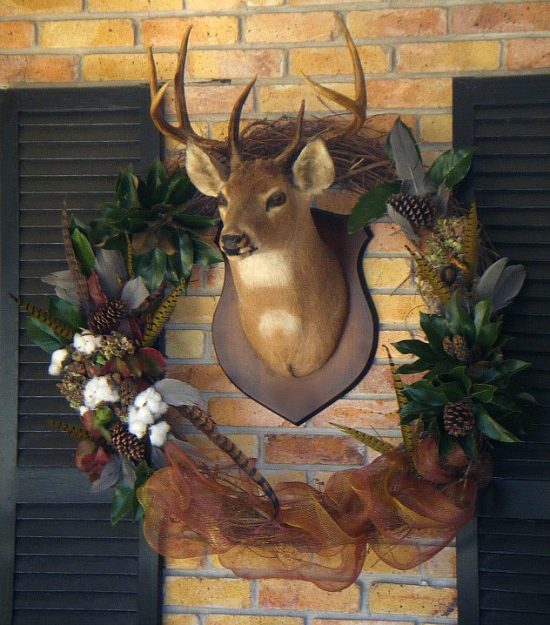
A Thanksgiving wreath is a lovely way to show the beauty of the season, and besides, the holidays are not the holidays until I tackle a DIY project.
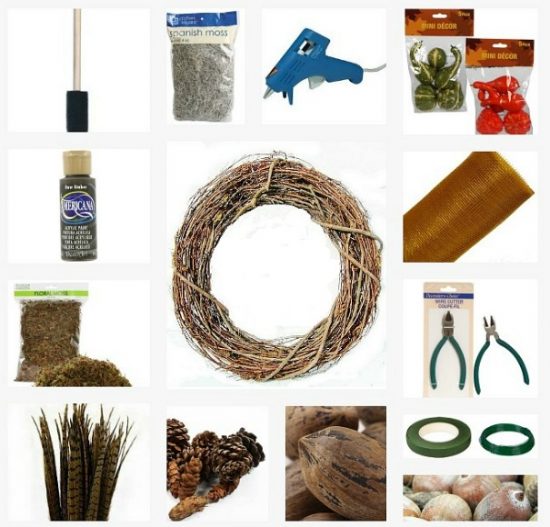
Thanksgiving Wreath Materials List:

wreath

hot glue gun

glue sticks

floral wire

wire cutters

Spanish moss

floral Moss

faux gourds & pumpkins

acrylic paint

foam paint brush

assorted leaves

cotton stalks

dried Hydrangea blooms

pine cones, pecans, & acorns

deco floral mesh

feathers
Here’s what you do: 

Step 1

Begin with a wreath of the material, shape, and size of your choice.

I like using grapevine wreaths for the look, durability, and ease of reuse.

The initial $17.99 investment pays for itself over and over.

I don’t glue items directly to the wreath for that reason.

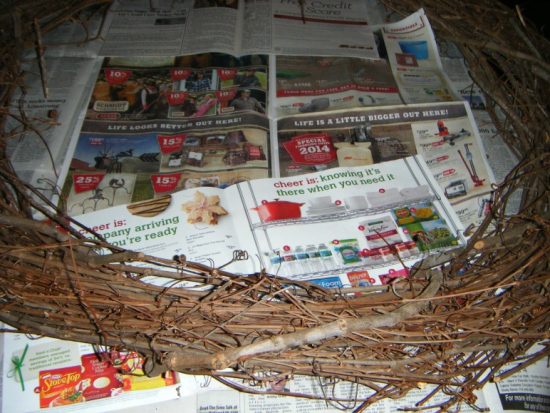
Cover work surface with newspaper for easy post wreath project clean up.
Step 2

Select the materials you will be using and the area(s) of the wreath you will be adorning.

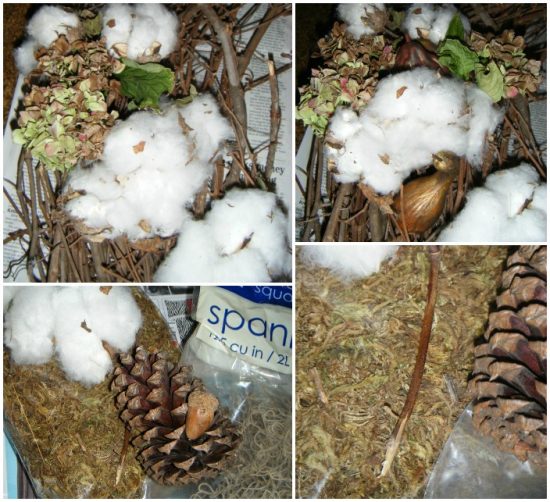
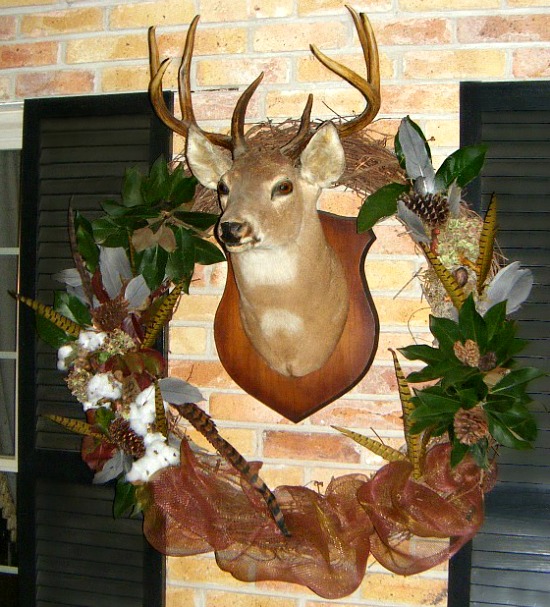
With Thanksgiving as the theme, I like using natural elements such as cotton stalks, dried hydrangea blooms, Bartlett pear, sweetgum, and magnolia leaves, goose and pheasant feathers, pecans, acorns, and pine cones for the wreath.
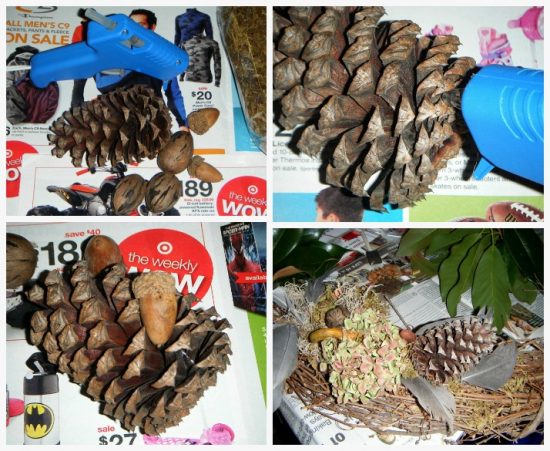
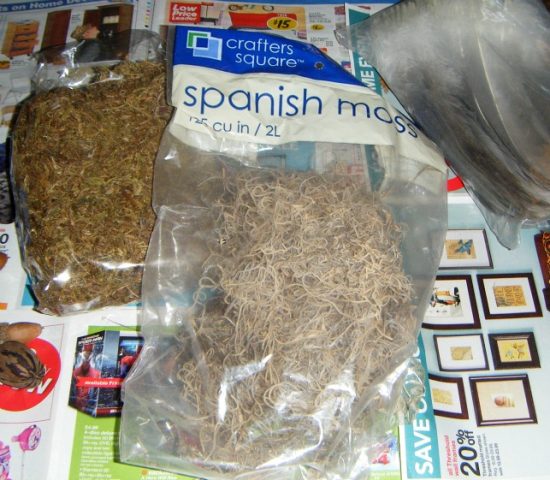
Spanish and floral moss, mini gourds and pumpkins, and goose and pheasant feathers left over from the fall tablescape also figured into the material mix.
Step 3 (optional)

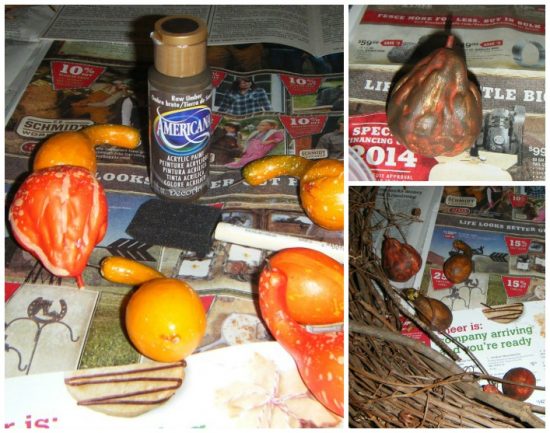
If the bright colors of the mini gourds and pumpkins don’t fit with the color palette, a foam paint brush and acrylic paint in a color that will can solve the issue.

I marked up the pumpkin with a gold paint pen and allowed it to dry.

To tone down the bright orange and yellow colors of the gourds and pumpkins, tip the foam paint brush lightly in the acrylic paint in raw umber, applying in sponge technique.

Acrylic paint dries quick, and from experience I can report it is very easy to clean off fingers, fingernails, and surfaces- just so you know.
Step 4

Select items and work in terms of groupings for better decorative control.

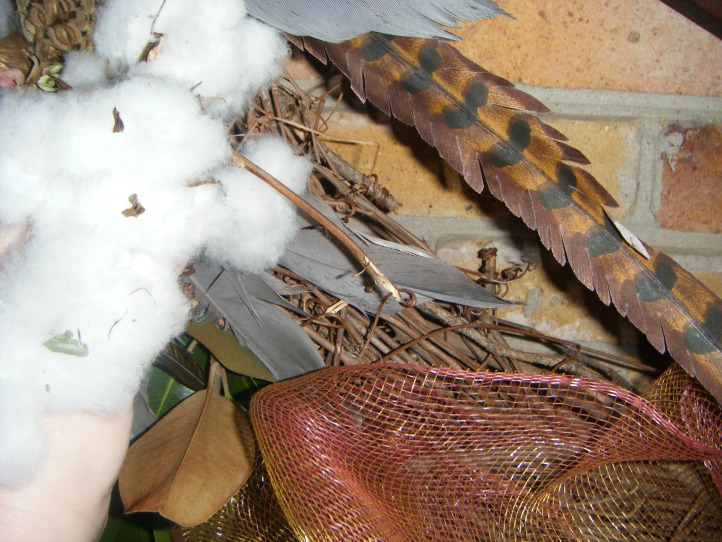
Cut hydrangea flowers and cotton stalks stems  about 8 inches, allowing enough room to work with.

Make the stems long enough to work with at first.

My final cut for the stems measures about  3-4 inches long.

Insert the stems between grapevines.
wreath

Step 5

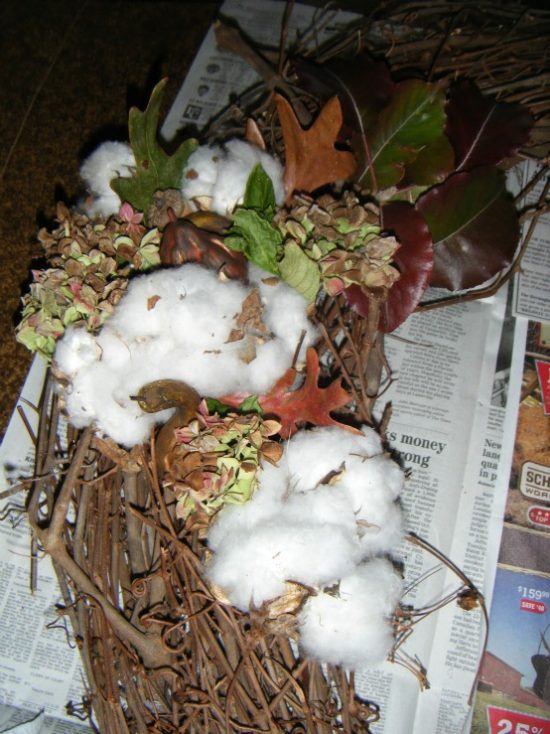
Using a hot glue gun and being careful not to burn yourself (gosh that hurts, doesn’t it?), apply hot glue to the back of the painted gourds and pumpkins.

Press them down applying pressure and hold into place for a few seconds.

Add a couple of drops of hot glue to the lower part of the back of the sweet gum leaves, applying to the cotton bloom to secure.

Fill in any blank areas with Spanish and floral moss.

The Spanish moss stays beautifully in place between the vines.
Step 6

Pine cones, acorns, and pecans come next.

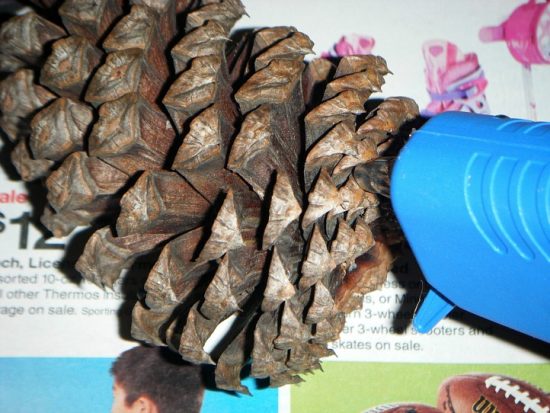
Apply a generous squeeze of hot glue to the back of a pine cone, press it into place while applying pressure.

Hold in place for a few seconds to allow it to adhere.

Repeat the same for the acorns and pecans.
Step 7

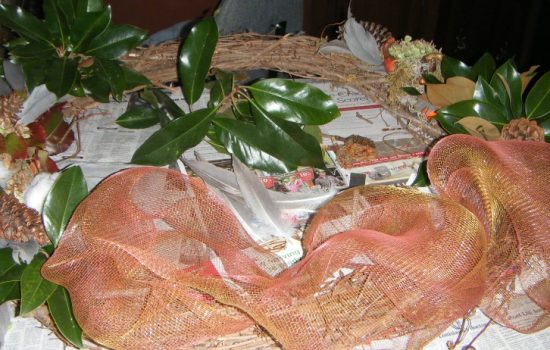
As with the dried hydrangea blooms, cotton stalks, and Bartlett pears leaves- cut the magnolia leaf stem down to about a 3-4 inch stem.

Insert the magnolia stem directly between vines.
Step 8

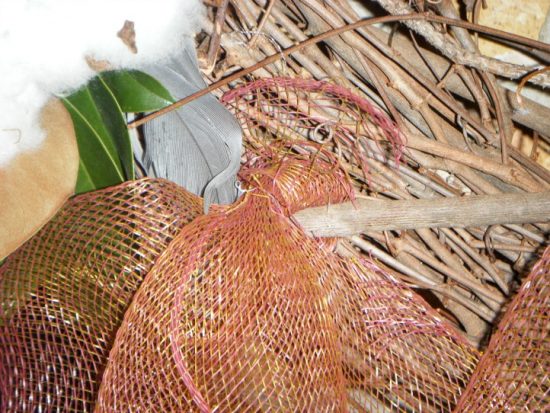
Using 21 inch wide floral mesh, figure the length of the area of the wreath you want to cover with the floral mesh, allowing extra mesh for the poufs.

Using wire cutters, cut a piece of floral wire about 5 inches long.

Starting about 3-4 inches from the end of the mesh, gather the mesh together in the middle and twist tie with wire.  This makes the mesh easier to insert between grapevine.

Insert between vines and pull the end back up slightly, securing the starting point.

Step 9

To make mesh poufs, work around the area of the wreath you want to cover by gathering sections of  mesh together in the middle, poufing it out, and tucking between vines. The vines hold the mesh securely without wire.

Use wire cutters, cut a piece of floral wire about 5 inches long.

Starting about 3-4 inches from the end of the mesh, gather the mesh together in the middle and twist tie with wire.

Insert between the vines and pull the end back up slightly, securing the ending point.
wreath-green-2

Step 10

Insert pheasant and goose feathers by simply tucking each quill between vines.

Material Cost:

36″ Grapevine Wreath from Hobby Lobby: $17.99

Cotton stalks, dried hydrangea blooms, Bartlett pear, sweet gum, and magnolia leaves, goose and pheasant feathers, pecans, acorns, and pine cones:  free

Mini gourds: $1

Mini pumpkins: $1

Spanish moss: $1

Floral moss: $1

Wire cutters: $1

Americana Acrylic Paint: $1.09

Foam paint brush:  .20¢

Floral wire: $1

Deco floral mesh : $4.99

Thanksgiving Wreath Total Cost: $30.27 + tax

love your style


Show & Tell

A Look Back At October

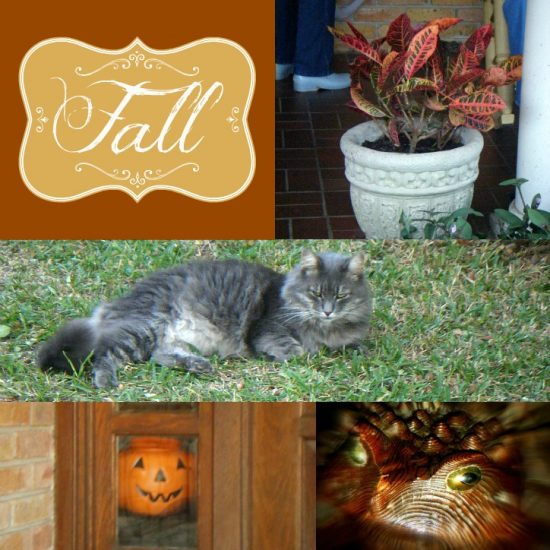
As October comes to a calendar close I thought I would end it with a retrospective of  fall and Halloween images old and new.

a look back at October

Fall is historically slow to arrive in Louisiana.

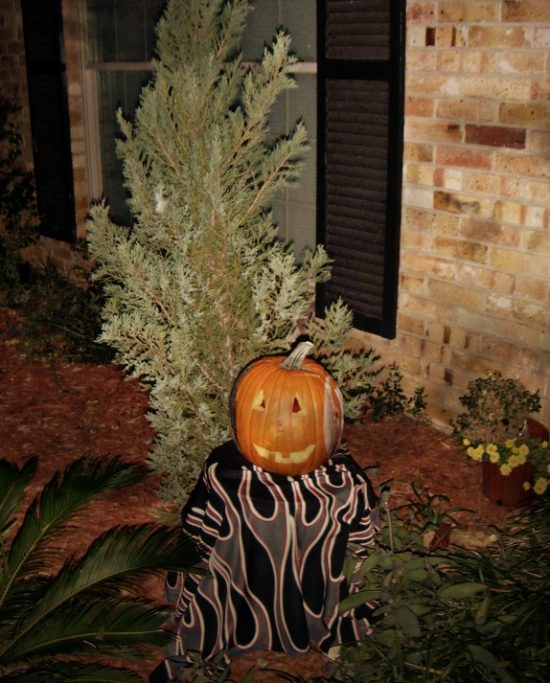
What nature doesn’t supply we invent or improvise however, the sentiment is still the same.

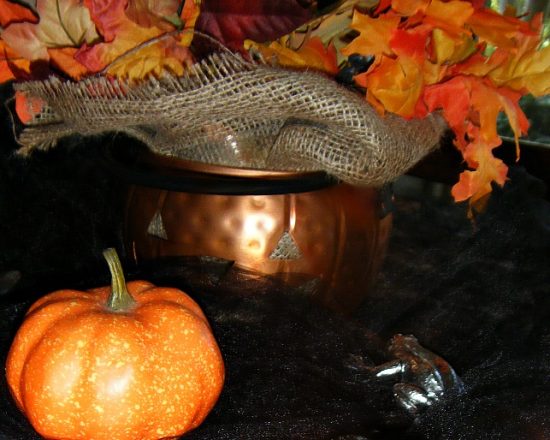
jack-o-lantern

November keeps the harvest momentum going with festivals, cooler temps, and open houses.

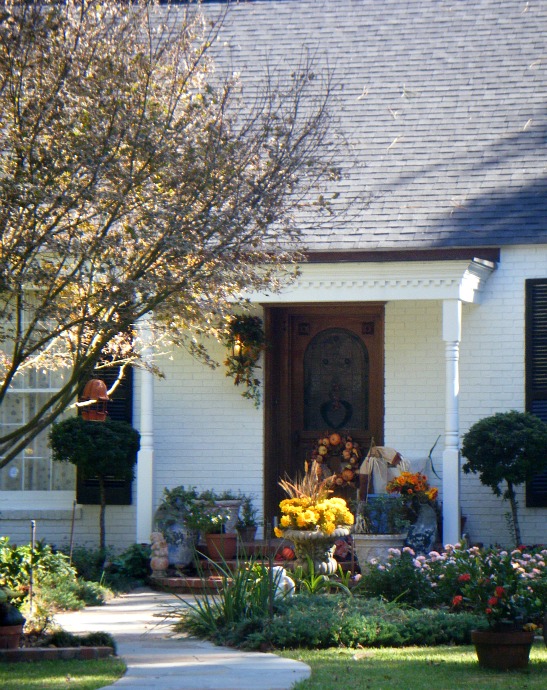
front doors

This is the first year since 1998 that we are not hosting a holiday open house for the antique shop.

The owner of our mall retired and the shops within the mall collectively agreed to close, but Hopefully Classic continues on.

I do private consultations and keep choice pieces of inventory on consignment at a friend’s antique shop.

I will miss getting the shop holiday ready, baking and preparing food for days, and the holiday buzz around the mall.

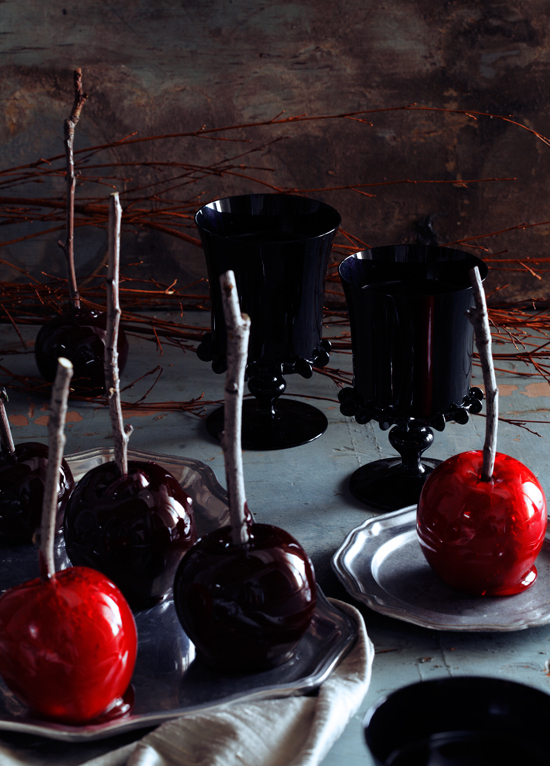
dark candy apples

Don’t you love these red and black candy apples?

I found the stunning image and recipe for Adam’s Scary Apples on the delicious blog,  Matt Bites.

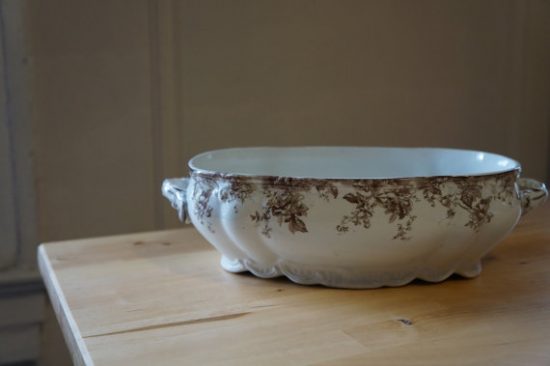
ironstone

An autumn find I could not resist.

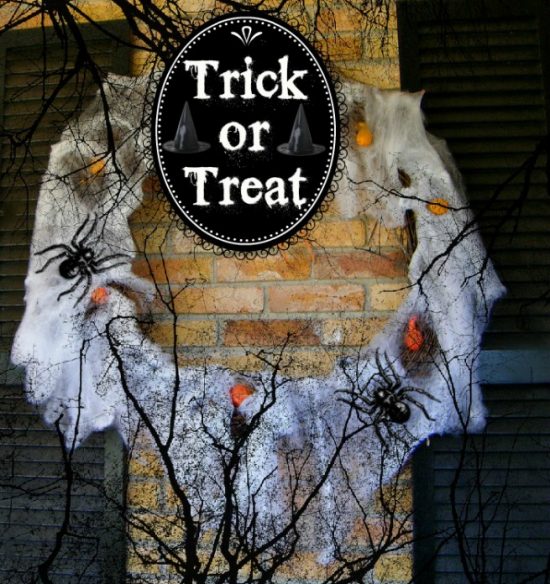
halloween-grapevine-wreath1

Okay.  

You caught me.  

My mad Halloween wreath decorating skills did not translate at all to the page.  

Enter the crafty Halloween brains at Pic Monkey.  

I’ll deal with  it in Scarlett O’Hara fashion- tomorrow.  

Believe me, the kids will love it when I trick it out!

Trick-or-treating is more of a quality event rather than quantity in our neighborhood.  

Dave the Builder and my parents join along in the festivities and candy distribution.  

I’m on wreath and pumpkin carving detail, Dave pulls yard and decoration duty, and my parents love playing co-master of ceremonies.  

Color, candy and costumes.  

Thanks October for the fall and the fun!  

Love your style!

November will kick off a series of posts featuring ideas, tips, suggestions, and inspiration for all things home for the holidays.

Please join me for the Places In The Home For The Holidays series.

Show & Tell

The Tradition At Our Haunted House: Trick or Treat Taco Soup

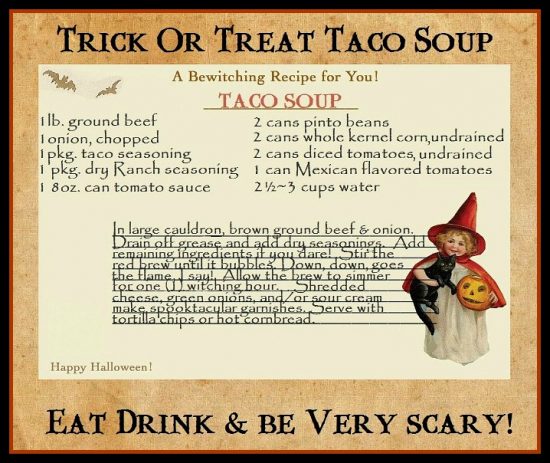
This taco soup recipe post is an updated version of last year’s post. It’s that good and worth a second run! Tradition lives on from Halloween to Halloween at our haunted house aka Places In The Home.

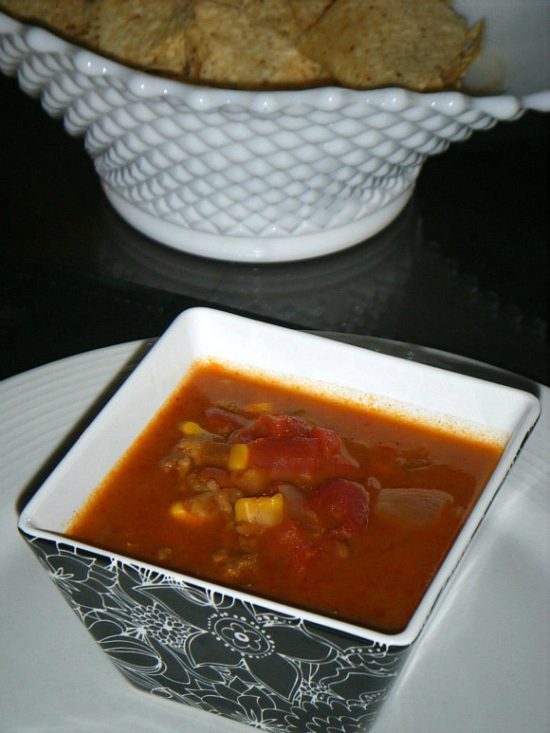
Trick or Treat Taco Soup is on the spooktacular supper menu  as per the request of family and friends who have come to expect it over the years.  It is the perfect and easy make ahead soup– one that warms the bones after a day of ghoulish fun and a night of busy trick or treating with the kids and/or handing out Halloween candy.

Trick or Treat Taco Soup

Ingredients

1 lb. ground beef

1 onion chopped

1 package taco seasoning mix

1 package dry ranch salad dressing mix

1 8 ounce can tomato sauce

2 cans pinto beans

2 cans whole kernel corn, undrained

2 cans diced tomatoes, undrained

1 can Mexican flavored tomatoes

2 ½- 3 cups water


Directions

Brown the ground beef and onion; drain off grease and add dry seasonings. Add the tomato sauce, beans, corn, tomatoes, and water. Bring to a low boil to allow all flavors to blend. Reduce heat and simmer for at least 1 hour.  Serve with corn chips or hot cornbread.  Garnish with sour cream, shredded cheese or green onions.

enjoy


Show & Tell

My Idea Of Halloween: Decorating With Black And Orange

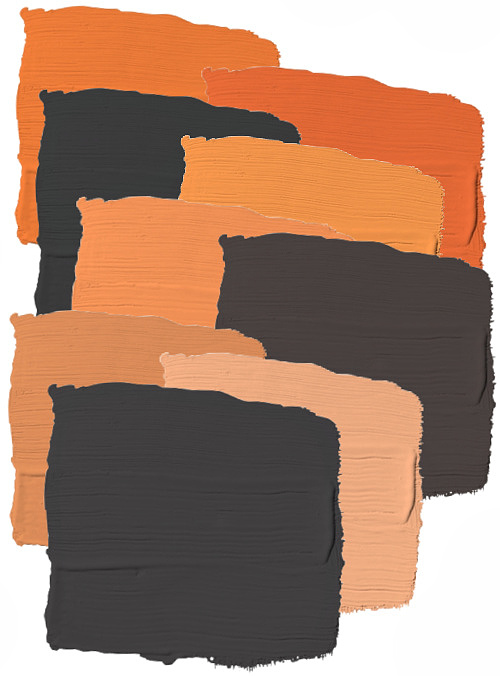
Decorating with black and orange reaches beyond traditional Halloween colors.

IDF Studio

IDF Studio

decorating-with-orange-and-black (1)

Scalamandré-zebras-orange-black

Scalamandré Zebras Wallpaper

From the dramatic divine to subtle yet striking hints, decorating with black and orange welcomes spectacular and spooktacular reviews.

Kimpton Fitzroy London

Kimpton Fitzroy London

bath-black-orange-wallpaper

Elle Decor

RD Architecture, LLC

RD Architecture, LLC

I’ve used this image in another post to illustrate the undeniable decorative impact of the color duo black and white.

black-orange-curtains1Skonahem

I could not resist using it again to stress how stunning a space can be with the choice and pairing of orange and black.

orange-black-Chinoiserie-fabric-upholstered-chair

Jardin du Luxembourg Wallpaper

Jardin du Luxembourg Wallpaper

orange-and-black-dining-room-colors (1)

Jenn Feldman Designs 

orange-and-black-deck-orange-outdoor-trellis-rug-black-lattice-railing

 Megan Winters

When the primary palette stands as the focal point of the space.

Adrian Wilson interior photography, NY

Adrian Wilson interior photography, NY

Select one as the primary color and let the other serve as the accent- the result a treat for the eye.

decorating-with-orange-and-black

House Beautiful

Refined Haystack

Refined Haystack

These gorgeous rooms, accents, and accessories do not rely on tricks- only decorative and stylish treats for the eye.

Darleen-signature-love

Show & Tell

Two Recipes, One Party: Strawberry Ghosts and Pimento Cheese

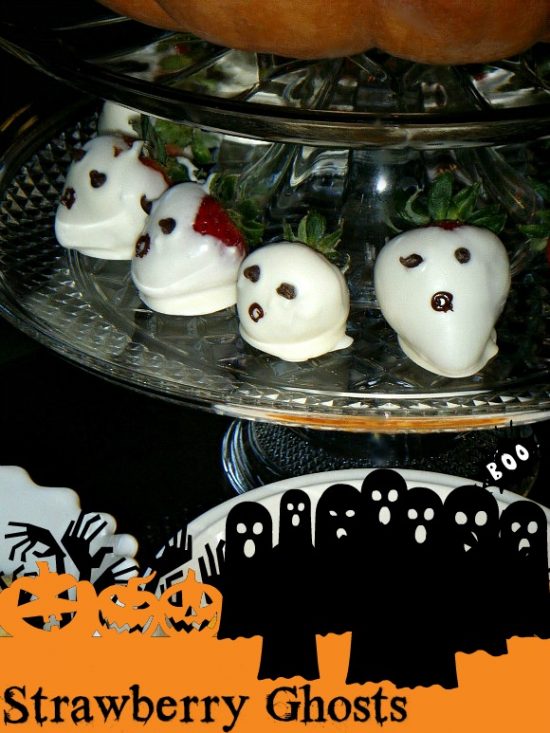
I’m getting ahead of myself with the Halloween celebration for a good reason. A very special 21st birthday celebration is taking place at Places In The Home this week, and this particular October baby favors a Halloween theme.  Strawberry Ghosts and Pimento Cheese top the appetizer and dessert menu.

Strawberry Ghosts

Ingredients

30 fresh strawberries

8 ounces white baking chocolate, chopped

1 teaspoon vegetable shortening

1/8 teaspoon almond extract

¼ cup miniature semisweet chocolate chips

Directions

Wash strawberries. Lightly pat the strawberries with paper towels until completely dry. In a microwave-safe bowl, melt white chocolate and shortening at 50% power; stir until smooth. Stir in almond extract.

Dip strawberries in chocolate mixture; place on a waxed paper-lined baking sheet, allowing excess chocolate to form the ghosts’ tails. Immediately press chocolate chips into coating for eyes. Freeze for 5 minutes.

In a microwave-safe bowl, melt remaining chocolate chips; stir until smooth. Dip a toothpick into melted chocolate and draw a mouth on each face. Yield: 2-1/2 dozen (30 strawberries)

Taste of Home

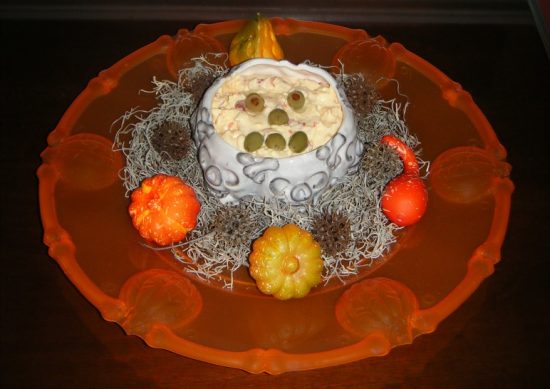
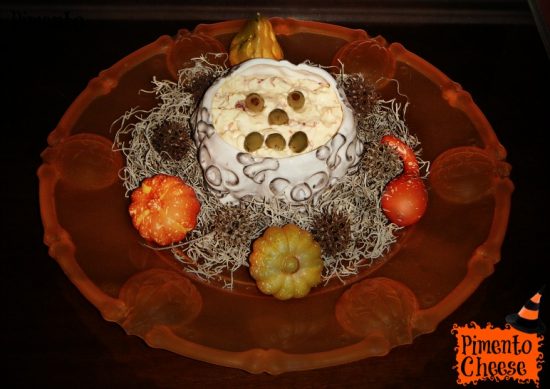
Pimento cheese is the caviar of the South and great as a dip for a Halloween soiree.  This recipe is my dad’s, and it is as basic as it is delicious with just two ingredients- Velveeta and pimientos.  Grab a package of Ritz crackers or a bag of Fritos and it’s a monster mash y’all!

Ingredients

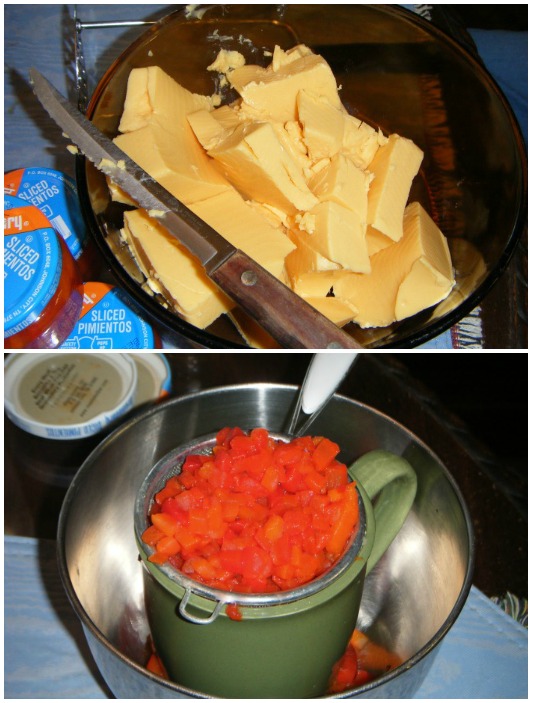
1  32 ounce package Velveeta cheese

4  4-oz jars pimentos, drained

dash of fine black pepper

Directions

Cut Velveeta into evenly sized chunks. Drain pimentos and add to cheese.

Monster Mash the Velveeta and pimentos together with potato masher until well mixed to desired consistency.

enjoy


Show & Tell