
Homemade Rose water is fast becoming one of my favorite DIY beauty routine indulgences.
Noticing I was running low on my favorite store brand, and with too long of a ship from store to me turnaround time, I decided to glance at the ingredients and perhaps give it a go with formulating my own homemade rose water concoction.
My skin is sensitive to everything, so it was important for me to try the toner before I posted the recipe.
On the first round of production I came up with a homemade rose water toner that I absolutely love!
This toner is non-drying and non-irritating to my sensitive skin – a very skin friendly toner and freshener.
Homemade Rose Water Toner For Sensitive Dry Skin
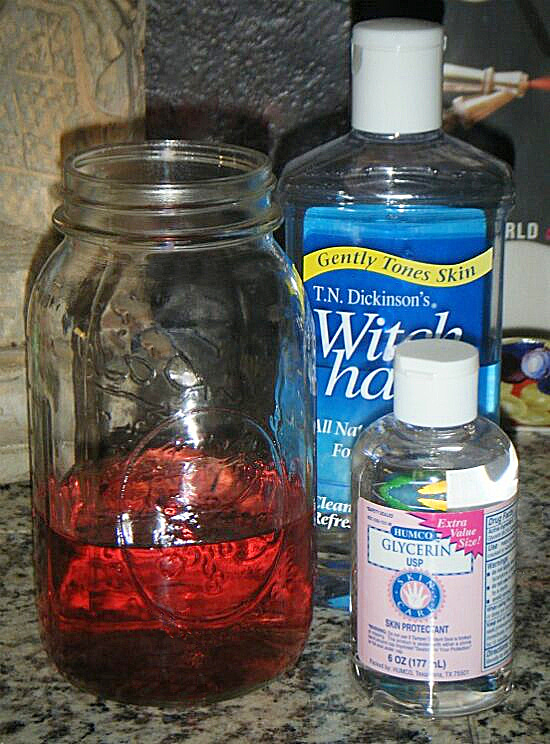
Ingredients
1 ½ cups rosewater(see recipe below)
¼ cup witch hazel
10 drops glycerin (add more for normal skin and less for oilier skin types)
Directions
Combine homemade rosewater, witch hazel and glycerin together in sterile container. Shake well.
Keep rosewater toner refrigerated in sealed, sterilized jar.
Refrigerated rosewater toner will keep for up to ten to fourteen days.
Moisten a cotton ball with the rosewater toner, gently applying to cleansed skin and before applying moisturizer.
Toners aid oily skin in the absorption of excess oil, and in all skin types removes residue left behind from cleanser while nourishing your complexion.

Homemade Rose Water
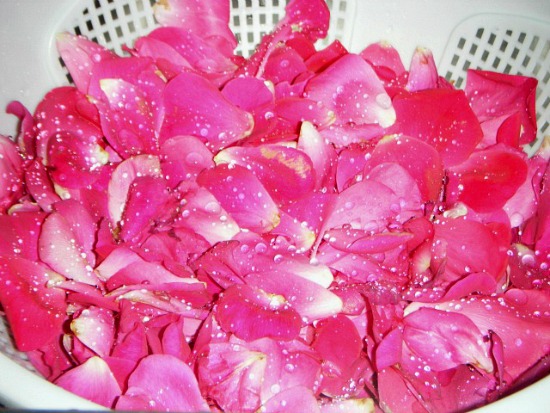
Ingredients
1 cup rose petals
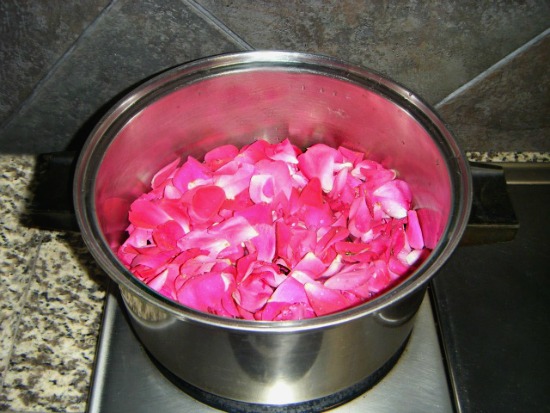
2 cups distilled water
Directions
Rose petals must be freshly picked and be completely free of pesticides or chemicals. Use only the petals, not the stems or leaves. Place petals in a colander, gently and quickly washing petals to remove impurities and/or insects.
Place gently washed rose petals in a heavy pot with distilled water. Simmer on low heat for one hour.
Remove pot from burner and allow water to completely cool.
Using a fine strainer, strain rosewater into a sterile container.