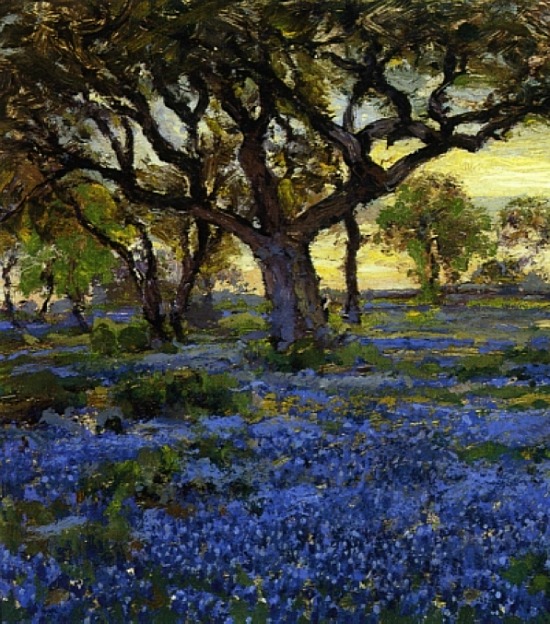
Early spring into Easter color awakenings through spring color palette choices are upon us.
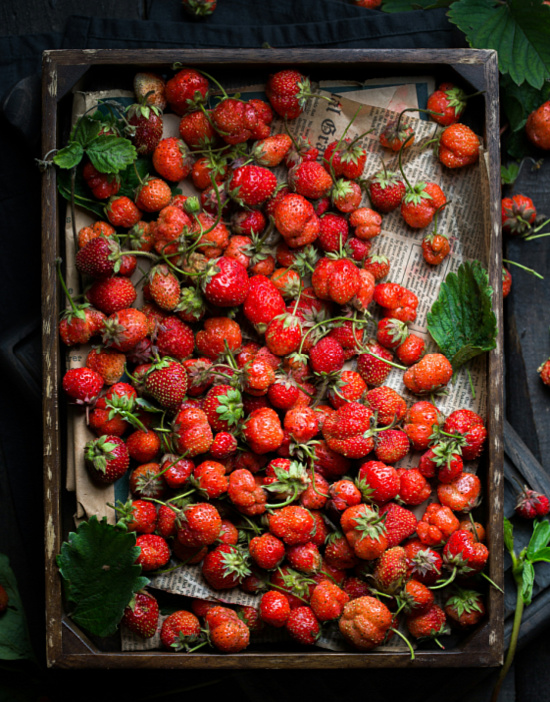
Colors of the season shake off the last of winter’s remnants with the help of warm mid-afternoon breezes, hints of pastel petals, the yellow dusting of pollen (you want pretty flowers, don’t you?), the hum of lawnmowers, and seasonal treats featuring fresh strawberries.
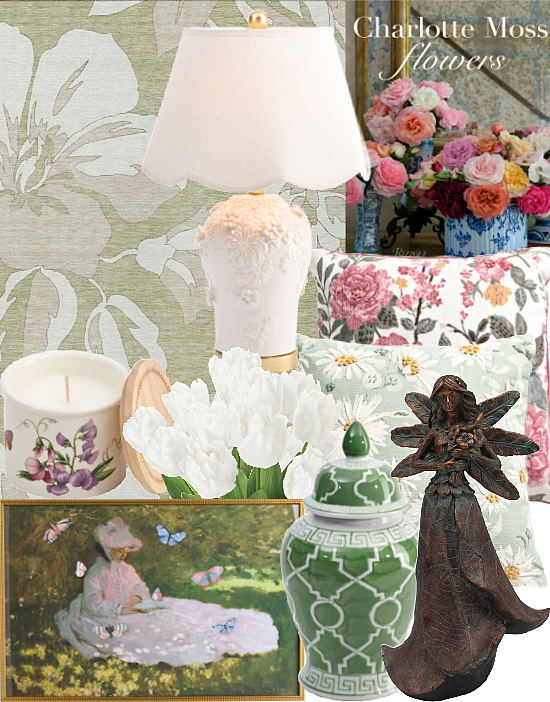
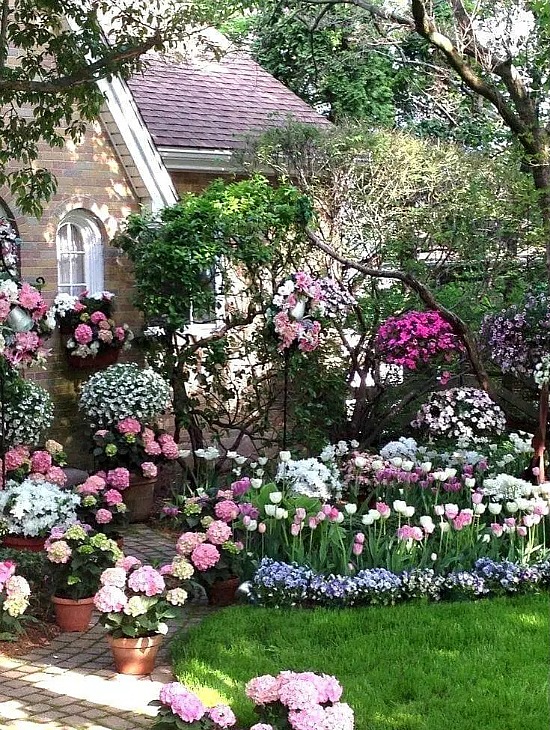
Easy and affordable ways to incorporate the best of the season into your home and garden is to update and refresh through accents and accessories.
Accents and accessories in fresh, lively, and warm colors of spring renews our interiors and exteriors, elevates our moods, and brushes away the heaviness of winter.
“Only those who love color are admitted to its beauty
and immanent presence. It affords utility to all,
but unveils its deeper mysteries only to its devotees.”
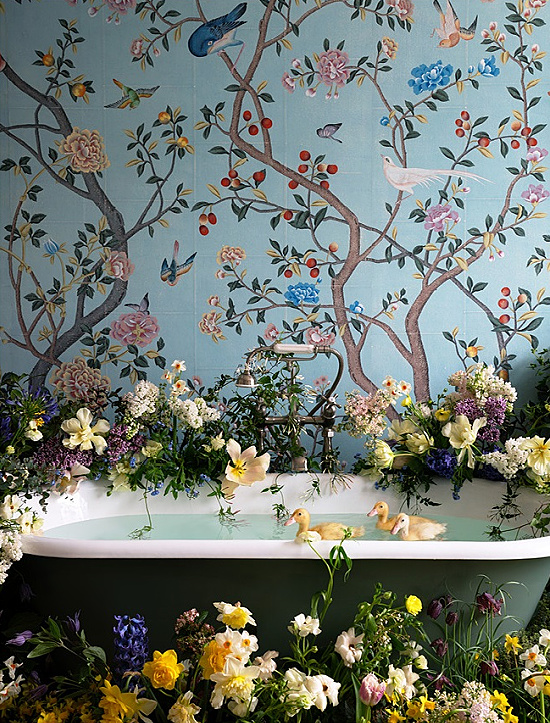
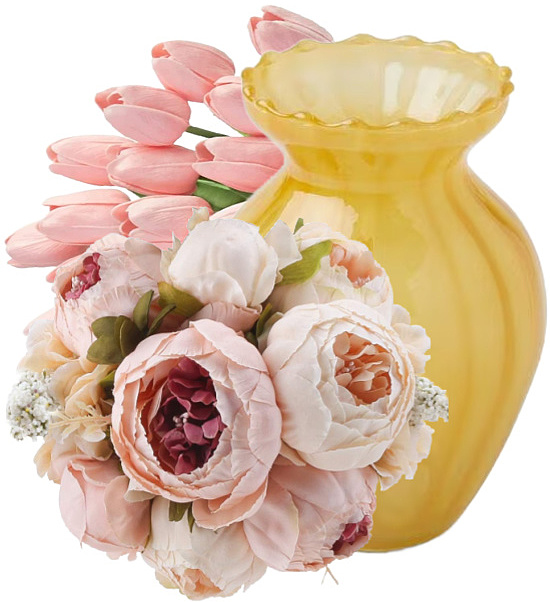
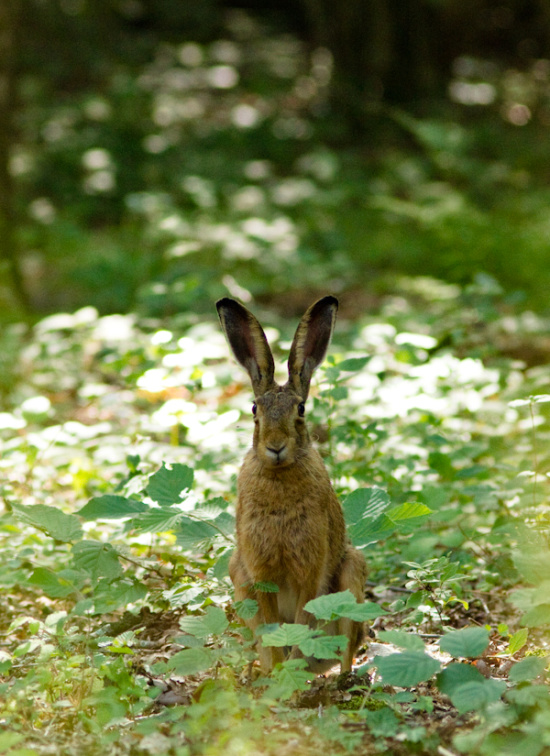
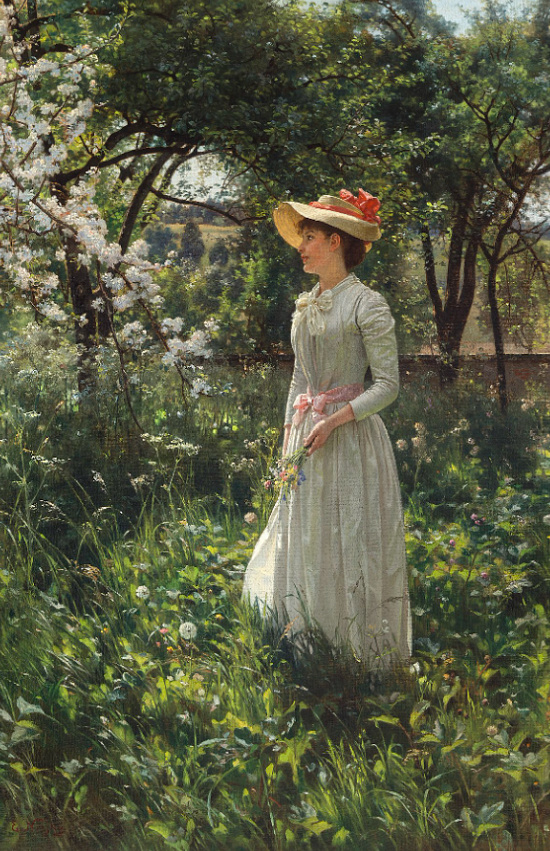
Nature’s timing doesn’t always cooperate with early spring into Easter plans for fresh stems and bouquets, so to that I say pick a few faux fabulous stand-ins and let the spring preview begin!
To look upon beautiful Easter decor as a work of art is no over eggaggeration of the term. Selecting items for show and tell comes with thought.
Sure, a rabbit here and a bunny there is called for, but mostly my choices play to pastels, themes and dishes appropriate for the entire spring into summer season.
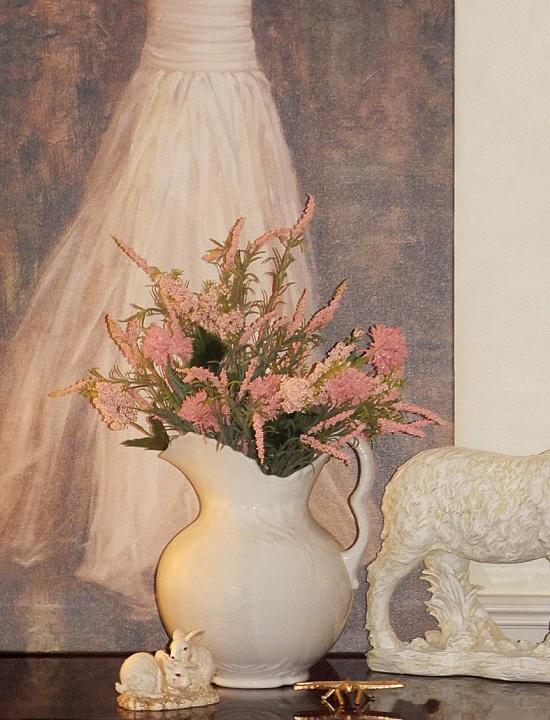
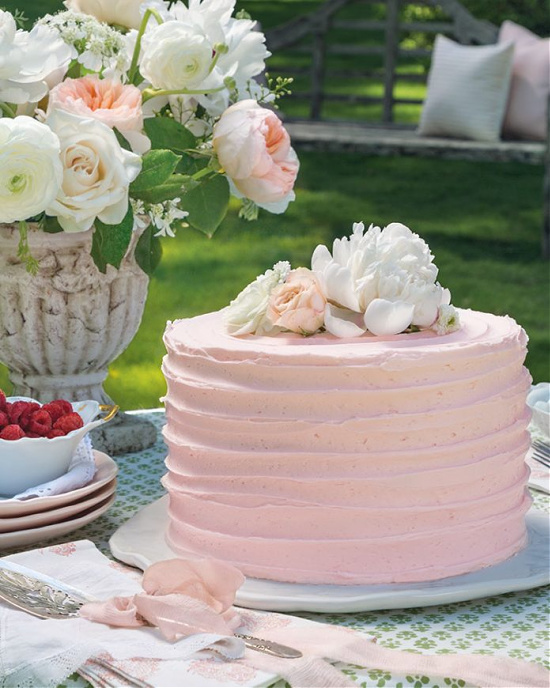
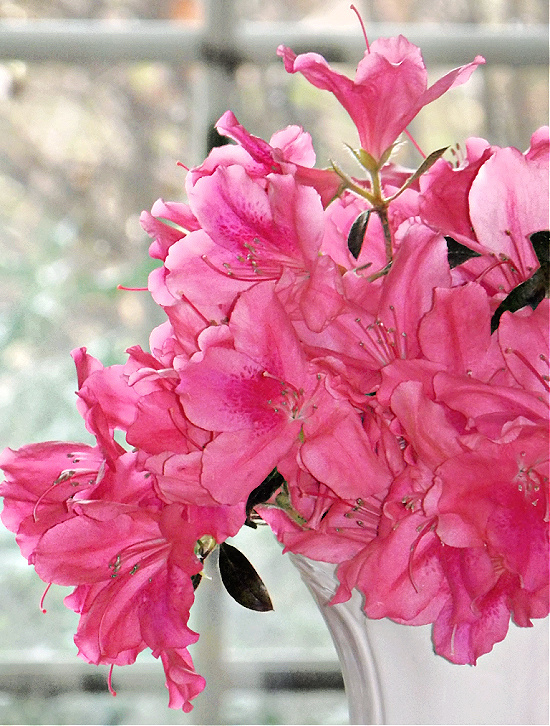
Faux picks and bushes in ever lovely shades of pink were recently purchased with the Easter decor centerpiece in mind.
On the Saturday afternoon before Easter Sunday I’ll stroll around the yard gathering assorted fresh greenery stems to fill in the spring bouquet.
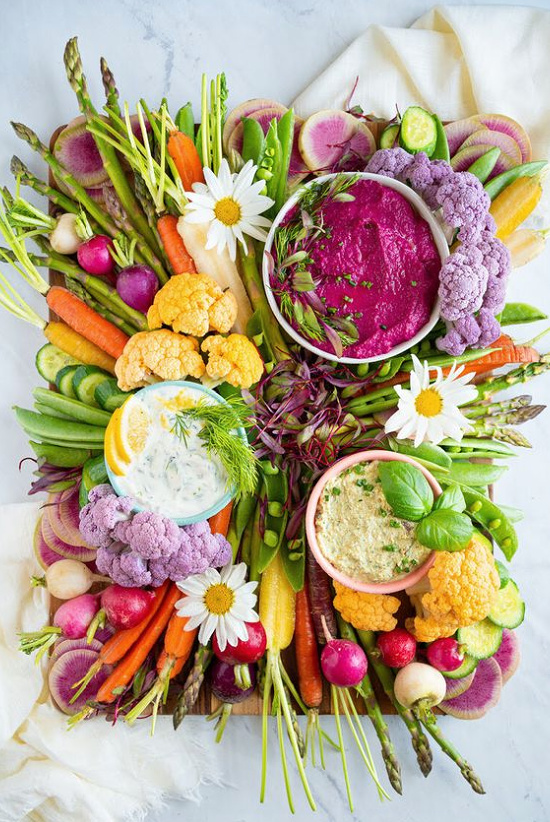
Easter company will love this fresh with full on color and nibbles spring vegetable board from My Moonstone Kitchen.
Click on the link below the photo for recipe information.
Country Living – Photography by John Kernick
Roast Pork Loin with Herb Stuffing
Ingredients
1⁄3 cup kosher salt
1⁄3 cup sugar
2 teaspoon juniper berries
2 teaspoon cardamom pods
2 teaspoon whole peppercorns
1 teaspoon allspice berries
2 bay leaves, lightly crushed
1 (3 ¾ to 4 pound) pork loin roast, trimmed, butterflied, and tied
3 tbsp. butter
3 stalks celery, finely diced
1 small onion, finely diced
3 garlic cloves, finely chopped
2 cups panko breadcrumbs
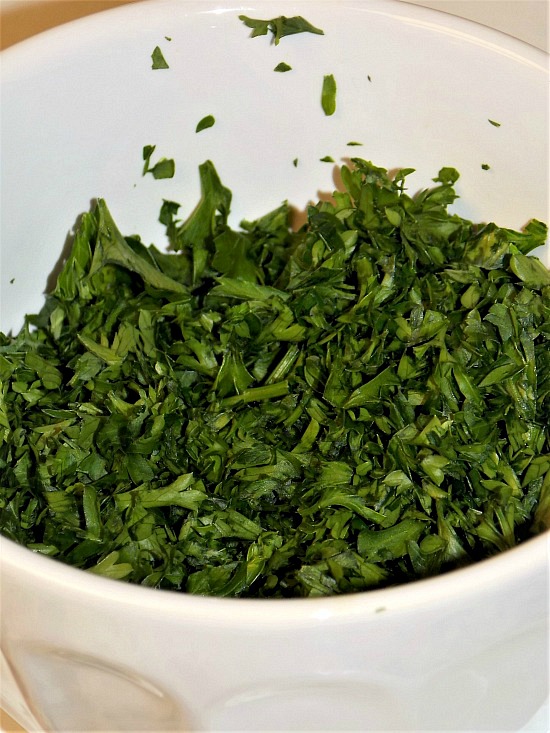
1 cup chopped fresh parsley
1 tbsp. chopped fresh sage
2 teaspoon fresh thyme leaves
¼ cup chicken stock
Directions
In a medium pot, bring 2 cups water, salt, sugar, juniper, cardamom, peppercorns, allspice, and bay leaves to a boil. Stir to dissolve sugar and salt. Remove from heat and stir in 4 cups cold water. Set brining liquid aside and let cool to room temperature, 20 to 30 minutes.
Place pork loin in a 2-gallon resealable plastic bag and carefully pour in cooled brining liquid. Seal and refrigerate, 8 to 12 hours.
Meanwhile, in a large skillet over medium heat, melt butter until sizzling. Add celery, onion, and garlic and cook, stirring occasionally, about 5 minutes. Add breadcrumbs, parsley, sage, and thyme, stirring to combine, and cook 1 minute more. Add chicken stock and toss until breadcrumbs have absorbed all of the liquid.
Remove stuffing from heat and let cool to room temperature, 30 minutes. (Stuffing can be made up to 1 day ahead and refrigerated. Bring to room temperature before using.)
Preheat oven to 500°F. Remove pork loin from bag and discard brine; pat meat dry with a paper towel. On a work surface, untie pork loin so that it lies flat, fat side down. Spread stuffing mixture atop meat in an even layer. Starting from one of the long sides, roll the pork loin into a tight spiral. Tie at 1 ½-inch intervals with 12-inch lengths of kitchen twine.
In a roasting pan fitted with a rack, place pork loin fat side up. Roast 15 minutes, then reduce oven temperature to 250°F. Continue to cook for about 1 hour and 35 minutes, until an instant-read thermometer inserted into the pork loin reaches 145°F.
Transfer pork loin to a wire rack to rest for 15 minutes before serving.
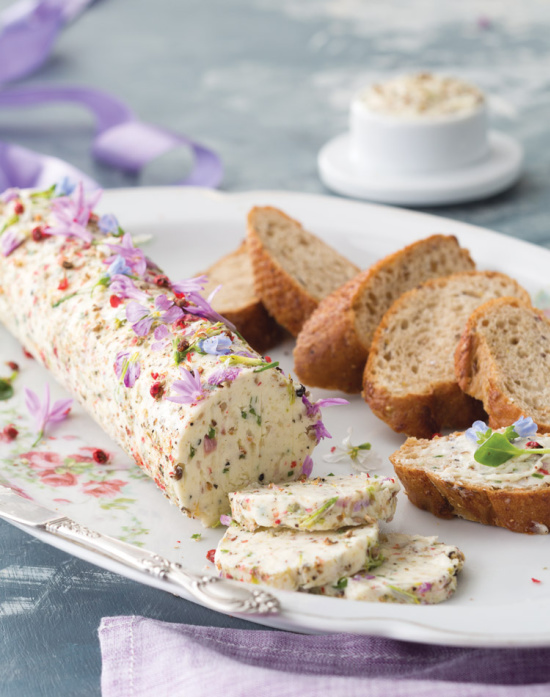
In a coffee grinder or using a mortar and pestle, grind green, white, black, and pink peppercorns until crushed.
Using a medium bowl, beat butter with a mixer at medium-high speed until smooth. Add peppercorns, chives, shallot, garlic, and oregano. Beat at medium speed until combined.
Transfer from mixer to parchment paper. Form butter into a log. Press radish flowers, garlic flowers, and oyster leaf flowers onto log. Roll in parchment, and twist at both ends. Refrigerate for at least 2 hours.
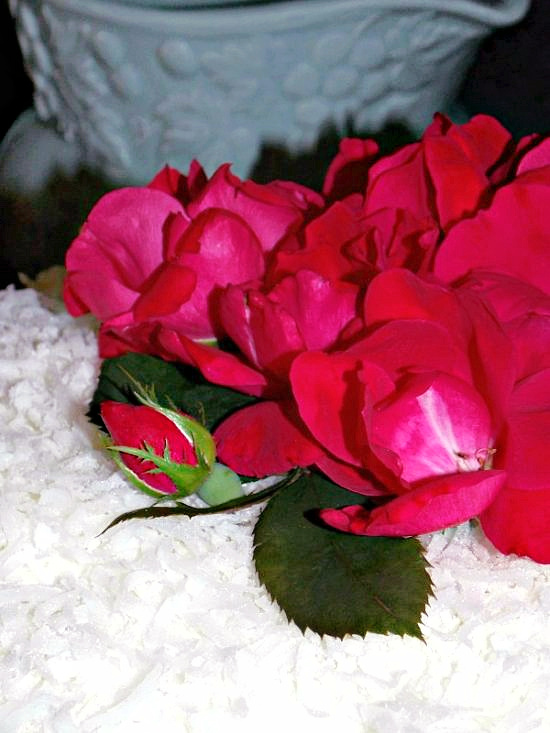
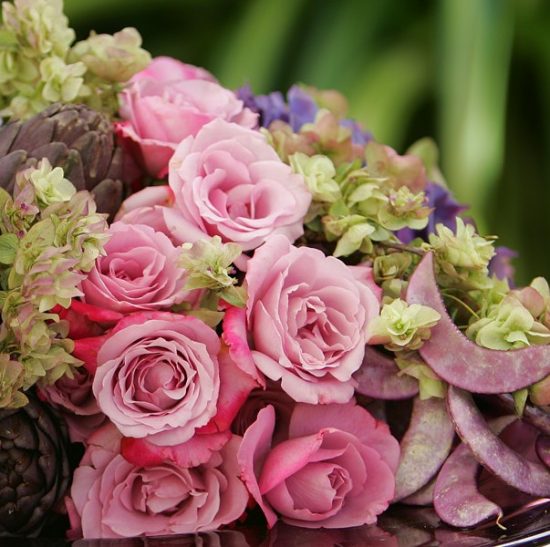
Knock out roses coming into spring view serve vase and creations.
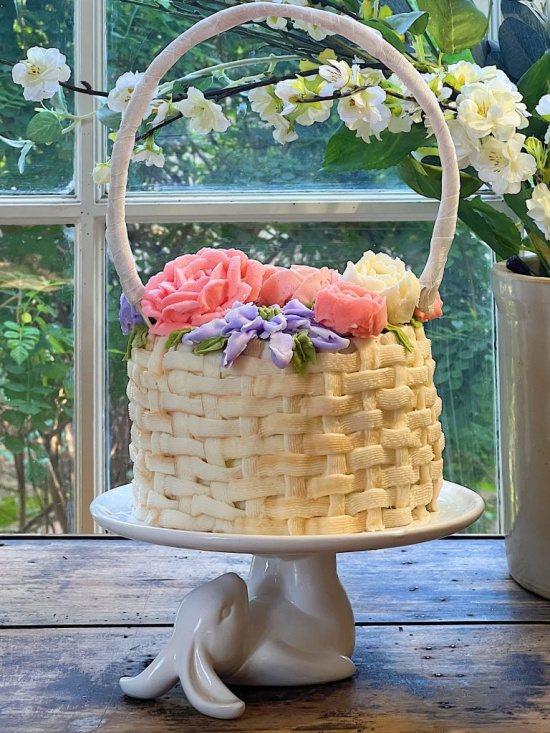
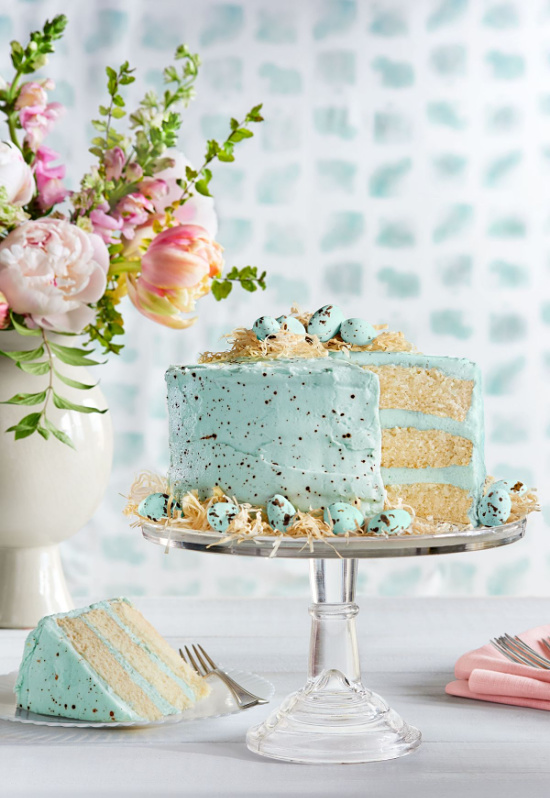
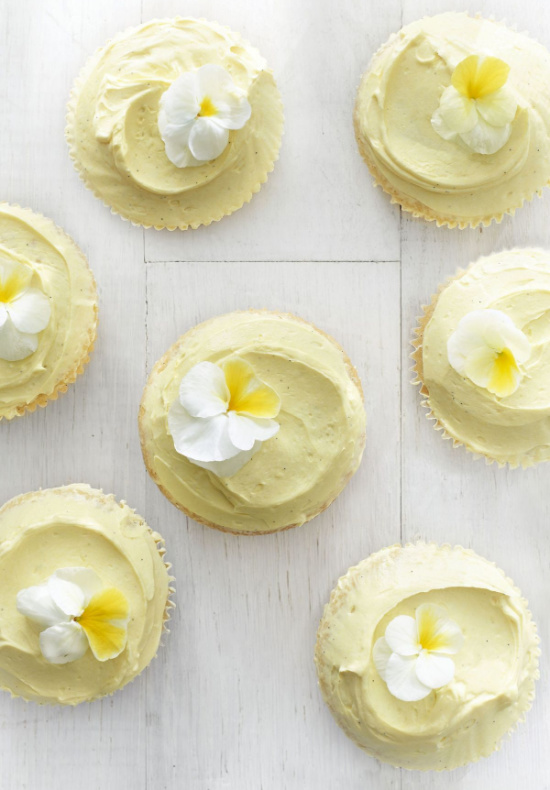
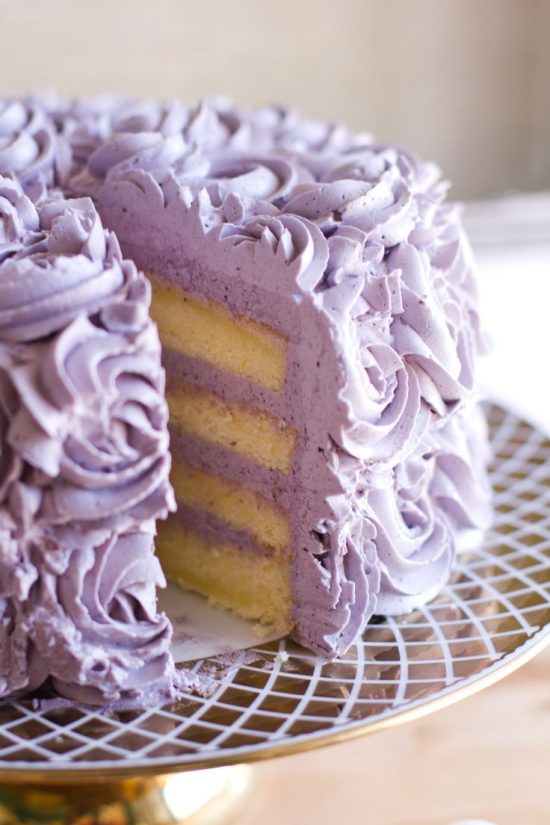
Be it from the supermarket bakery or cake mix box, decorating the top of a spring or Easter dessert cake with flowers or candies is an easy way to take desserts to visually pleasing heights.
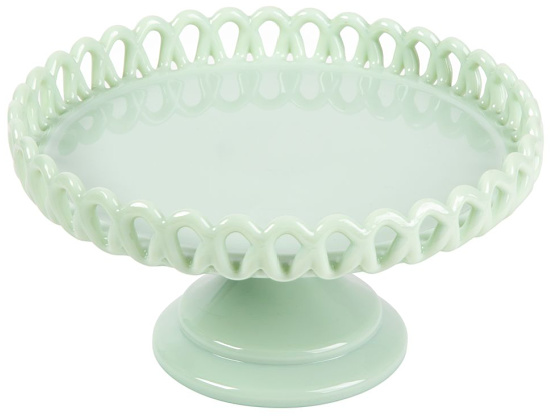
In the style of vintage is my go-to choice of serveware, and this house favorite cake stand in Jadeite fits beautifully with your Easter decor and spring motif.
Buttercream frosting tinted to a soft yellow topped with edible flowers delivers a simply elegant result.
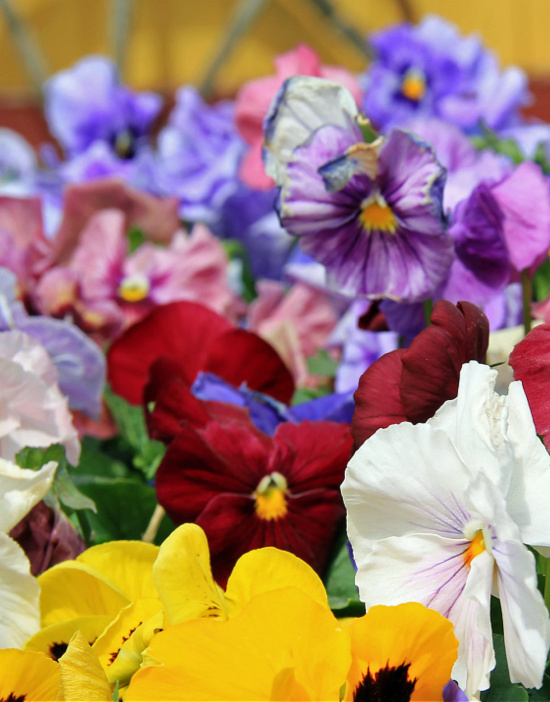
Pansies offer loads of color, plant and prosper rather easily, and make a fantastic visual and flavorful splash when added to salads and spring desserts.
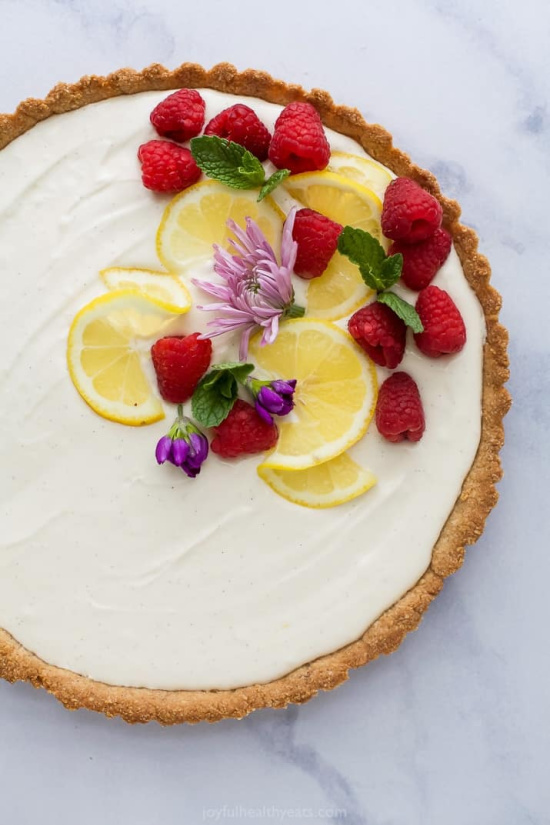
When decorating dishes and desserts and garnishing beverages with edible flowers you’ll want to pick the flowers early in the morning.
Gently rinse off your gathered flowers with cool water allowing to dry on a paper towel. Add garnish immediately before serving.
If using flowers at a later time you can place them in the refrigerator where they will keep for 2-3 days.
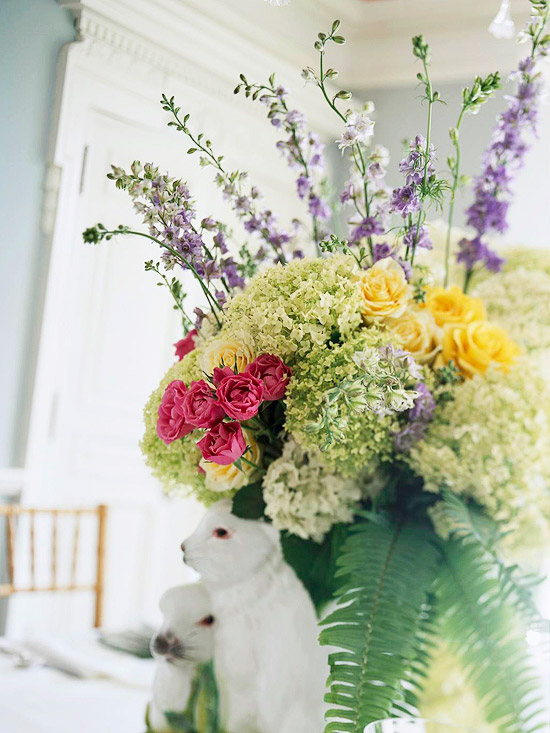
To look upon a beautiful Easter decor tablescaping as a work of art is no over eggaggeration of the term.
Central to a lovely tablescape, creating a centerpiece of fresh flowers and/or greenery from nature’s floral department aka our own yards broadens the field for artistic interpretation.
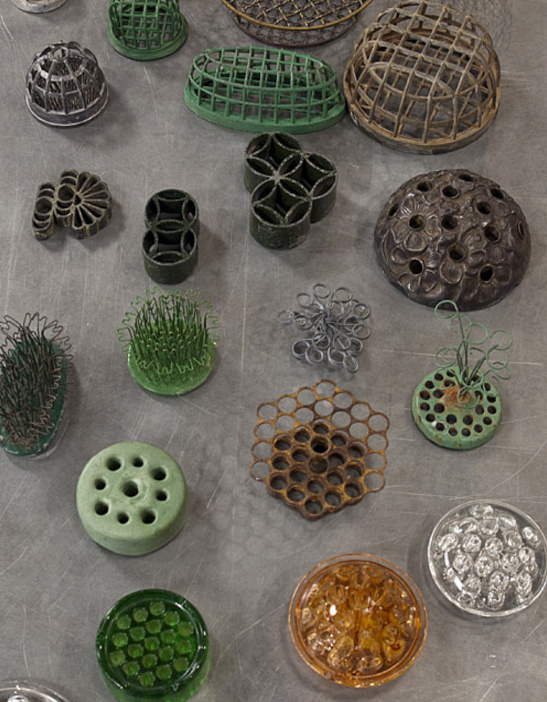
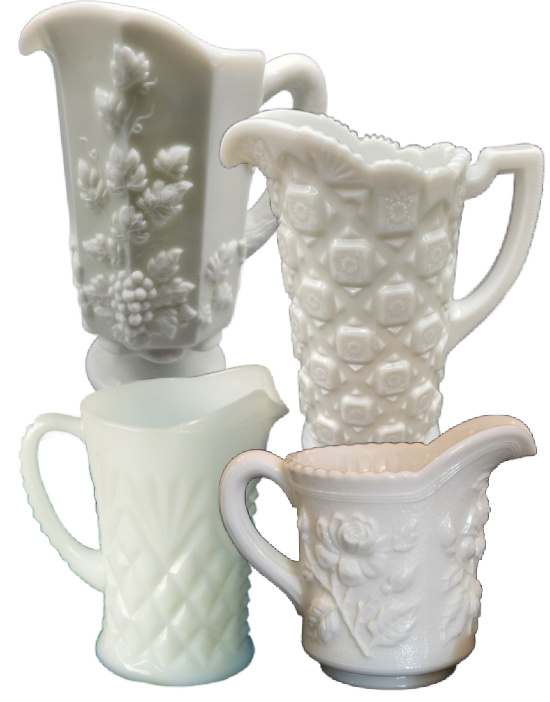
Begin with a vase, jar, tureen, pitcher, decorative coffee can- any type container that floats your boat or flower frog will do.
This word within a word moment is brought to you by spring into Easter tablescape talk.
When we tablescape we escape through creativity, and right in the middle of the word creativity is the word that is the reason for tablescaping in the first place- eat.
Now that I think about it, when we tablescape we decorate, and the last three letters in decorate spell ate.
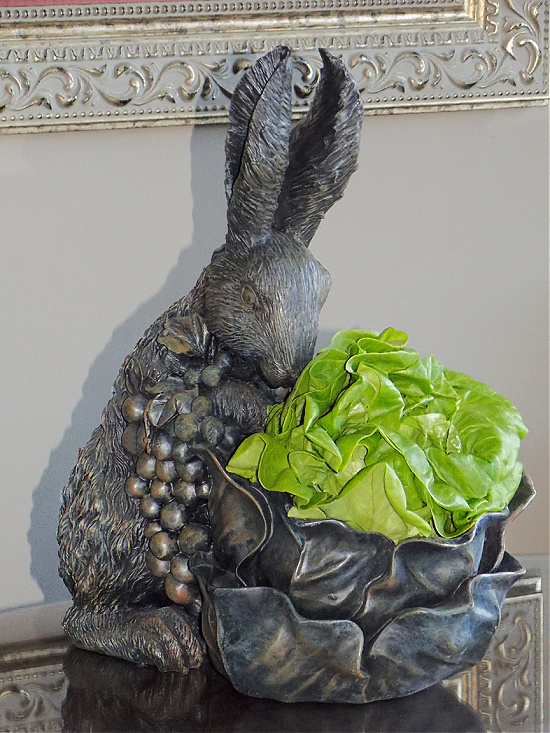
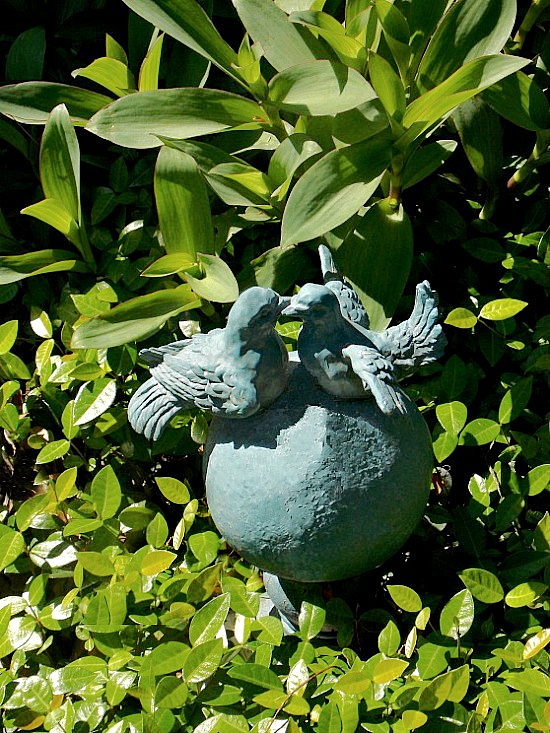
Several Easter tablescapes ago I started a serveware tradition of using this rabbit statue as a salad bowl.
Butter lettuce, sliced fresh Louisiana strawberries, chopped walnuts, red onion rings, and honey-apple cider vinaigrette springs to mind.
Honey-Apple Cider Vinaigrette
¼ cup vegetable oil
½ cup sugar
2 tablespoons apple cider vinegar
2 tablespoons corn syrup
2 tablespoons honey
½ teaspoon honey mustard
generous squeeze fresh lime juice
½ teaspoon celery seed
¼ teaspoon salt
¼ teaspoon paprika
Directions
In mixing bowl or glass jar with lid, combine vegetable oil, sugar, and apple cider vinegar.
Whisk or shake, blending all together. Add remaining ingredients, stirring or shaking well.
Place salad greens in mixing bowl.
Top with sliced strawberries, red onion slices, and chopped walnuts.
Drizzle vinaigrette over mix in small amounts until you reach the desired amount.
Toss together and serve.
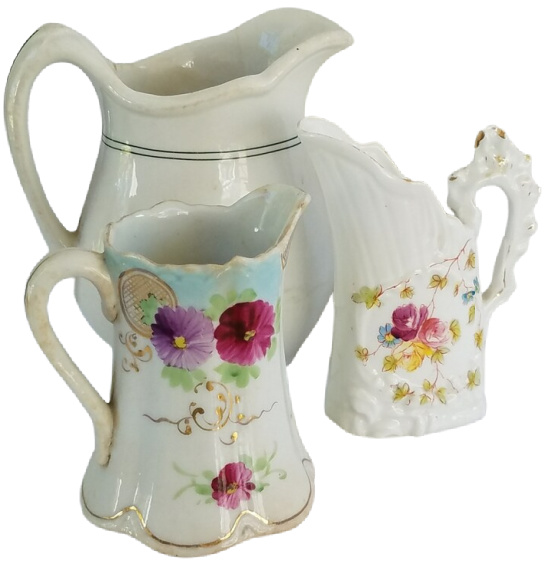
Consider using a vintage creamer or pitcher for a salad dressing/condiment server.
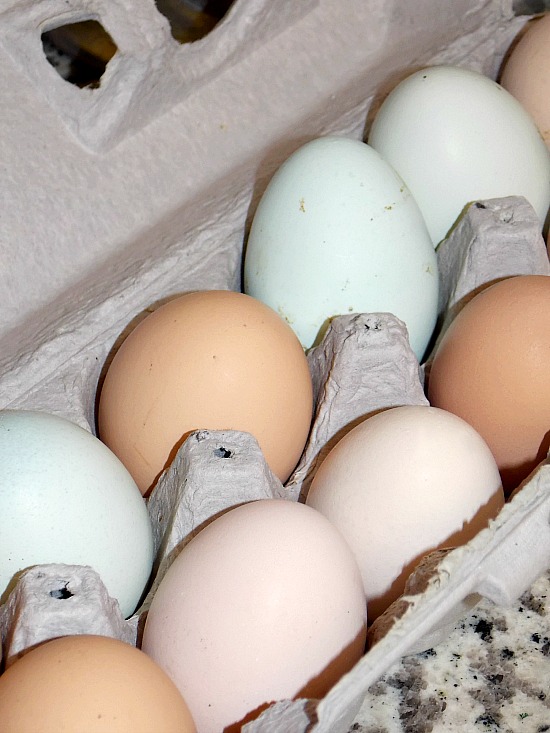
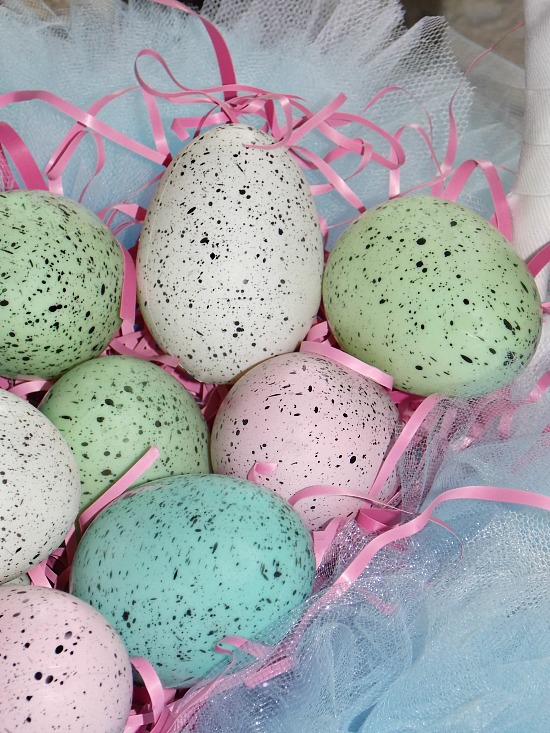
Who needs Easter egg dye when nature lends a hand?
In the words of a famous rabbit, that’s all folks.
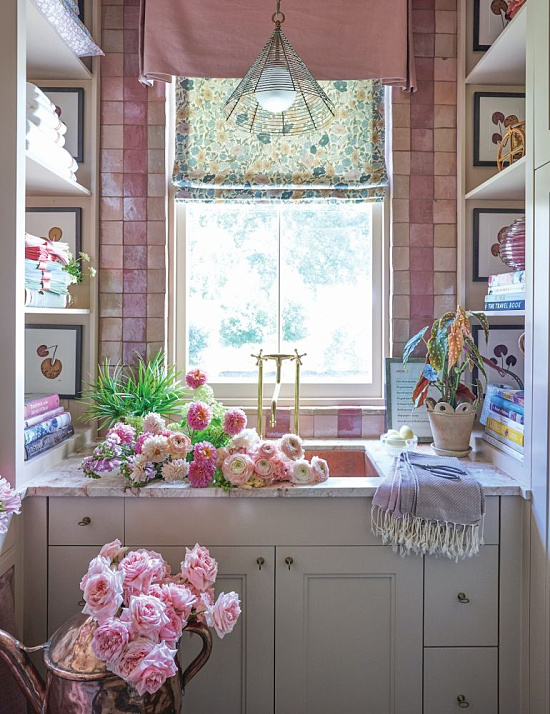
Garden roses in a simple vase placed atop a crochet doily, a stemmed compote dish waiting to be filled with the pear preserves, and family recipes handwritten on timeworn index cards and scratch pieces of paper spring to mind memories of Easter week travels over to Texas to visit my great-grandparents.
Rainy days and Mondays blues took on a whole new meaning with this DIY Easter basket project.
Rainy day are made for indoor activities. Good thing I love thunder and lightening and find them intensely beautiful ’cause we’ve seen a boatload of beauty over the last few days.
Today’s blogging soundtrack is courtesy of the Spotify Discover Weekly playlist which changes every Monday.
First in line on this week’s list is Laughter in the Rain by Neil Sedaka.
Serendipity plays here.
The DIY projects I do tackle are born out of necessity more than enjoyment.
When my antiques shop was open, I didn’t think twice about upholstering, repairing, or refinishing DIY projects. Bottom line profit played a huge role in those decisions.
A fond memory of a beloved Easter basket and the futile search for one like it accounts for this DIY Easter basket project.
When the big move of 2010 took place, I left the packing and moving from the old house to the new to us house to Dave the Builder while I packed up my parent’s house for their move.
Three houses.
Two moves.
One colossal undertaking I do not recommend to the faint of heart.
In the moving mayhem, Dave made the executive decision to part ways with soooo many things I would have kept.
Whatnots and doodads can easily be replaced, but certain items qualify as irreplaceable. One such item is the handmade Easter basket my mother bought me in 1974.
A group of ladies residing at a local care facility made the most beautiful Easter baskets from plastic dry cleaning bags.
The plastic was pulled through a simple green berry basket, knotted on the inside, and trimmed. An undone wire hanger shaped to fit and tightly wrapped with plastic dry cleaning bags became the basket handle.
I loved the basket, and kept it all these years.
The more I thought about it, the more I knew I wanted an Easter basket like it.
Ebay, Etsy, and the local treasure shops did not have anything even remotely close. I saw several tutu baskets, but that’s not what I want.
As Patsy Cline said to Loretta Lynn in Coal Miner’s Daughter, “anything we can’t buy, we’ll make.”
Hello, DIY Easter basket project.
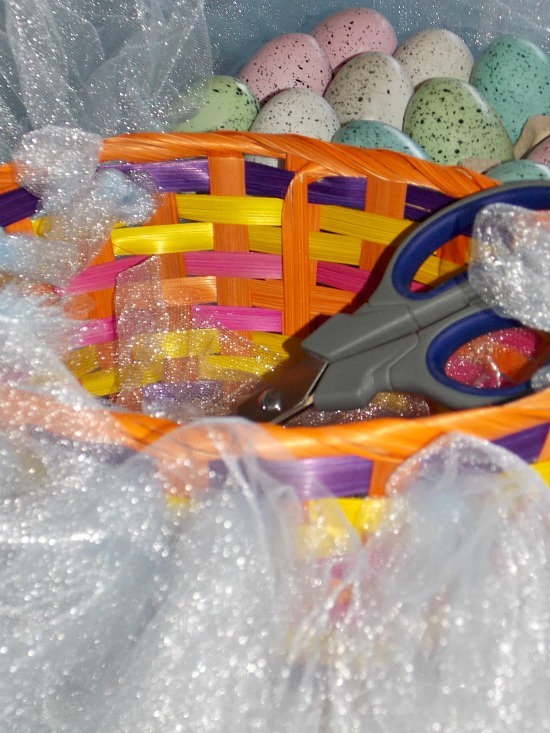
Begin with a bamboo Easter basket from the dollar store.
I figure if I mess it up I’m only in for a dollar.
A few pieces of scrap tulle left over from Christmas allowed for me to practice.
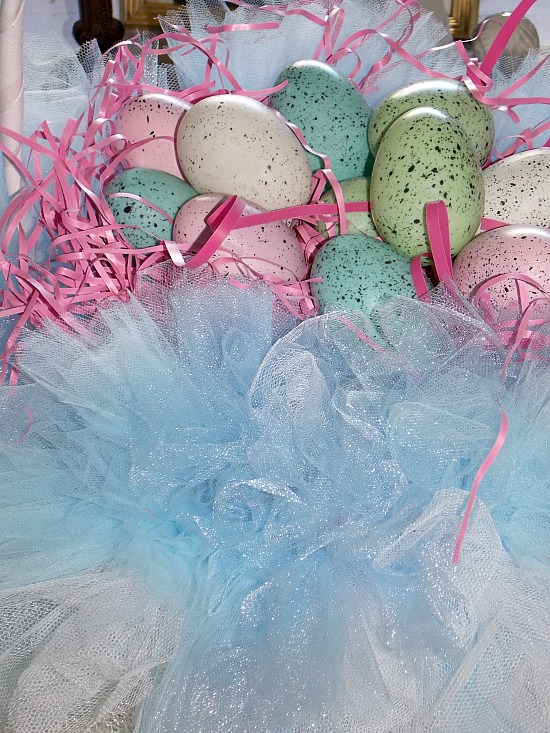
Once I mastered the cut and feed, it was on to the fabric department at Walmart for four yards of white net and eight yards of light blue tulle.
The texture of the white net makes it easier to fill in gaps and when fluffed out give a nice full coverage of the area you are working with.
Supply list:
Bamboo Easter basket
8 yards light blue tulle
4 yards white net
1 roll 1½” wide white grosgrain ribbon
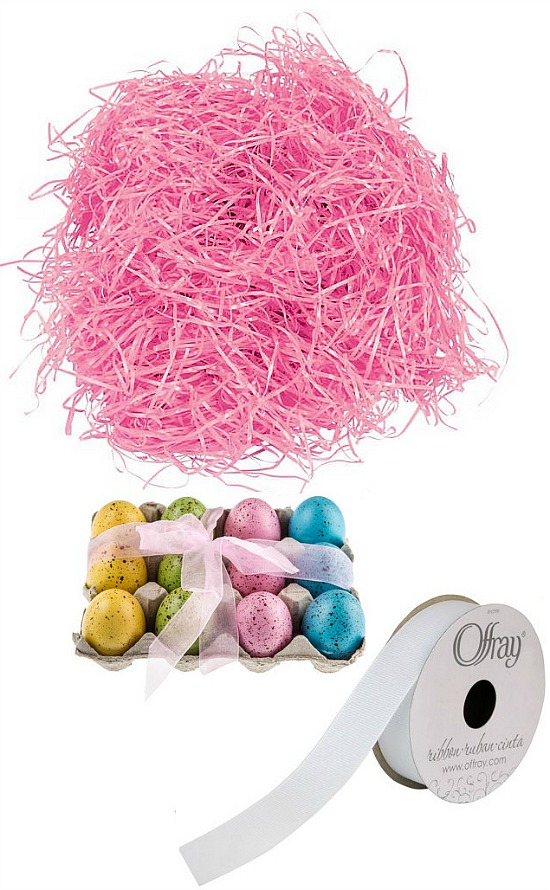
Easter grass
Speckled Easter eggs
Scissors
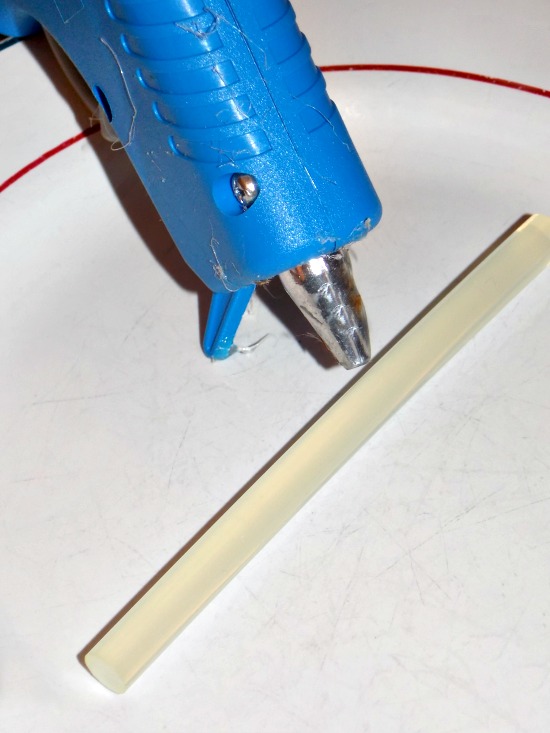
Hot glue gun
Glue stick
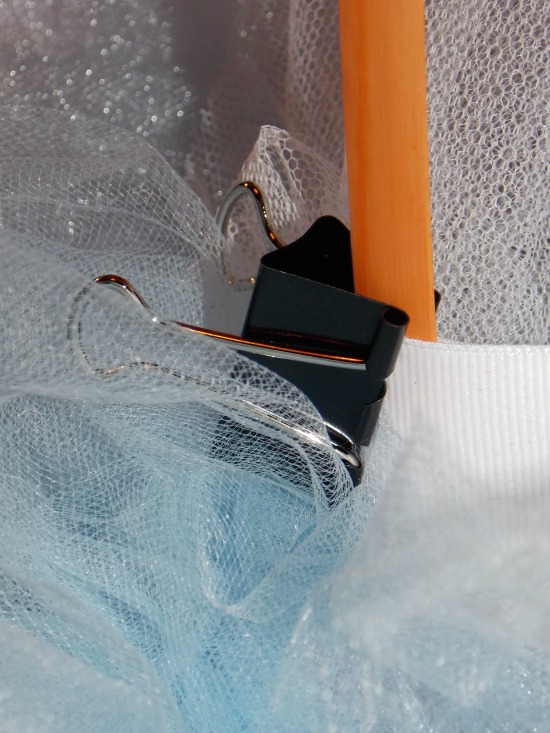
Binder clips
I worked with two lengths of fabric and multiple layers.
I cut the tulle and the net into 12″ strips for layers 3, 4, and 5, and 8″ inch strips for the layers 1 and 2.
More layers make for a fuller look, and shorter layers around the basket rim beautifully cover and conceal the bamboo.
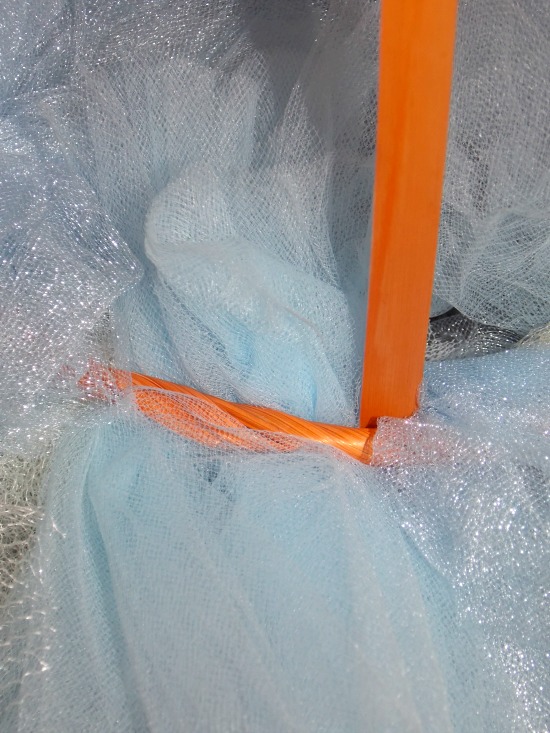
Feed a strip of tulle or net through the spaces in the basket with half the strip on the outside and the other half of the strip on the inside of the basket.
After an exhaustive and empty-handed search for my crochet hook, I just used my fingers to feed the fabric through the basket.
Yes, I made a couple of larger than need be holes in the basket.
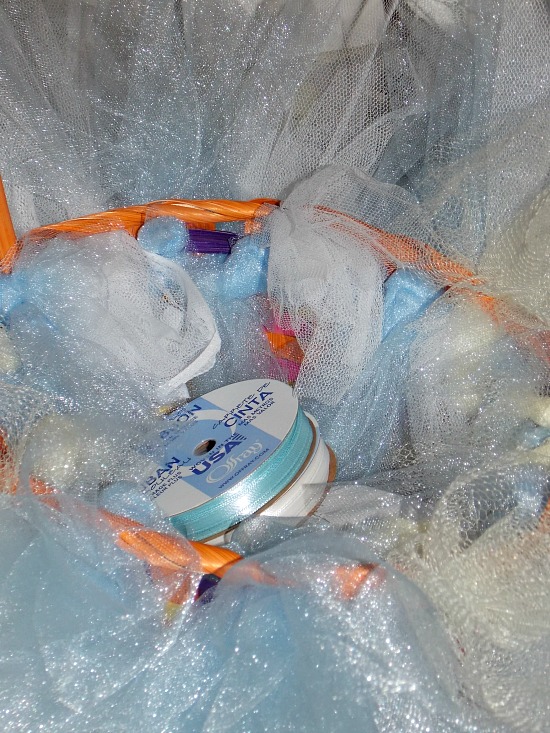
You may notice the blue and white ribbon in the image below.
If you make the same uh-oh simply cut a piece of ribbon, feed it through, bring it up catching the layer above, and tie with a knot. Trim the excess ribbon and problem fixed.
Tulle and net are forgiving, and when fluffed and fanned out cover a multitude of DIY sins.
Work with a two blue tulle strips to one white net strip repeat all the way around each layer of the basket.
Fluff and fan out each side of the fabric to desired fullness.
Trim each layer of tulle and net down to the desired lengths to create extra fullness.
Fire up the hot glue gun.
Use caution when using a hot glue gun so you don’t burn your fingers.
Use a binder clip, clothespin, or hair clip (you get the idea) to hold the ribbon in place.
Wrap the basket handle with the ribbon. Secure the ribbon to the base of the basket handle with several drops of hot glue.
Trim each layer of the tulle and net to desired lengths to create extra fullness and correct any unevenness.
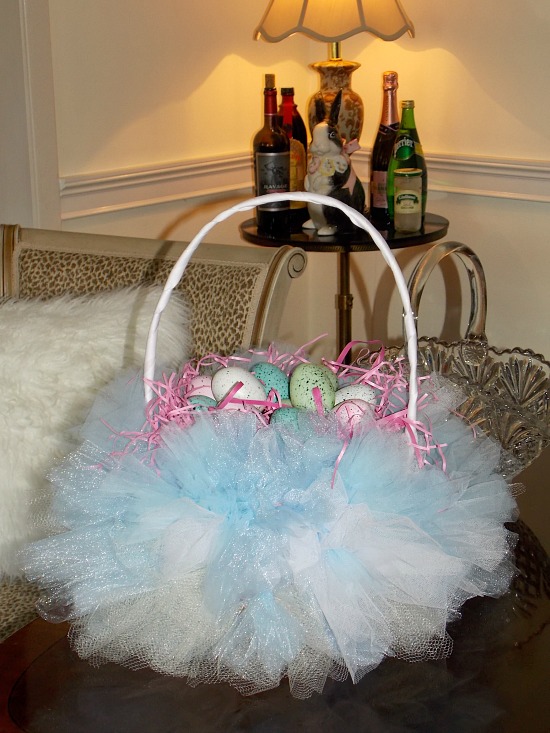
Complete the look by filling the basket with Easter grass and decorative Easter eggs.
I’m very pleased with the finished product.
Dave swears it’s prettier than the original one I had, and I think he may be right.
Isn’t it funny how a memory of a beloved Easter basket became such a source of inspiration.
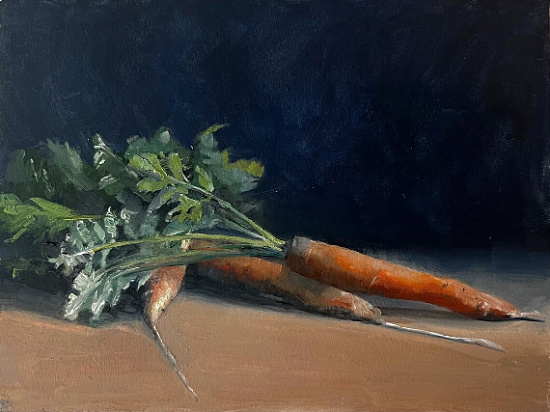
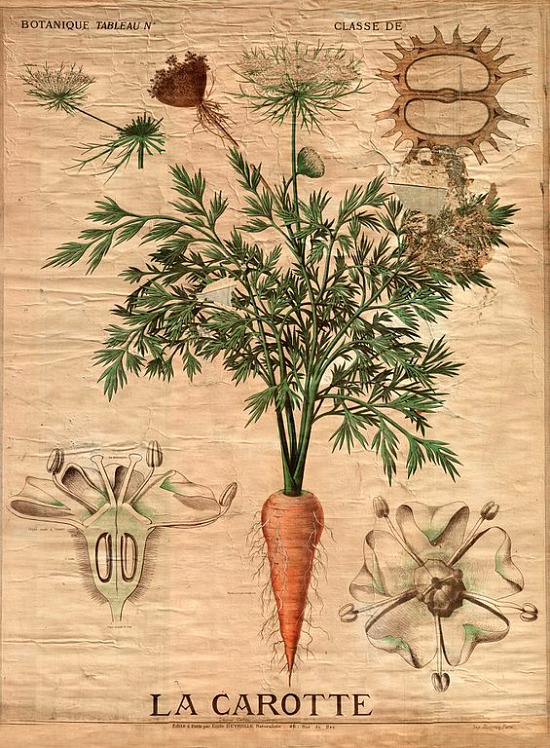
The holiday for carrots Easter dinner recipes post features what else-carrots.
Holiday weeks can be so hectic, and who doesn’t appreciate a little convenience?
These two recipes are delicious, make a beautiful presentation, and are Easter dinner and dessert appropriate.
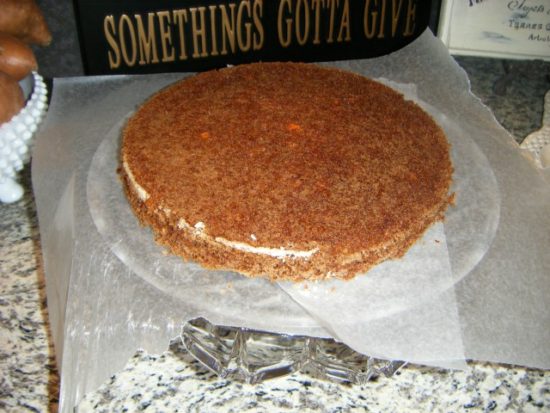
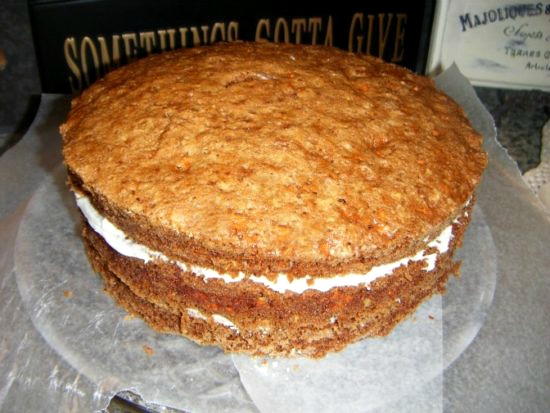
Grandma Hiers’ Carrot Cake
Ingredients
Butter, for pans
2 cups all-purpose flour, plus more for pans
2 cups sugar
2 teaspoons baking soda
2 teaspoons ground cinnamon
1 teaspoon salt
4 eggs
1 ½ cups vegetable oil
3 cups grated carrots
1 ½ cups chopped pecans, optional
Frosting:
2 (8-ounce) packages cream cheese, room temperature
1 stick salted butter, room temperature
1 (16-ounce) box powdered sugar
1 teaspoon vanilla extract
½ cup chopped pecans
Directions
Preheat oven to 350 degrees F. Grease and flour 3 (9-inch) round pans; Line bottom of the pans with parchment paper.
In a large bowl, combine flour, sugar, baking soda, cinnamon, and salt. Add eggs and vegetable oil. Using a hand mixer, blend until combined. Add carrots and pecans, if using. Pour batter into pans.
Bake for approximately 40 minutes. Remove from oven and cool for 5 minutes. Remove from pans, place on waxed paper and allow to cool completely before frosting.
For the frosting:
Add all ingredients, except nuts, into a medium bowl and beat until fluffy using a hand mixer.
Stir in the nuts. Spread frosting on top of each cake layer. Top with chopped pecans.
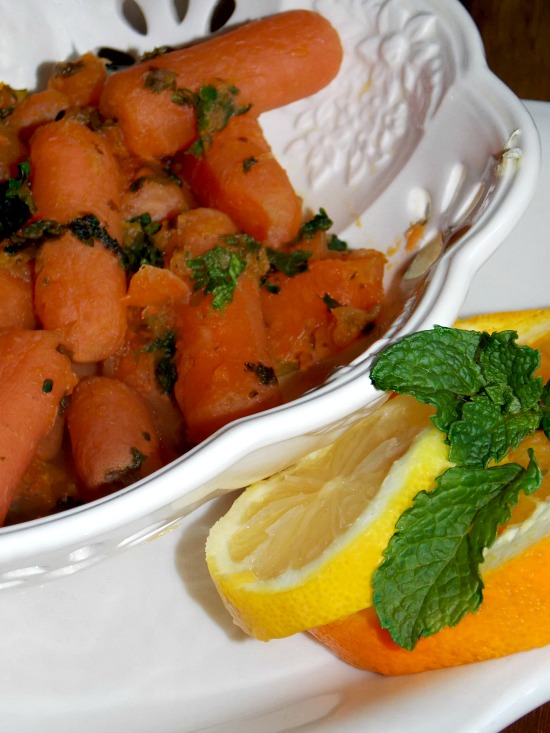
Glazed Carrots With Orange & Ginger
Side dishes, desserts and recipes for Easter Sunday dinner are becoming part of the discussion rotation here at Places In The Home.
Traditional holiday favorites take center stage on the menu, but I like to bring something new to the holiday feast.
I found an impressive glazed carrots recipe in one of the many magazines I subscribe to and was ready to go(or so I thought).
Wouldn’t you know it, when I am ready to further investigate the ingredients and prep directions I can’t find the magazine.
Who am I kidding?
I can’t even remember which magazine the recipe was in.
I’m learning to immediately write down the name of the magazine, site or book items of interest are found in.
That did not happen in the case of the missing glazed carrots recipe, so I winged it from part memory, part personal tastes.
Here’s what I came up with.
Glazed Carrots With Orange & Ginger
Ingredients
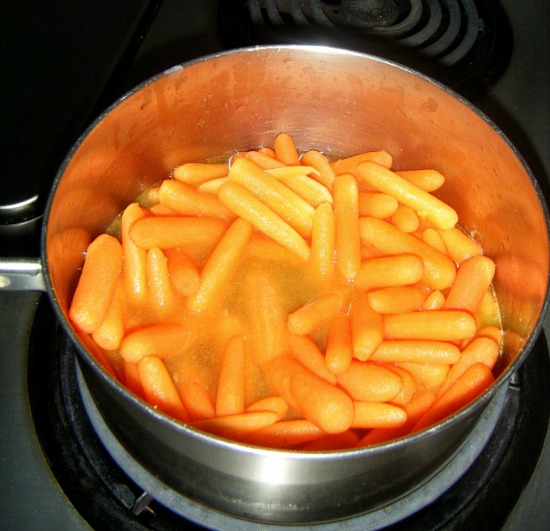
1 lb pkg. peeled baby carrots
2 Tablespoons butter
2 Tablespoons orange marmalade
1 Tablespoon brown sugar
½ teaspoon salt
2 teaspoons ground ginger
1/3 cup orange juice
zest of one lemon
zest of one orange
1 teaspoon freshly squeezed lemon juice
Chopped fresh parsley for garnish (optional)
Directions
Combine all ingredients except lemon juice and parsley in saucepan. Bring to a boil, stirring to incorporate all ingredients together.
Reduce heat to medium low, add lemon juice and cover. Cook until carrots are tender. Taste to determine if you want to adjust the seasonings.
I like to add the parsley and one additional squeeze of lemon to the pan to allow it to “soften” for approximately 1 minute. Serves 4.