The 4th of July week long summertime celebration is upon us!
Fire up the grill or turn up the oven, whatever floats your barbecuing or baking boat.
Chicken, beef and pork will shine in the cookout spotlight this week, and most cooks have never met a seasoned dry rub they didn’t like.
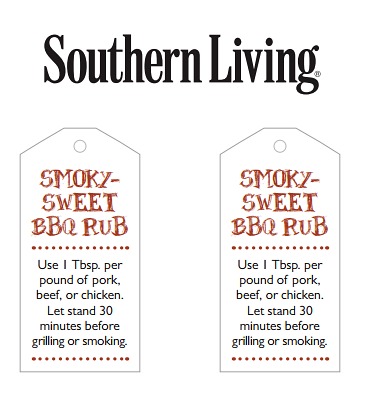
I found this adorably staged recipe image in the June issue of Southern Living (surprise!).
The image caught my eye, but the recipe grabbed my attention.
Smoky-Sweet BBQ Rub is music to this Southerner’s ears.
It is made up of dry ingredients that luckily grace the shelves of my cupboards.
The super cute presentation suggestion puts this one on the hostess gift list.
Now if you will excuse me, I have a brisket that needs a smoky-sweet BBQ rub down.
Smoky-Sweet BBQ Rub
Ingredients
¼ cup kosher salt
¼ cup firmly packed dark brown sugar
2 Tablespoons plus 2 tsp. smoked paprika
2 tablespoons granulated sugar
2 teaspoons garlic powder
2 teaspoons freshly ground pepper
1 teaspoon dry mustard
1 teaspoon ground cumin
1 teaspoon ground ginger
Directions
Stir together all ingredients. Store in an airtight container up to 1 month.
The jars shown in the Southern Living image are from Hobby Lobby. The jar I used is from Dollar Tree, and the grapevine wire is from Hobby Lobby as well. Download the BBQ rub gift tags here.
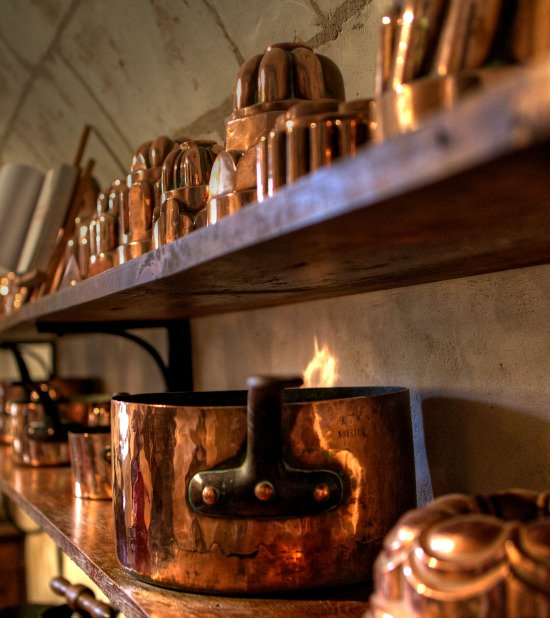
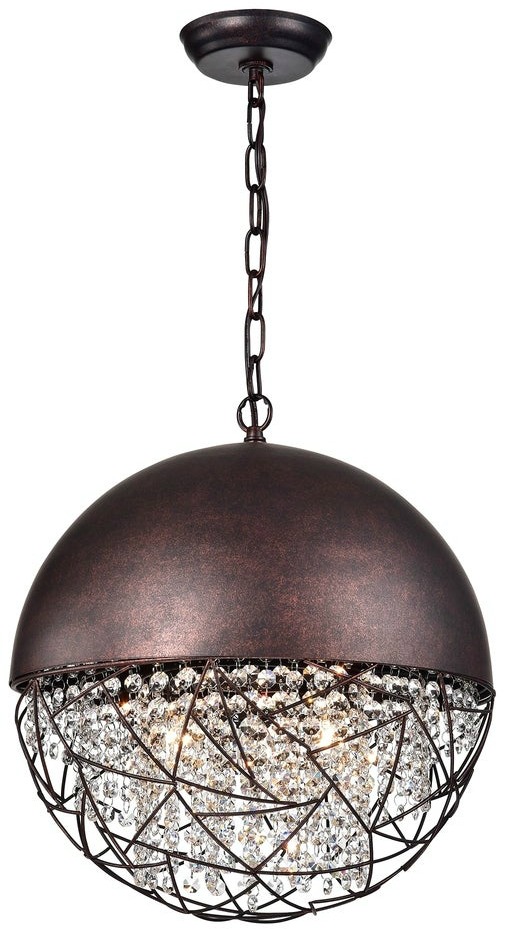
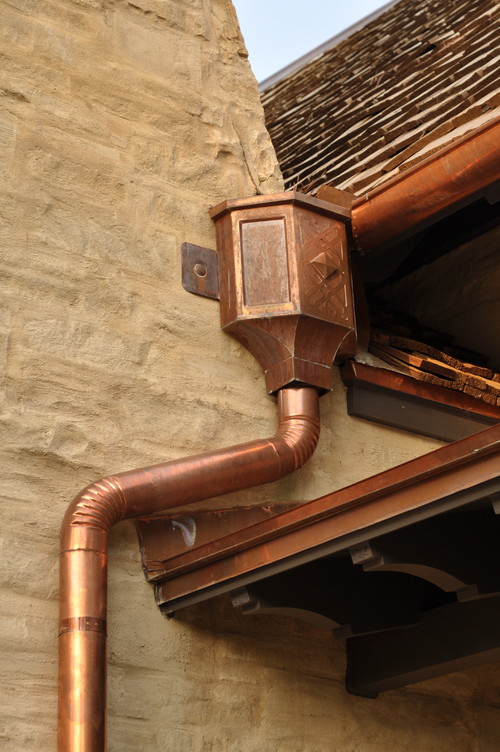
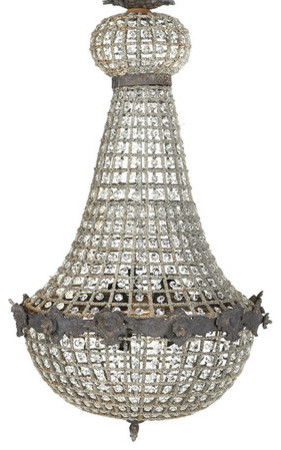
That’s one way to sum up the beauty of the copper home decor accessories.
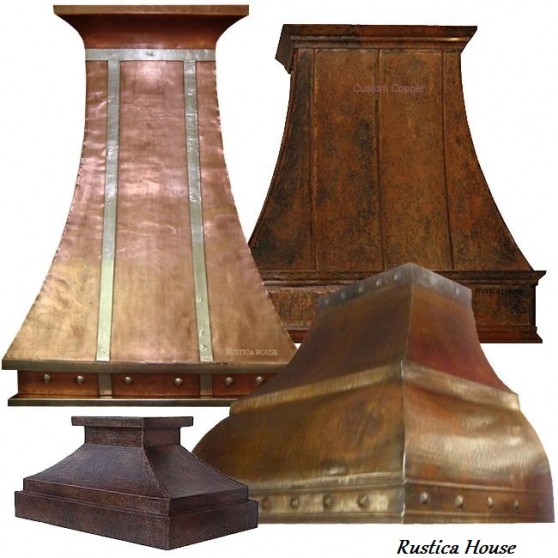
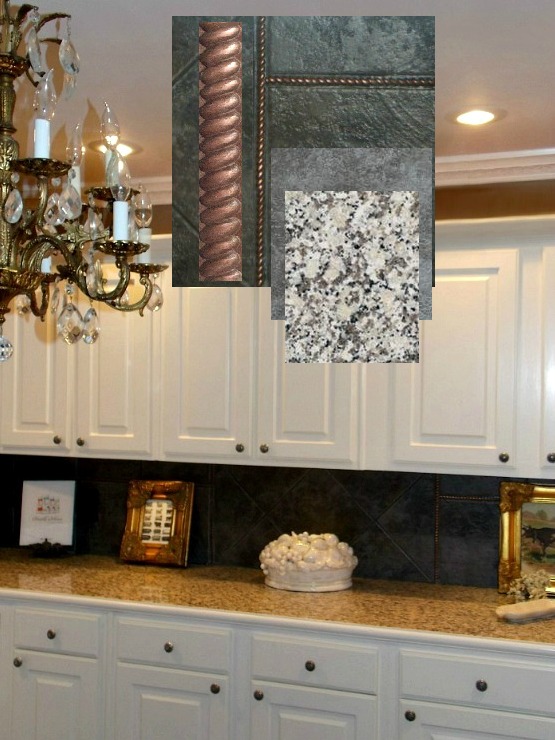
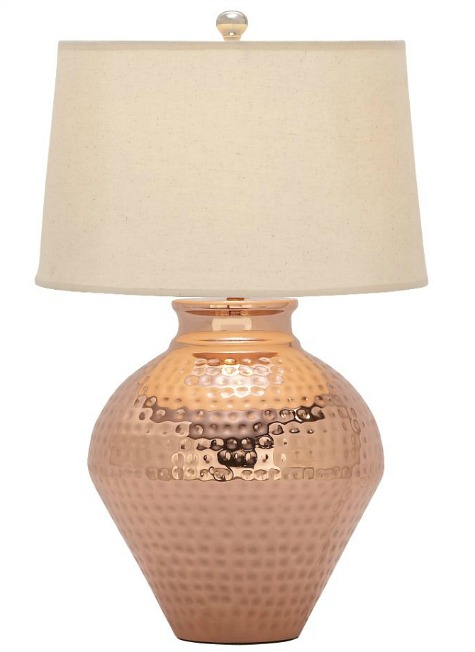
The patina, richness and versatility of copper lends a distinctive presence and truly unique color palette choice to interior design accents and home decor accessories.
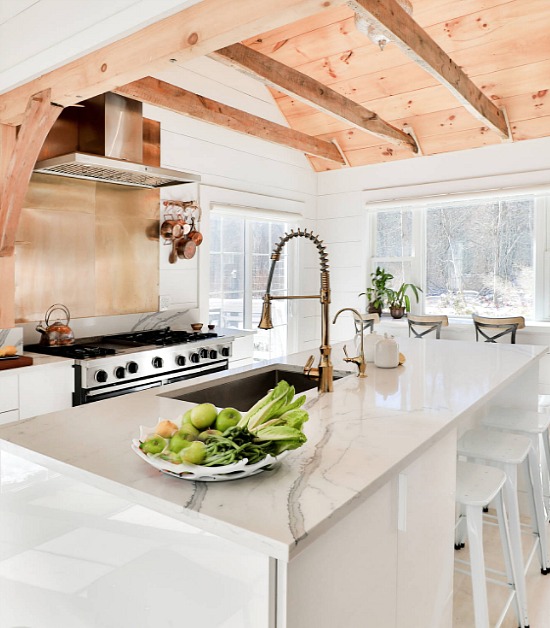
When it came down to countertop selections for our kitchen remodel I knew the direction I was going in, but how much of my choice to incorporate into the scheme was the question I struggled with.
Dave the Builder and I drove to Home Depot and soon the question was answered.
We selected copper half round rope metal molding wall tile trim to enhance the tile back splash.
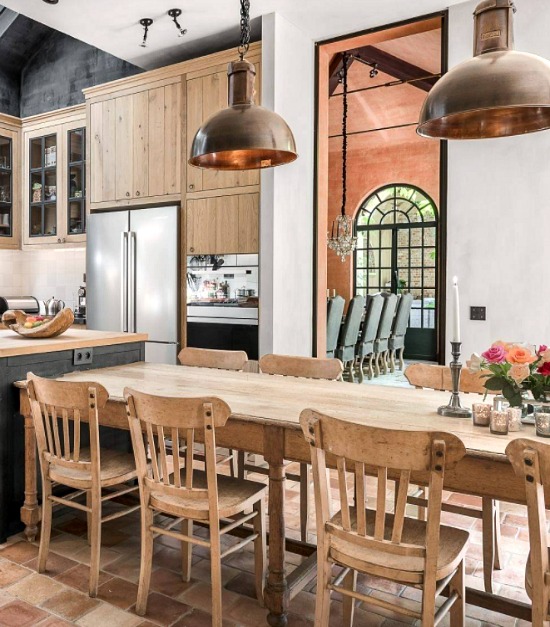
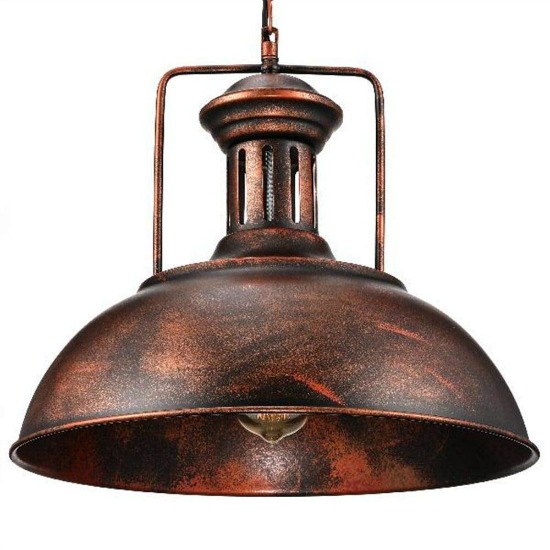
From the kitchen to the front exterior of the house, copper accessories make their presence known.
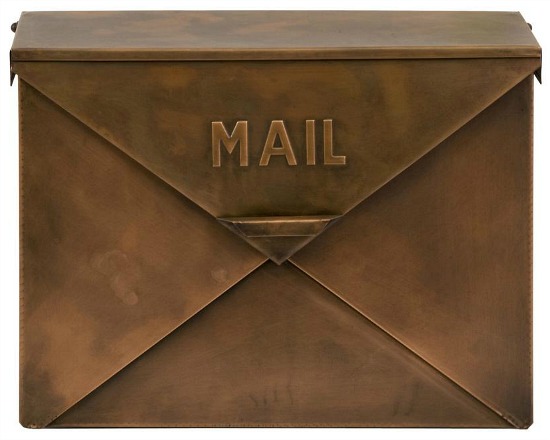
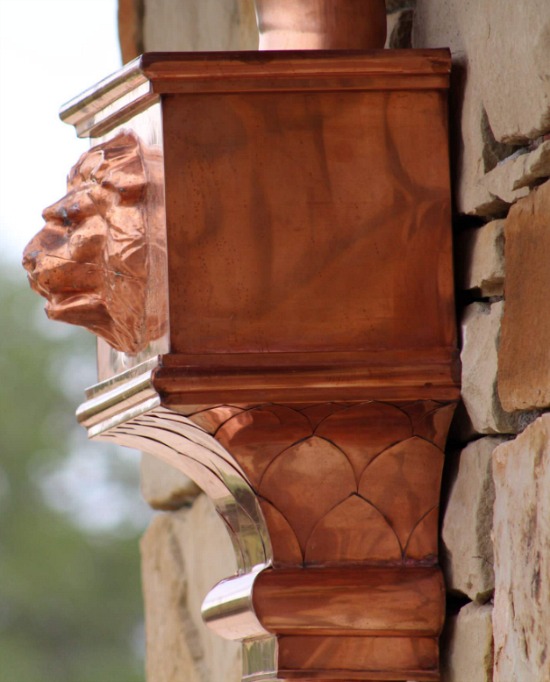
When we moved into our home I accessorized the exterior with copper and copper inspired treated items.
I chose treated items for their resistance to weather and time.
The copper mailbox, copper address plaque and copper weathervane look as new today as they did when purchased.
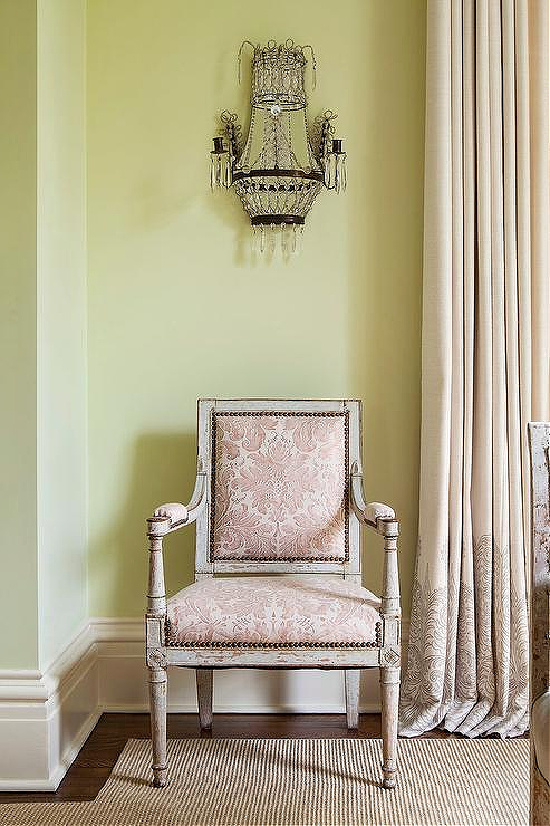
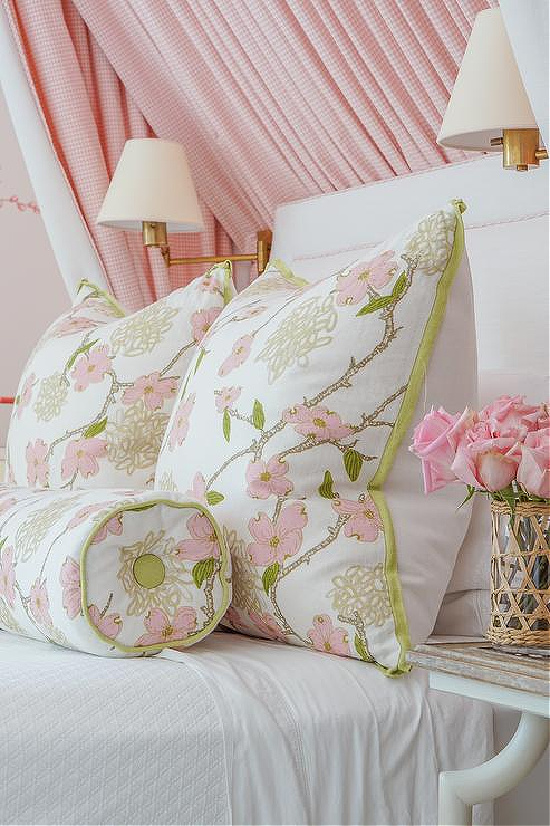
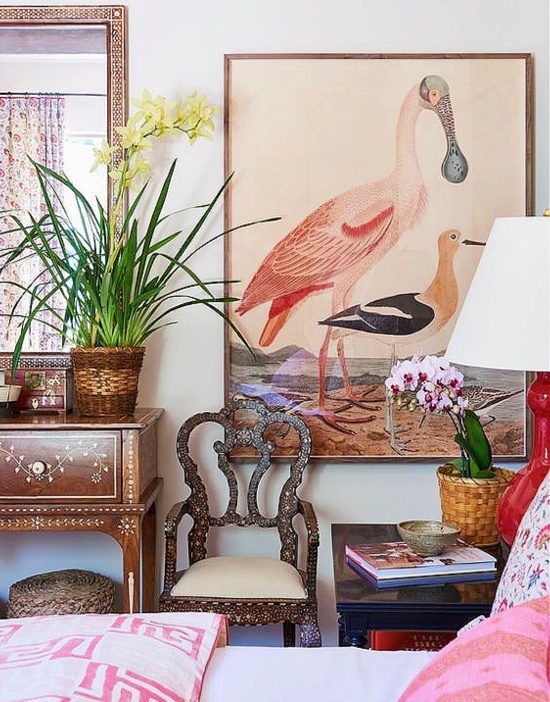
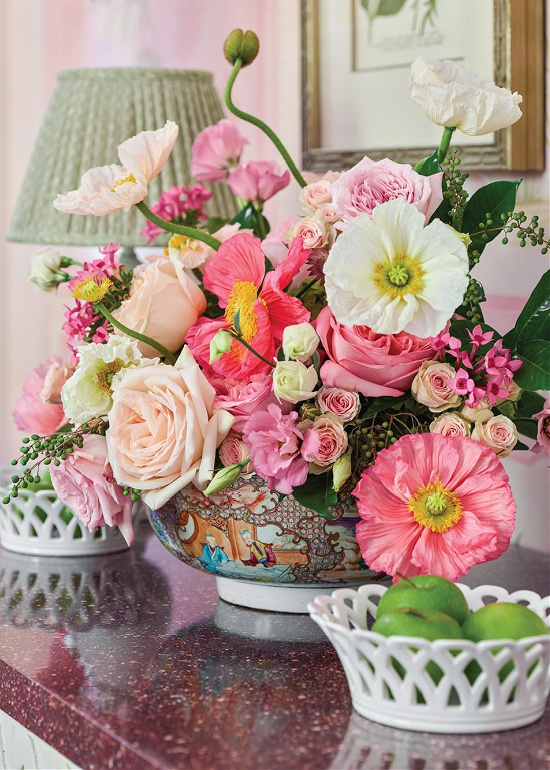
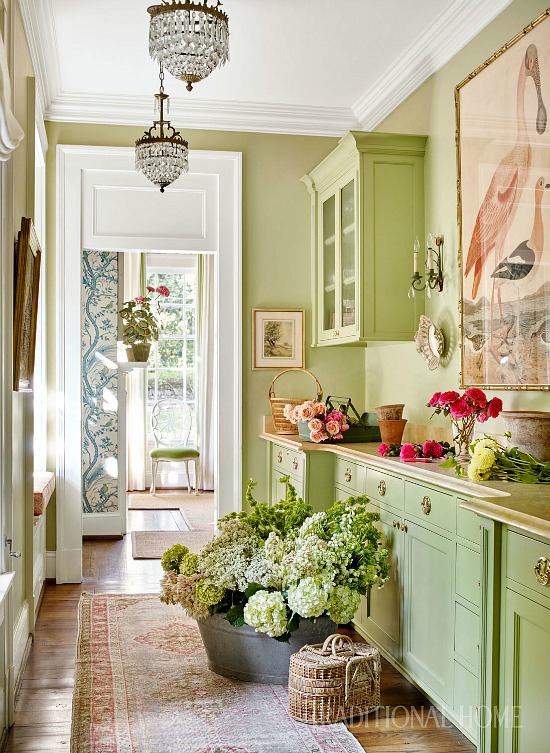
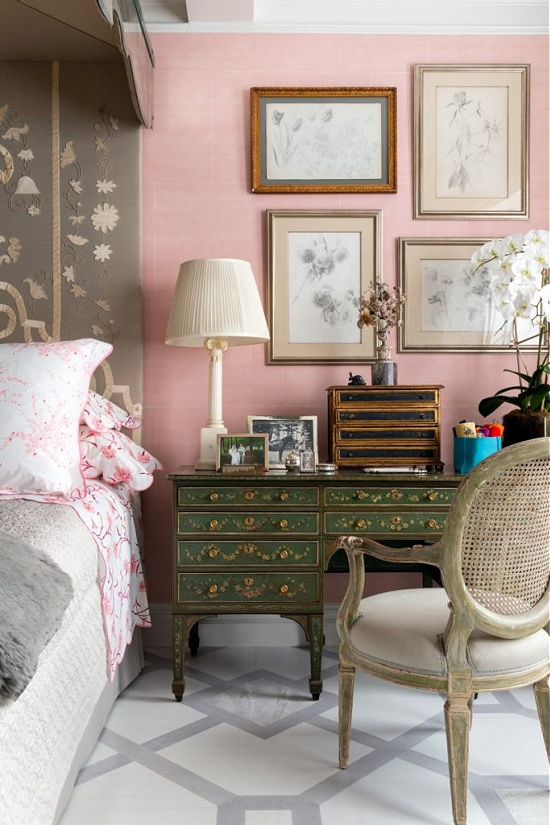
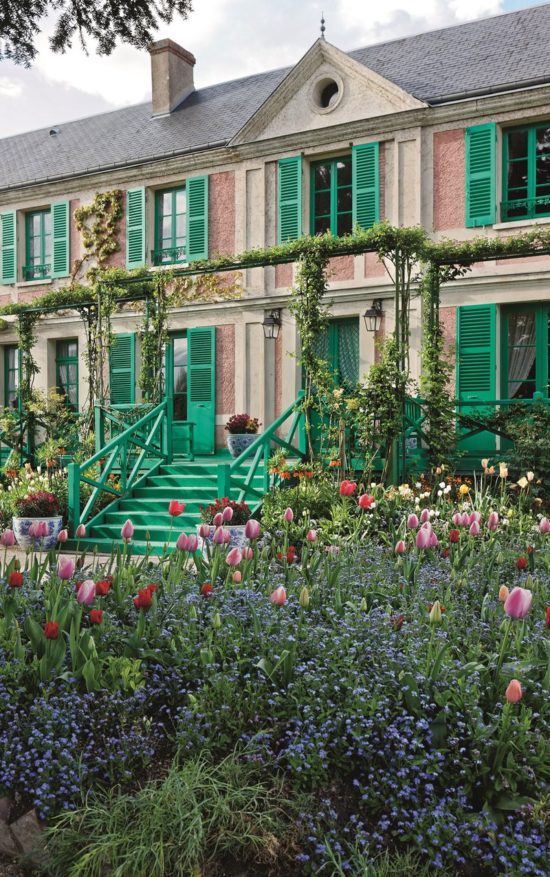
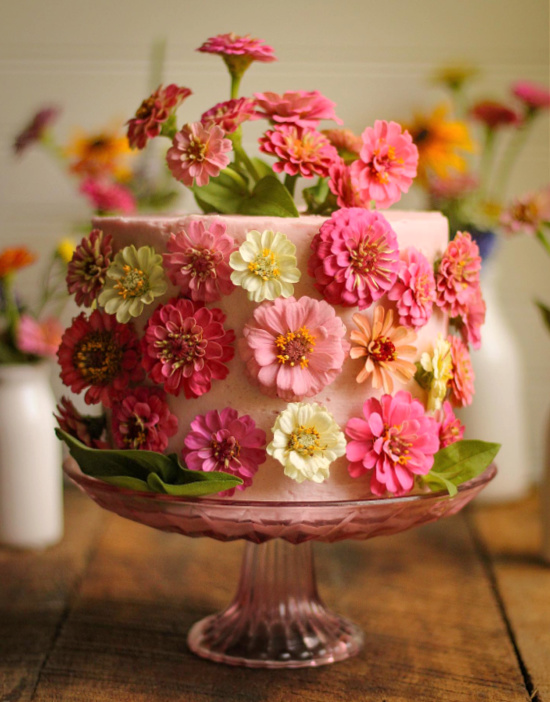
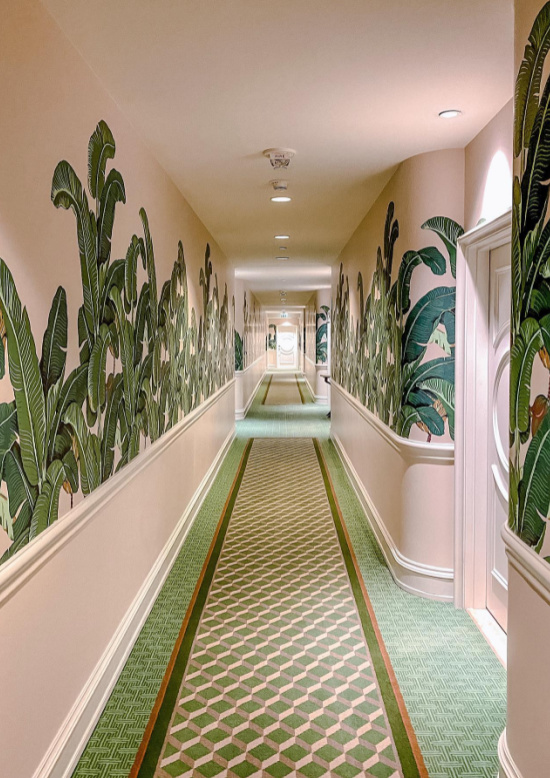
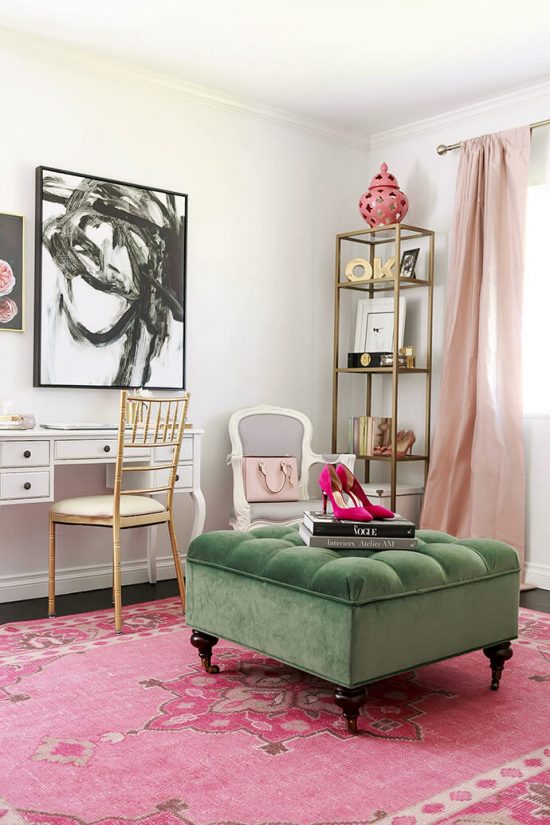
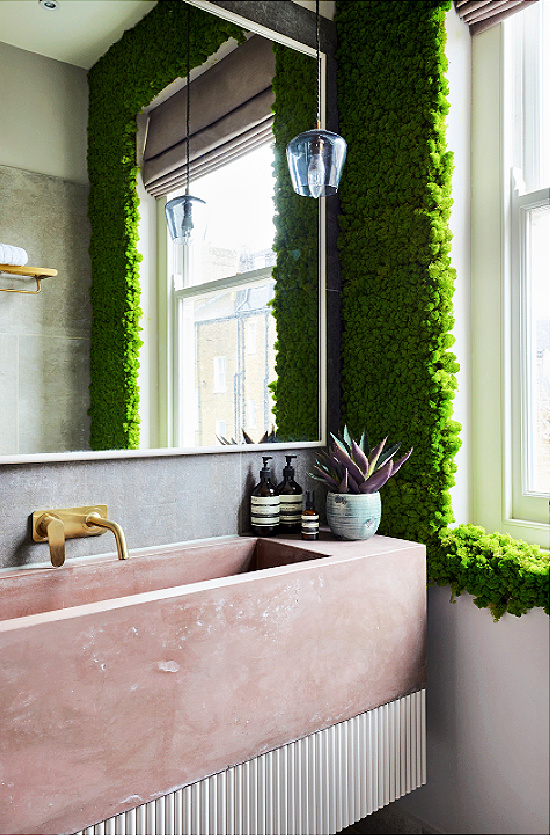
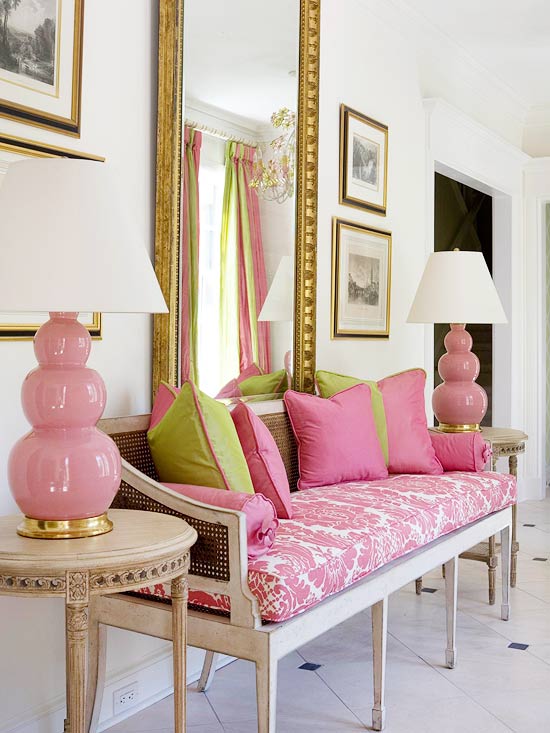
Pink and green is a color scheme bursting with seasonal depictions of blooms replete in nature’s shades of pink paired atop green stems and pastel pink skies shimmering off seas of ocean blue and seafoam green.
Where some will categorize this chic color combo as one that exudes an energetic subtleness, a color oxymoron, there’s a host of color enthusiasts who will vote team soft and serene.
Working off the theory opposites attract, and I truly believe in many cases they do, the color combination of pink and green play beautifully together.
We remember and honor the service of the many men and women of our military who gave their lives serving their country and their families. It is our honor to celebrate their service and to honor their memory.
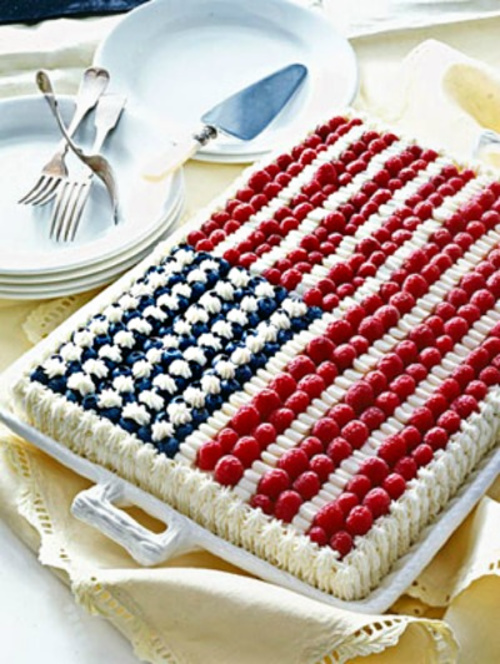
This Star Spangled Cake recipe is from Family Circle and Recipe.com.
One of my antique dealer associates bakes this cake each year and graciously shares it with us.
It is holiday appropriate, serves a large number(35 servings), and is a delicious dessert to kick off the summer season.
Recipe.com
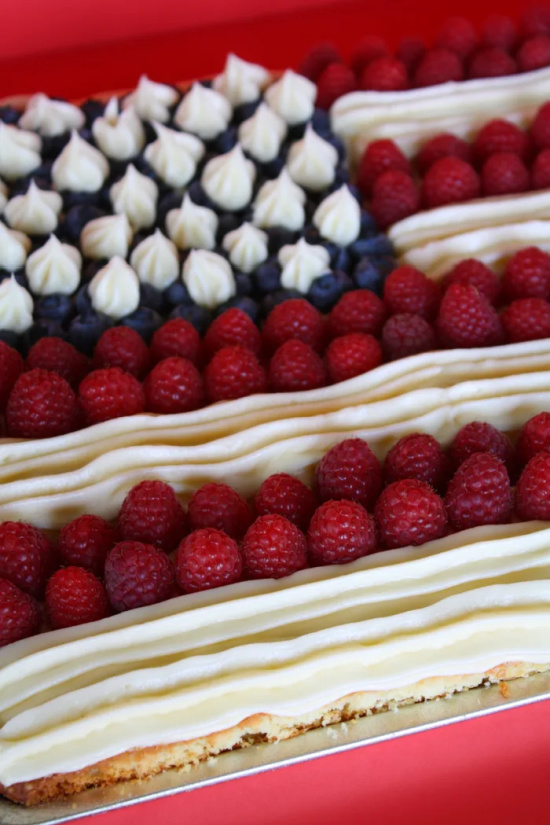
Star-Spangled Cake
Ingredients
3 cups sifted cake flour
4 teaspoons baking powder
½ teaspoon salt
5 eggs
2 cups sugar
Grated rind of 2 lemons
¼ cup lemon juice (2 lemons)
1 tablespoon vanilla
2 cups heavy cream
½ cup raspberry jam
Butter Cream Frosting
2 cups sugar
2/3 cup water
6 egg whites
¼ teaspoon cream of tartar
1/8 teaspoon salt
2 ½ cups (5 sticks) unsalted butter, at room temperature
1 tablespoon vanilla
2 cups fresh raspberries
3/4 cup fresh blueberries
Directions
Heat oven to 350 degrees F. Grease two 15-1/2 x 10-1/2 x 1-inch jelly-roll pans. Line bottoms of pans with waxed paper; grease and flour paper. Stir together flour, baking powder and salt in bowl. Beat eggs in large bowl with electric mixer until thick and lemon-colored.
Gradually beat in sugar, lemon rind, lemon juice and vanilla. Alternately stir in flour mixture and cream, beginning and ending with flour mixture. Divide mixture evenly into prepared pans; smooth tops.
Bake in 350 degree F oven for 20 minutes or until wooden pick inserted in centers comes out clean. Cool in pans on wire racks 10 minutes.
Place wire cooling rack over each cake. Carefully invert cakes and racks. Remove pans from cakes; then carefully remove waxed paper. Handle cakes very carefully since they are thin layers. Cool to room temperature.
Spread jam in thin layer over top of one cake. Place another layer on top; place entire cake on tray.
Meanwhile, prepare frosting:
Combine sugar and water in small heavy saucepan. Bring to boiling without stirring. Cover and boil for 2 minutes or until no sugar crystals remain.
Uncover pan; continue boiling until syrup reaches soft-ball stage (syrup will form a rapidly flattening ball when dribbled into cold water; syrup will register 240 degrees F on candy thermometer.
While sugar syrup is cooking, beat egg whites, cream of tartar and salt in medium-size bowl with mixer until stiff, but not dry, peaks form. At moment syrup reaches 240 degrees F or soft-ball stage, pour syrup into egg whites in fine, thin stream, beating constantly with mixer.
When all the syrup has been added, continue to beat the egg whites at high speed until cool, for about 5 minutes.
In separate small bowl, beat butter with mixer until fluffy. Beat butter into cooled egg white mixture, 1 tablespoon at a time, until frosting is thick and creamy. Beat in vanilla.
Use frosting immediately, or cover and store in cool place for 1 to 2 hours. (Do not refrigerate.)
If frosting is too soft and thin, stir briefly over bowl of ice water to stiffen.
Frost the top and sides of the cake, saving some frosting for decorating. Spoon the reserved frosting into a pastry bag fitted with a decorative tip.
Pipe a design on the sides of the cake. Pipe a fancy border around the top and bottom edges of the cake.
Makes 35 servings.
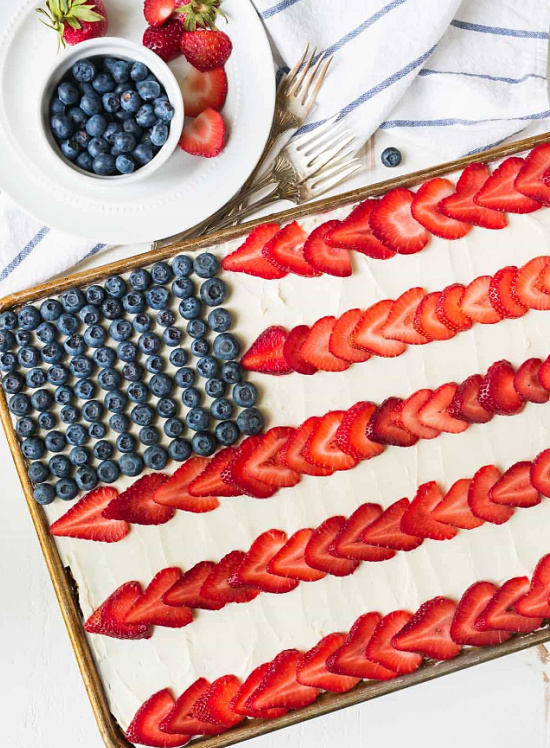
Flag Cake Memorial Day dessert recipe (4th of July-sweet summer sweet, too) from Well Plated by Erin is another wonderful option for the holiday dessert table.
Another Paula Deen recipe favorite is up this week. Paula Deen’s Smokey Apple Cinnamon Meatloaf is an accidental Places In The Home house favorite. A couple of years ago on an otherwise lazy Saturday morning with coffee in hand and the remote in the other, I stumbled upon the Food Network channel and “Paula’s Best Dishes”. This particular episode featuring her recipe for smokey apple cinnamon meatloaf really caught my attention.
At first glance this recipe didn’t sound too, no wait, it did sound too much. Culinary curiosity got the better of me, and off to the kitchen I went. That was the first of many times I have prepared this recipe. I don’t top the meatloaf with bacon or the additional Paula Deen Smokey Apple Cinnamon Sauce due to personal dietary and taste preferences. I shared this recipe with my next door neighbor who does include the bacon, and her husband thinks she, and this meatloaf, is the best thing since sliced bacon!
Paula Deen’s Smokey Apple Cinnamon Meatloaf
Ingredients
1 1/2 lb lean ground beef
½ lb ground pork
½ cup Vidalia onion, finely chopped
1 large egg
3/4 cup applesauce
1 cup Plain bread crumbs
1 cup Paula Deen Smokey Apple Cinnamon Sauce, divided
1 teaspoon salt
¼ teaspoon pepper
3 slices of uncooked bacon
additional Paula Deen Smokey Apple Cinnamon Sauce for garnish
Directions
Preheat oven to 350 degrees. Line a loaf or casserole pan with foil. In a large bowl, combine the ground beef, ground pork, onion, egg, applesauce, bread crumbs, 3 Tablespoons of Paula Deen Smokey Apple Cinnamon Sauce, salt and pepper. Mix well.
Form the meat loaf mixture into a loaf shape and press into the prepared pan.
Brush the top of the meat loaf with half of the remaining Smokey Apple Cinnamon Sauce and top with 3 slices of bacon. Back for 1 ½ to 2 hours.
In the last 10 minutes of baking, brush the remaining Smokey Apple Cinnamon Sauce over the top of the bacon and return to the oven.
Homemade Rose water is fast becoming one of my favorite DIY beauty routine indulgences.
Noticing I was running low on my favorite store brand, and with too long of a ship from store to me turnaround time, I decided to glance at the ingredients and perhaps give it a go with formulating my own homemade rose water concoction.
My skin is sensitive to everything, so it was important for me to try the toner before I posted the recipe.
On the first round of production I came up with a homemade rose water toner that I absolutely love!
This toner is non-drying and non-irritating to my sensitive skin – a very skin friendly toner and freshener.
Homemade Rose Water Toner For Sensitive Dry Skin
Ingredients
1 ½ cups rosewater(see recipe below)
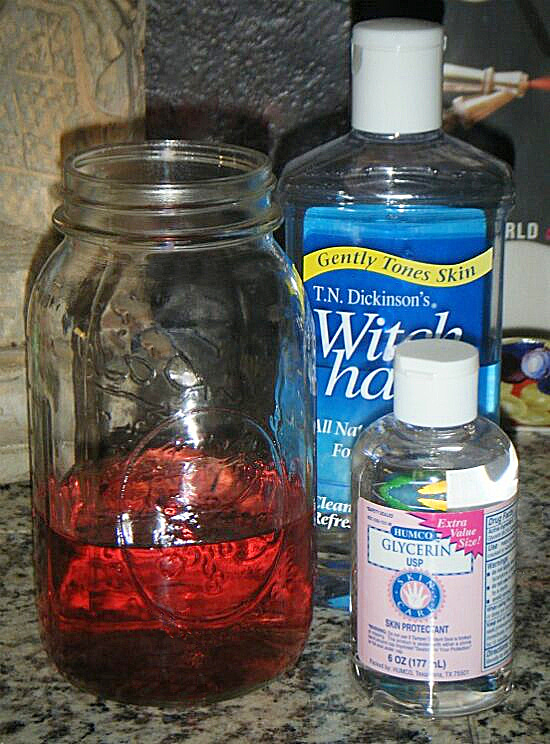
¼ cup witch hazel
10 drops glycerin (add more for normal skin and less for oilier skin types)
Directions
Combine homemade rosewater, witch hazel and glycerin together in sterile container. Shake well.
Keep rosewater toner refrigerated in sealed, sterilized jar.
Refrigerated rosewater toner will keep for up to ten to fourteen days.
Moisten a cotton ball with the rosewater toner, gently applying to cleansed skin and before applying moisturizer.
Toners aid oily skin in the absorption of excess oil, and in all skin types removes residue left behind from cleanser while nourishing your complexion.
Homemade Rose Water
Ingredients
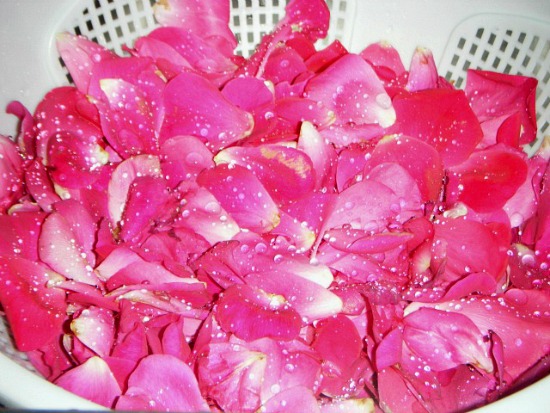
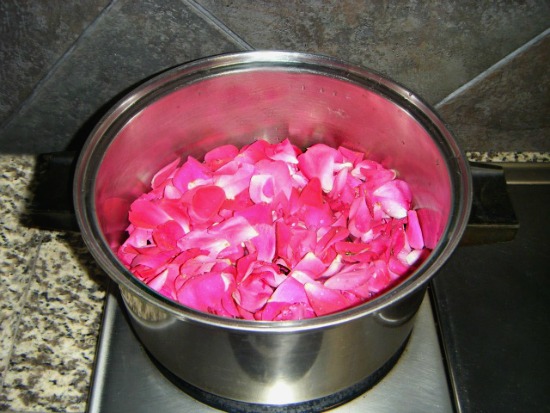
1 cup rose petals
2 cups distilled water
Directions
Rose petals must be freshly picked and be completely free of pesticides or chemicals. Use only the petals, not the stems or leaves. Place petals in a colander, gently and quickly washing petals to remove impurities and/or insects.
Place gently washed rose petals in a heavy pot with distilled water. Simmer on low heat for one hour.
Remove pot from burner and allow water to completely cool.
Using a fine strainer, strain rosewater into a sterile container.
My late night SS (sourcing and surfing) sessions go well with an excellent cup of coffee and great music.
Feeding my love of the music of The Eagles, and realizing just how good their album Hotel California really is set the tone and the mood for an extended evening of discovering interior design and interior decorating similarities.
This was no wasted time.
Wasted Time.
The Eagles.
Get it?
Editing and refreshing design options is necessary to stay current with accessory and accent selections.
Color and accessory choices may shift, but the foundation of our tastes tend to stay solid.
Not all design and decorating moodboards are created equal, nor immediately put into project action.
I distinctly remember an episode of a since canceled reality television showthat featured the architecture and interior design process.
When the couple, who were deep into the interior design process, met with interior designers, architects and contractors, they produced a large look book full of images, articles and clippings detailing the furnishings, accents and accessories of preference.
This was way before the days of Pinterest, folks.
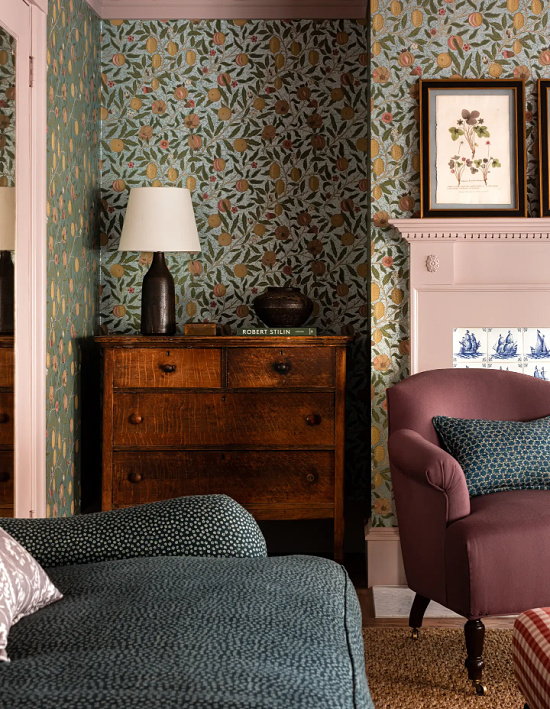
Working on the moodboard for our master bedroom remodel afforded me the opportunity to discover the gorgeous interior design work of Linda McDougald from Linda McDougald Design and Postcards from Paris.
The private South Carolina residence at The Cliffs at Keowee Springs is breathtakingly beautiful, as is the magnificent and impeccable interior design work of Linda McDougald.
Photography by Rachael Boling Photography.
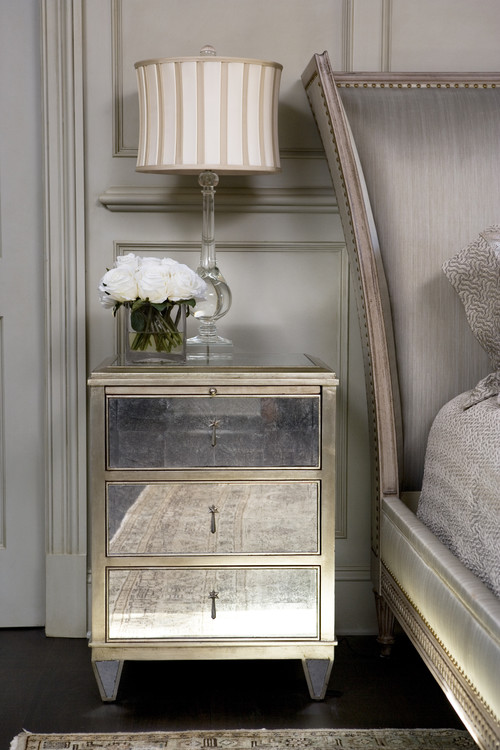
The master bedroom images immediately captured my attention.
I noted the similarities in color, furnishings and accessory choices between her design and my selections and choices in my master bedroom moodboard.
The upholstered headboard with nailheads and the mirrored nightstands especially reflect my tastes.
Architectural elements and spot antique pieces complement the contemporary spacing.
The make no mistake strength of a soft color palette is this; it envelopes the space in a subtle yet strong whisper, that when paired with optimum furnishings, accessories, and accents, becomes a decorative roar.
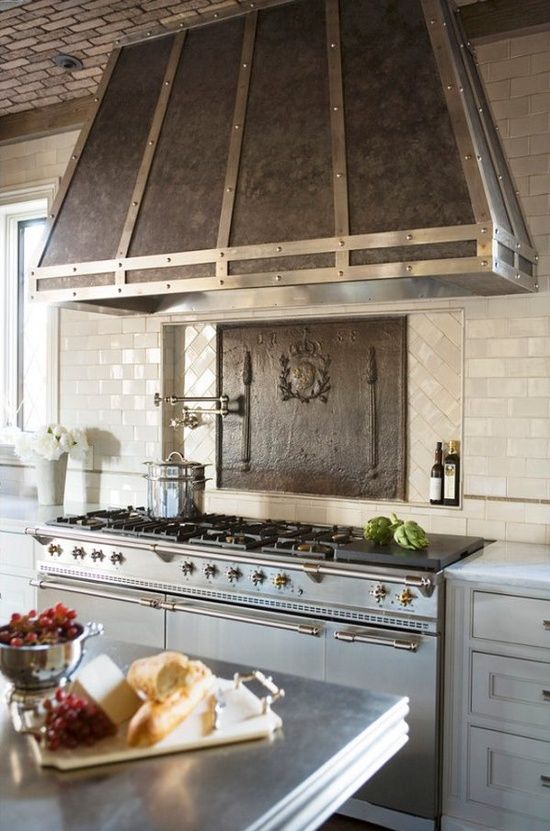
From the exposed brick ceiling, pewter and Carrara marble countertops and dual toned stainless steel French Lacanche range to the custom designed cabinetry crafted by Jose’ Florez, no culinary or decorative detail has been overlooked or left undone.
Features such as the pot filler and antique iron fire back lend charm, unique form and elegance to the function at hand.
I like a good surprise, but I love a great surprise!