Springtime weather is here, and with that comes spring cleaning ideas.

Dirt belongs in planters and gardens- not in the tub, sink, or on countertops.
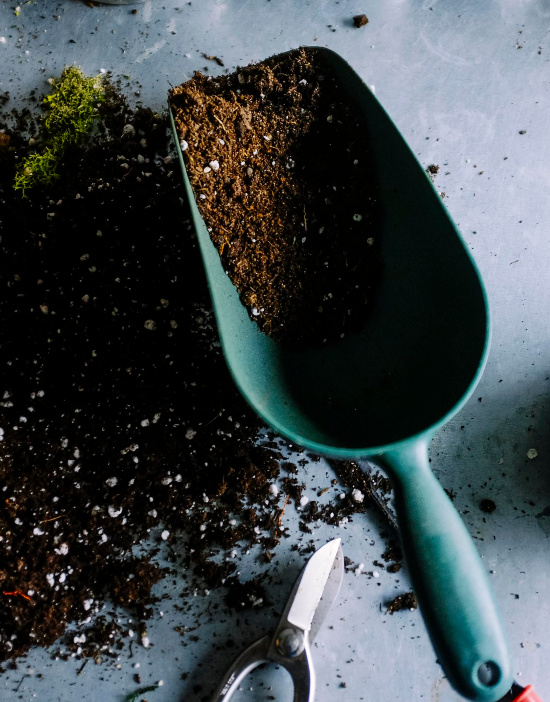
My spring cleaning philosophy is simple- into the best-styled spaces a little dirt and clutter will fall.
Life lived within our homes can get messy and cluttered.
Cut through the clutter and show off your mad organizational skills with decorative drawer organizers, storage boxes, and containers.
Moving on to the dirt busting side of things, let’s put spring cleaning into two categories (like a big pill- it’s easier to swallow).
Scrub a dub dub kind of spring cleaning gets the job done with simple solutions.
Let’s freshen up and color up spring cleaning gets the job done by updating and coordinating home decor to the corresponding season.
There’s a gazillion helpful hints, ideas and tips out there. Here’s a couple of dollar store solutions I spring clean by.
Shower, Tub & Tile
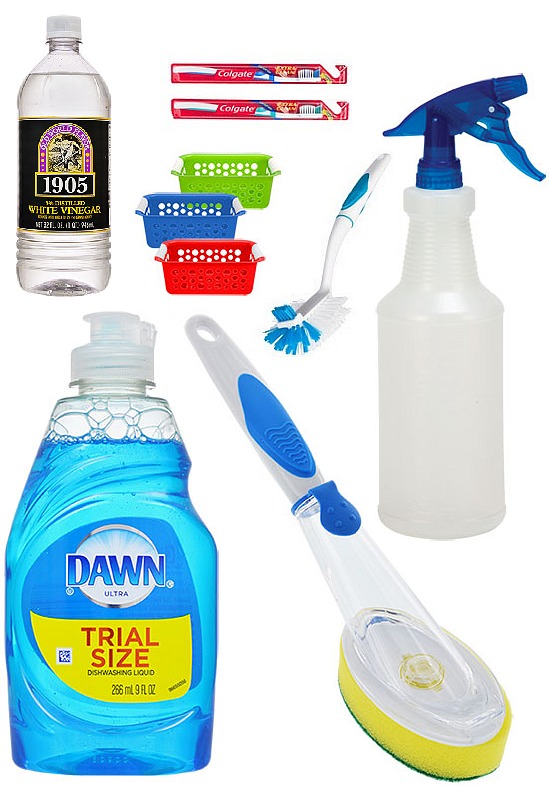
On your next dollar store run pick up these “clean” cleaning essentials: a spray bottle, soft scrub brush, pot and pan brush, soap-dispensing scrub sponge, a couple of toothbrushes, wire basket, shower hook, Dawn dishwashing liquid and vinegar.
Clip the shower hook on the shower side of the rod and hang the wire basket from it.
The wire basket will now be known as supply house central.
It will hold the cleaning supplies but it won’t hold water.
Fill the soap-dispensing scrub sponge with equal parts Dawn dishwashing soap and vinegar.
The Dawn cuts through oily residues, the vinegar deodorizes, and you can simply wipe down the walls each time you shower.
Mix up another batch and pour in the spray bottle for cleaning the fixtures, shower head, bathtub and grout lines.
Use the pot and pan brush as a tub brush, the soft scrub brush for fixtures and the toothbrushes for the shower head and grout lines.
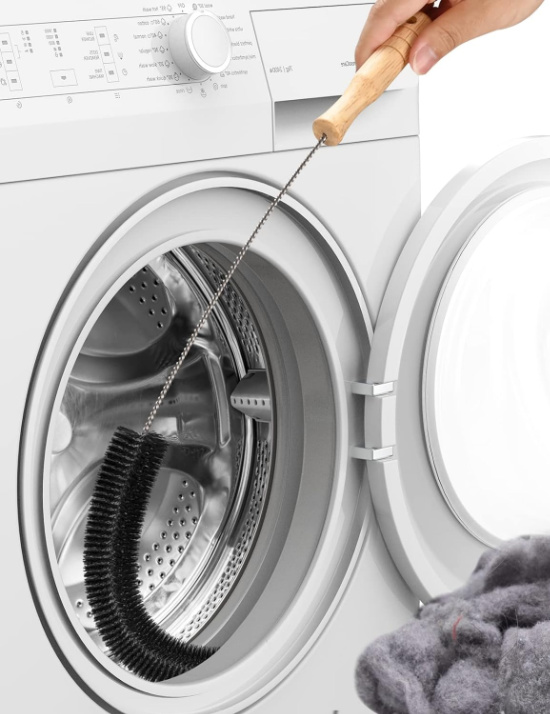
Dryer Vents Need Cleaning Love, Too!
This spring cleaning reminder applies to spring, summer, fall and winter.
Clean the dryer vent after each drying cycle.
Why?
Because lint builds up in the dryer vent and reduces the air flow to the dryer.
Signs of lint build-up issues include:
Clothes not dry after normal run time (one cycle).
Clothes are excessively hot upon removal from dryer.
Noticing heat and humidity in the laundry room when dryer is running. Dryer vent could be disconnected or improperly performing.
Debris collecting around the dryer vent opening on the outside of your home. Make sure to include a check of your outside dryer vent.
Removing lint build-up after each cycle helps to reduce the risk of fire hazard.
Take it spring cleaning further by vacuuming around and behind the dryer to further remove lint that has built up during the winter months.
You will also notice how much faster the clothes will dry when the dryer remains lint free.
It’s better to err on the side of caution when it comes to any appliance.
Also, never leave home with the dryer running or while sleeping.
Wooden Surfaces and Tools
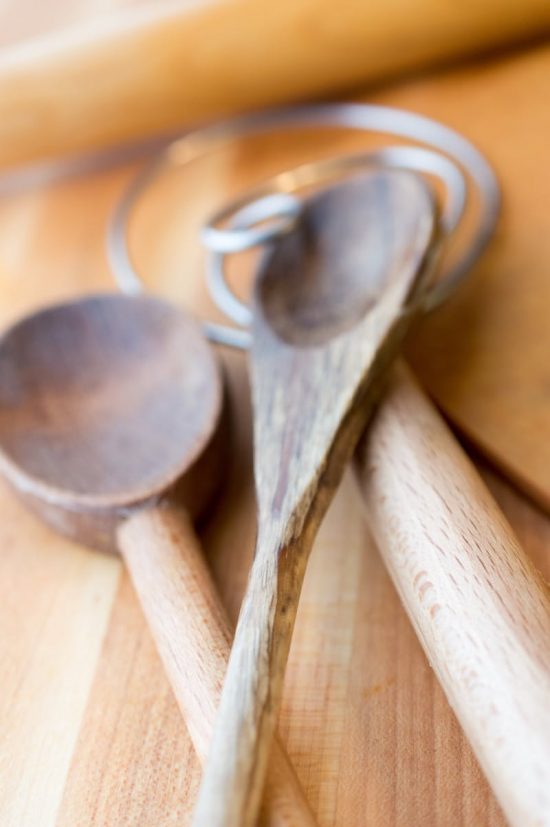
Those over at The Kitchn who know all things kitchen bring us this recipe for spoon butter or cutting board cream out of beeswax and sunflower oil.
Spoon butter or cutting board cream protects and moisturizers the wooden kitchen tools and surfaces we love to use in the kitchen.
Butcher blocks and cutting boards as well as wooden spoons and utensils benefit from a spa treatment of the kitchen beneficial kind.
How To Make Spoon Butter
Makes about 3/4 of a pint
Ingredients
1 quart water
2 ounces natural beeswax
8 ounces cold-pressed sunflower oil (or other neutral vegetable oil)
What you’ll need:
2-quart saucepan
Pint mason jar
Pair of wooden or bamboo chopsticks
Directions
Combine the beeswax and oil: Place the bars of beeswax in the mason jar, and pour in the sunflower oil. Heat a quart of water in a small (2-quart) saucepan over medium heat. Submerge the mason jar into the water. When the water begins to simmer, turn the heat down to low. Gently lower the mason jar into the water, taking care not to splash any water into the jar.
After ten minutes, turn off the heat but leave the pot on the stove. Let the jar sit in the water for ten more minutes. As the wax melts, use the chopsticks to break up the large pieces, helping them to melt more quickly.
Remove the jar from the water. All of the wax should have melted into the oil, combining into a golden, translucent liquid. If there are still pieces of solid wax, give the mixture a good stir with the chopsticks until thoroughly melted. Let the jar sit for 20 minutes. The liquid will have begun to cloud over a bit. Give it a stir, let sit for another 20 minutes, then stir a final time to ensure an evenly mixed, creamy spoon butter.
Leave to cool to room temperature, then cover and store for up to 6 months.
*****
In place of sunflower seed oil, you may use soybean, safflower, flaxseed, or another neutral vegetable oil.
The Kitchn
Cast Away Rust In Your Cast Iron Skillet
Apartment Therapy
Got rust?
Let’s solve that problem for you.
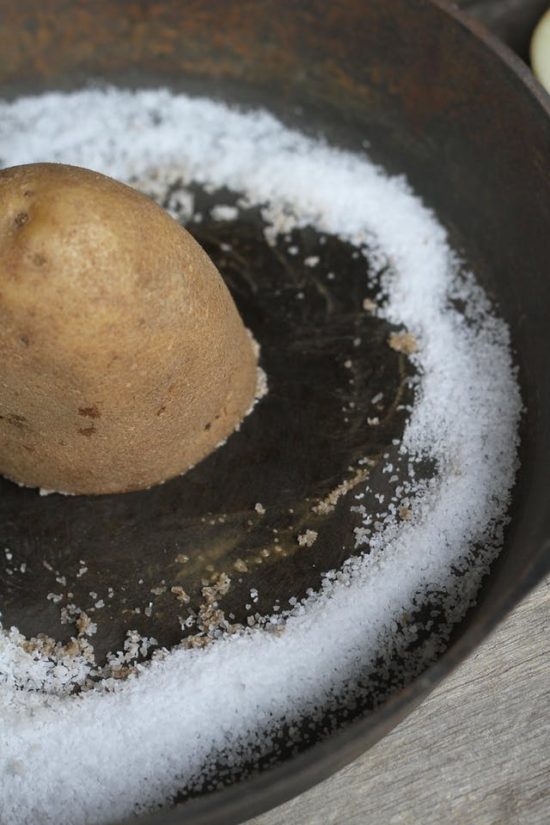
Cover the bottom of your cast iron skillet with a semi-thin layer of sea salt. Cut a potato in the center, placing cut side down on top of sea salt to coat. Scrub the bottom of the skillet in a circular motion pan. Follow through with scrubbing the handle, sides, and exterior bottom of the skillet. Depending on amount of rust, you may need to repeat process by starting over with clean salt and new potato.
When skillet is clean, rinse it with water and pat dry. Place skillet on stove burner set to low heat for one minute.
This step dries out any residual moisture.
Now Let’s Season
Add a thin layer of vegetable oil or Crisco to the skillet to lubricate.
Using a soft cloth or paper towel, rub entire skillet and handle to coat.
Line the lower oven rack with aluminum foil.
Preheat oven to 350°F.
Place skillet upside down on top oven rack and “bake” for an hour.
Turn off the oven and leave the pan inside to cool. Allow skillet to completely cool down.
What Does and Does Not Belong In The Dishwasher
The wonderful What Does and Does Not Belong in the Dishwasher detectives at POPSUGAR break it down for us.
Click on the image to get the dishwasher dos and don’ts.

Spring Cleaning Sachet, Sashay!
Two tips in this department.
Place scented dryer sheets in drawers, stored luggage and the linen closet for an effective and economical sachet.
While I’m on the subject on fresh scents, here’s a bonus tip for a vacuum cleaner bag sachet, sort of an around the house aromatherapy.
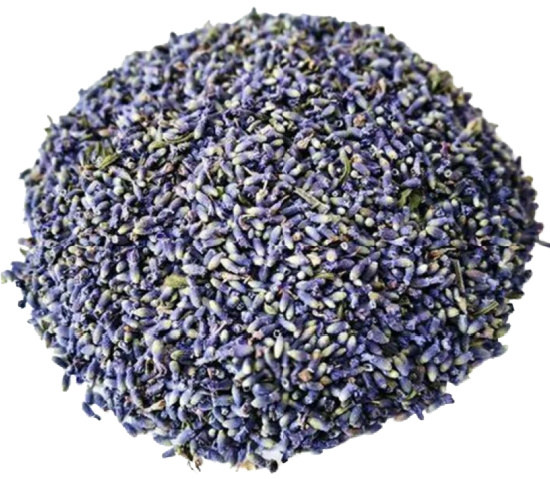
Add a generous scoop of dried lavender to the vacuum cleaner bag for a touch of spring in the air.
Bathtub Grapefruit Salt Scrub
Overtime a bathtub eventually becomes prone to rust lines and rings.
Iron in the water oxidizes and collects on the surface of bathtubs and sinks to create an unsightly orange-red stain.
Household cleansers containing bleach chemically react with the iron in the water which results in more rust.
A natural solution is found in the cleaning combo of one grapefruit and ¼ cup coarse Kosher salt.
Halve the grapefruit and give the top a generous shake of Kosher salt.
 Apartment Therapy
Wet the bathtub and spread the remaining salt around the bottom of the tub.
Using the grapefruit in scouring pad fashion, scrub the shower and tub.
Squeeze the juice from the grapefruit on bathtub fixtures for extra cleaning power.
Reapply salt to the grapefruit halves “scrubber” from the salt previously distributed around tub surface.
Rinse well with clean water.
Storage Solutions With The All Important Decorative Style & Look We Love
We’ve come to the let’s freshen up and color up spring cleaning portion of this blog post.
I strongly recommend cleaning out the winter blues and ushering in crisp and clean neutrals and pastels.
Welcome mats, decorative storage baskets, linens, throw pillows- easy items on the eye, decor and wallet.
These spring cleaning and organizing items in my shopping cart list will fit perfectly with the spring clean fling ideas I have in mind.

I think I’ll put out the welcome mat, spread some color love around the house and enjoy spring’s warm and sunny much needed and anticipated arrival.
Oh yes, and clean.


