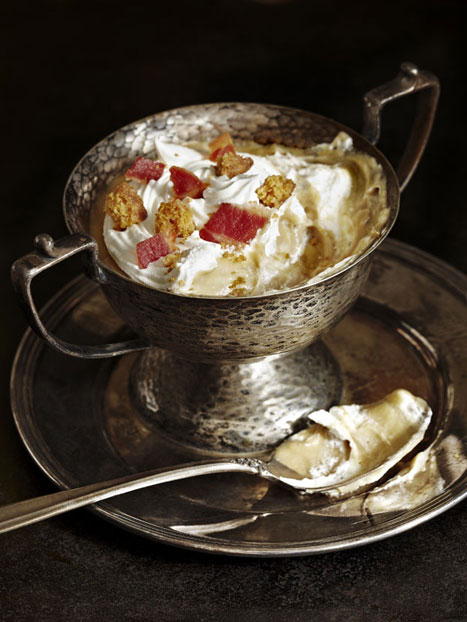
Easter decor, dishes, and desserts hops to mind at this time of year.
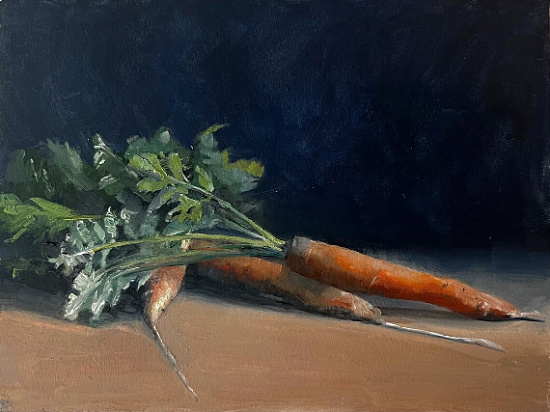
Carrot Art Giclee Still Life Print
To look upon beautiful Easter decor as a work of art is no over eggaggeration of the term. Selecting items for show and tell comes with thought.
Sure, a rabbit here and a bunny there is called for, but mostly my choices play to pastels, themes and dishes appropriate for the entire spring into summer season.
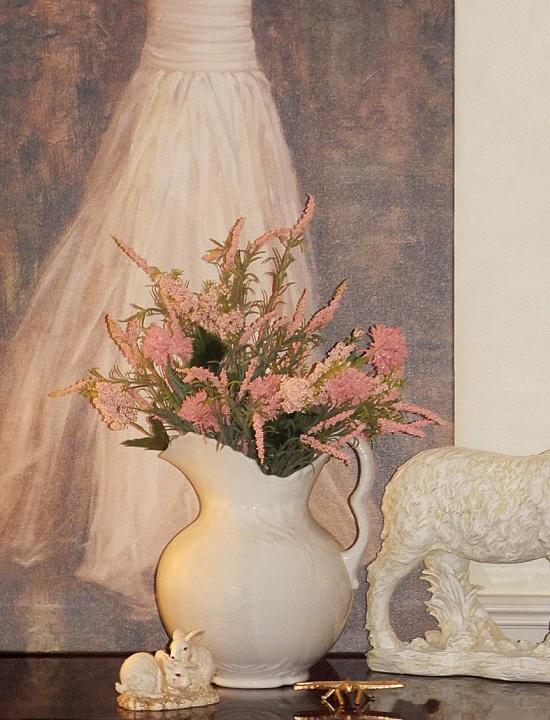
Faux picks and bushes in ever lovely shades of pink were recently purchased with the Easter decor centerpiece in mind.
On the Saturday afternoon before Easter Sunday I’ll stroll around the yard gathering assorted fresh greenery stems to fill in the spring bouquet.
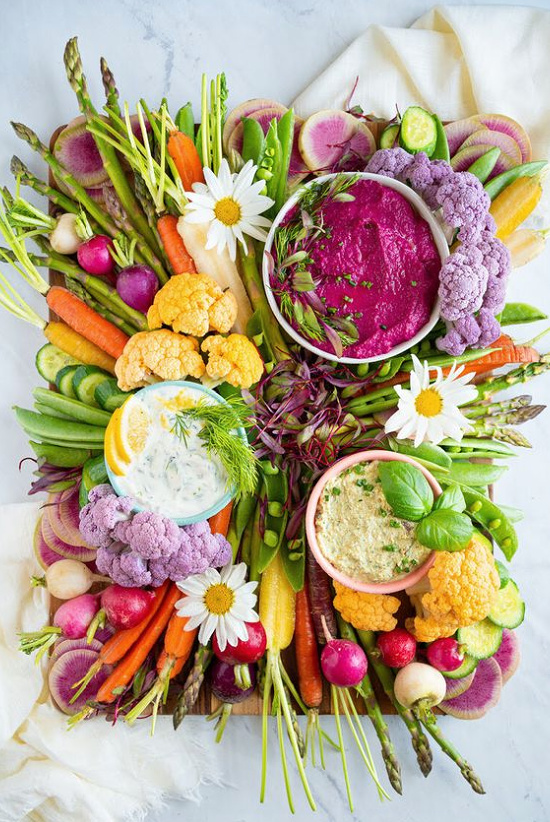
Easter company will love this fresh with full on color and nibbles spring vegetable board from My Moonstone Kitchen.
Click on the link below the photo for recipe information.

Country Living – Photography by John Kernick
Roast Pork Loin with Herb Stuffing
Ingredients
1⁄3 cup kosher salt
1⁄3 cup sugar
2 teaspoon juniper berries
2 teaspoon cardamom pods
2 teaspoon whole peppercorns
1 teaspoon allspice berries
2 bay leaves, lightly crushed
1 (3 ¾ to 4 pound) pork loin roast, trimmed, butterflied, and tied
3 tbsp. butter
3 stalks celery, finely diced
1 small onion, finely diced
3 garlic cloves, finely chopped
2 cups panko breadcrumbs
1 cup chopped fresh parsley
1 tbsp. chopped fresh sage
2 teaspoon fresh thyme leaves
¼ cup chicken stock
Directions
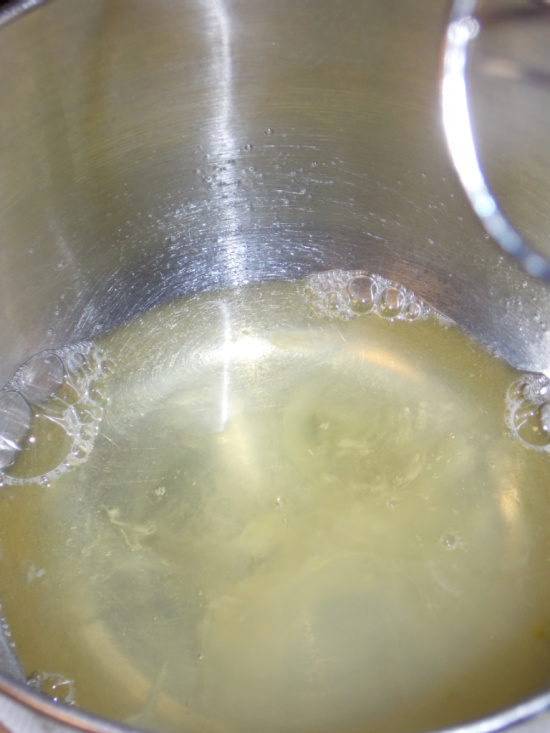
In a medium pot, bring 2 cups water, salt, sugar, juniper, cardamom, peppercorns, allspice, and bay leaves to a boil. Stir to dissolve sugar and salt. Remove from heat and stir in 4 cups cold water. Set brining liquid aside and let cool to room temperature, 20 to 30 minutes.
Place pork loin in a 2-gallon resealable plastic bag and carefully pour in cooled brining liquid. Seal and refrigerate, 8 to 12 hours.
Meanwhile, in a large skillet over medium heat, melt butter until sizzling. Add celery, onion, and garlic and cook, stirring occasionally, about 5 minutes. Add breadcrumbs, parsley, sage, and thyme, stirring to combine, and cook 1 minute more. Add chicken stock and toss until breadcrumbs have absorbed all of the liquid.
Remove stuffing from heat and let cool to room temperature, 30 minutes. (Stuffing can be made up to 1 day ahead and refrigerated. Bring to room temperature before using.)
Preheat oven to 500°F. Remove pork loin from bag and discard brine; pat meat dry with a paper towel. On a work surface, untie pork loin so that it lies flat, fat side down. Spread stuffing mixture atop meat in an even layer. Starting from one of the long sides, roll the pork loin into a tight spiral. Tie at 1 ½-inch intervals with 12-inch lengths of kitchen twine.
In a roasting pan fitted with a rack, place pork loin fat side up. Roast 15 minutes, then reduce oven temperature to 250°F. Continue to cook for about 1 hour and 35 minutes, until an instant-read thermometer inserted into the pork loin reaches 145°F.
Transfer pork loin to a wire rack to rest for 15 minutes before serving.
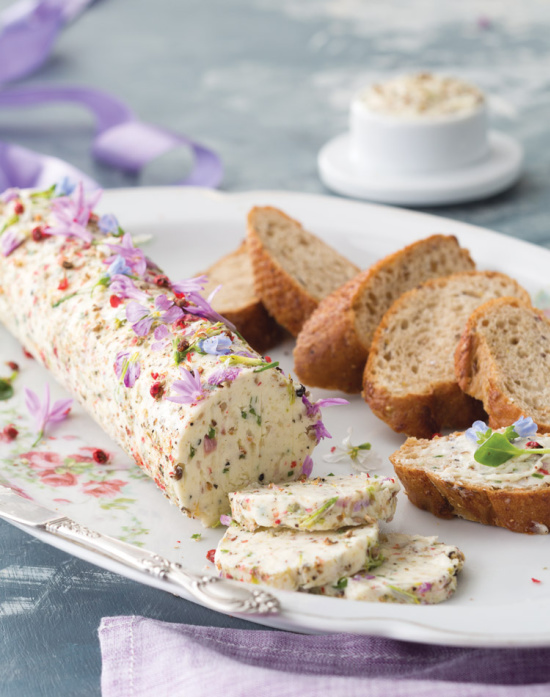
Edible-Flower Compound Butter
Ingredients
2 teaspoons green peppercorns
2 teaspoons white peppercorns
2 teaspoons black peppercorns
1 teaspoon pink peppercorns
1 pound butter, softened
2 tablespoons finely chopped fresh chives
1 tablespoon minced shallot
2 teaspoons minced garlic
2 teaspoons finely chopped fresh oregano
Radish flowers
Society garlic flowers
Oyster leaf flowers
Directions
In a coffee grinder or using a mortar and pestle, grind green, white, black, and pink peppercorns until crushed.
Using a medium bowl, beat butter with a mixer at medium-high speed until smooth. Add peppercorns, chives, shallot, garlic, and oregano. Beat at medium speed until combined.
Transfer from mixer to parchment paper. Form butter into a log. Press radish flowers, garlic flowers, and oyster leaf flowers onto log. Roll in parchment, and twist at both ends. Refrigerate for at least 2 hours.
Store in refrigerator for up to 3 days.
Knock out roses coming into spring view serve vase and creations.

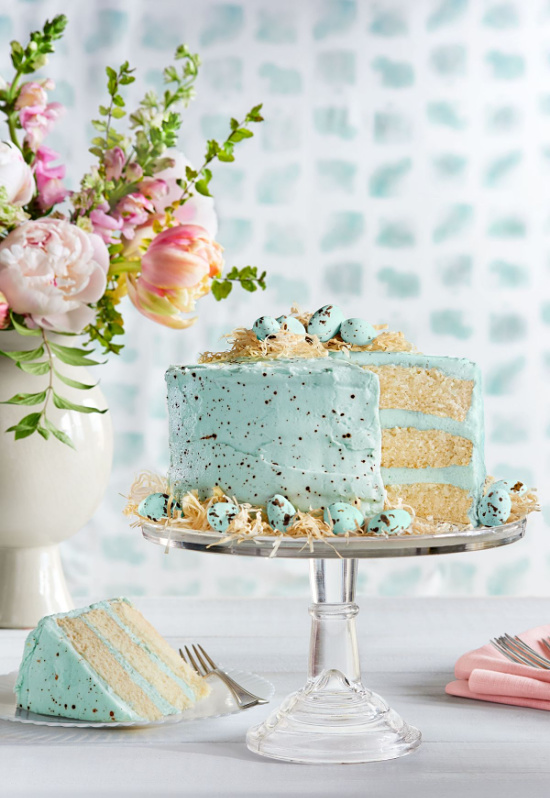
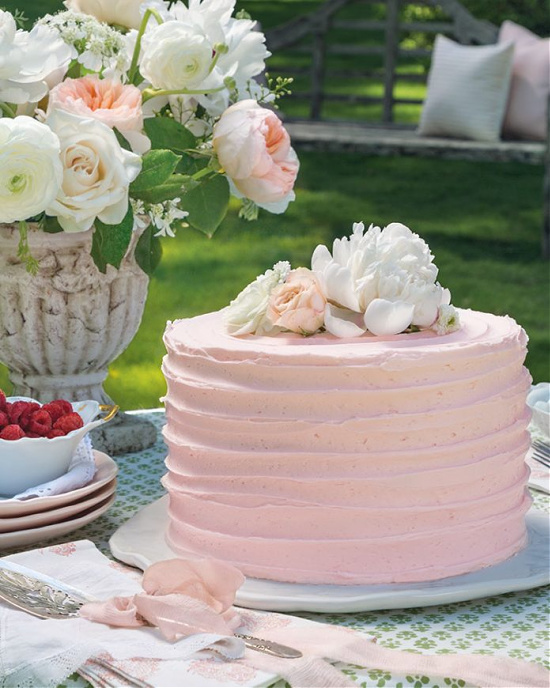
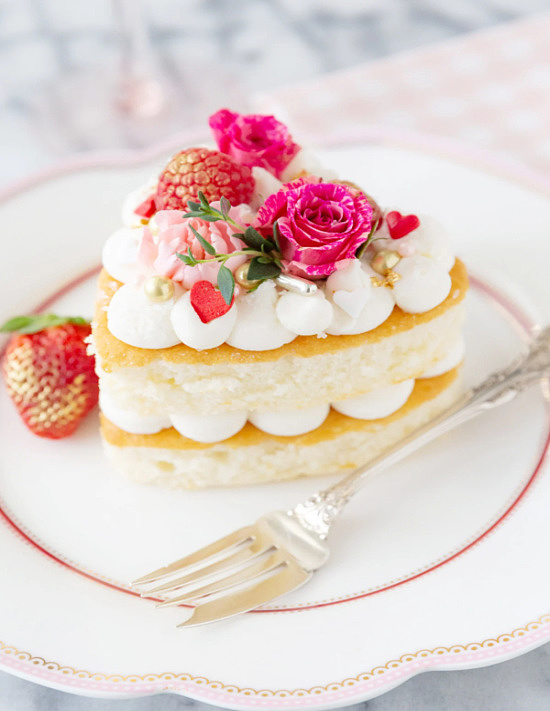
Be it from the supermarket bakery or cake mix box, decorating the top of a spring or Easter dessert cake with flowers or candies is an easy way to take desserts to visually pleasing heights.

File this for Mother’s Day brunch ideas.
In the style of vintage is my go-to choice of serveware, and this house favorite cake stand in Jadeite fits beautifully with your Easter decor and spring motif.
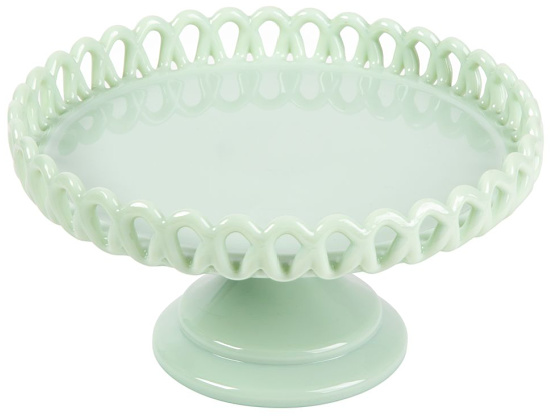
Jadeite Footed Loop Design Cake Stand
Buttercream frosting tinted to a soft yellow topped with edible flowers delivers a simply elegant result.
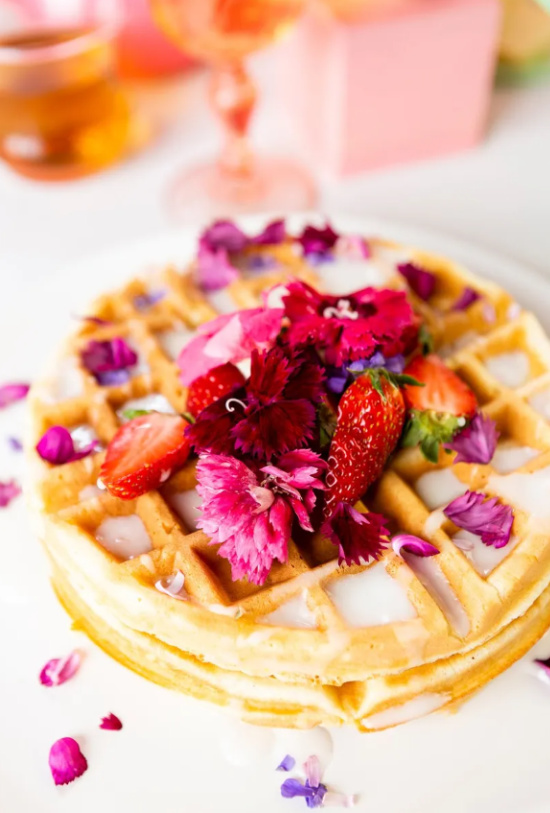
Pansies offer loads of color, plant and prosper rather easily, and make a fantastic visual and flavorful splash when added to salads and spring desserts.
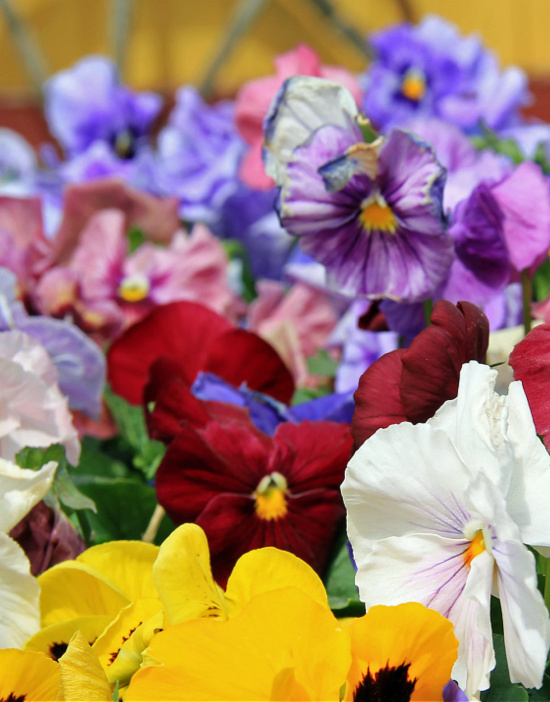
When decorating dishes and desserts and garnishing beverages with edible flowers you’ll want to pick the flowers early in the morning.
Gently rinse off your gathered flowers with cool water allowing to dry on a paper towel. Add garnish immediately before serving.
If using flowers at a later time you can place them in the refrigerator where they will keep for 2-3 days.
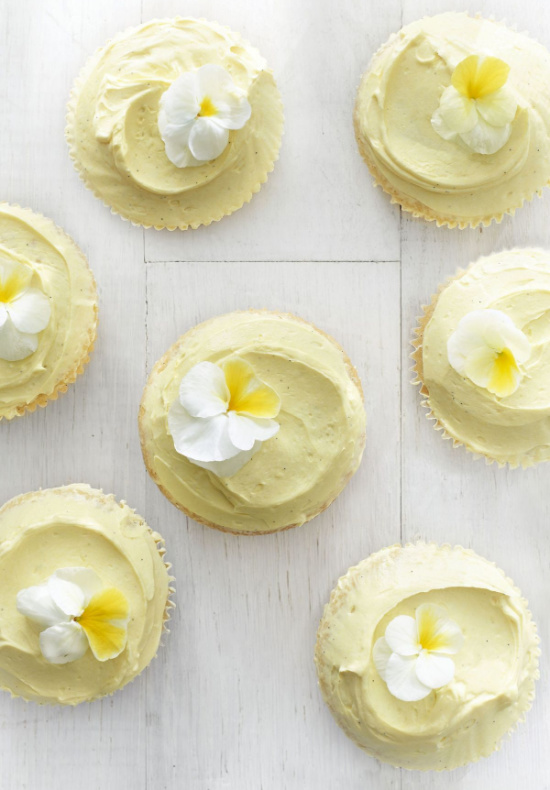
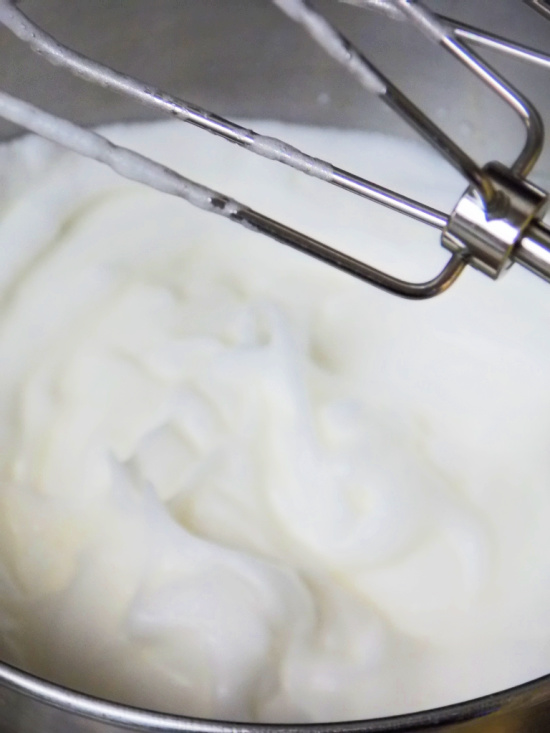
Buttermilk Cupcakes with Swiss Meringue Buttercream
Cadbury mini eggs, chocolate almond bark shavings, and an egg carton display elevate these vanilla cupcakes to an Easter dessert eggstravaganza.

White Chocolate Easter Egg Cupcakes
Cadbury mini eggs, chocolate almond bark shavings, and an egg carton display elevate these vanilla cupcakes to an Easter dessert eggstravaganza.
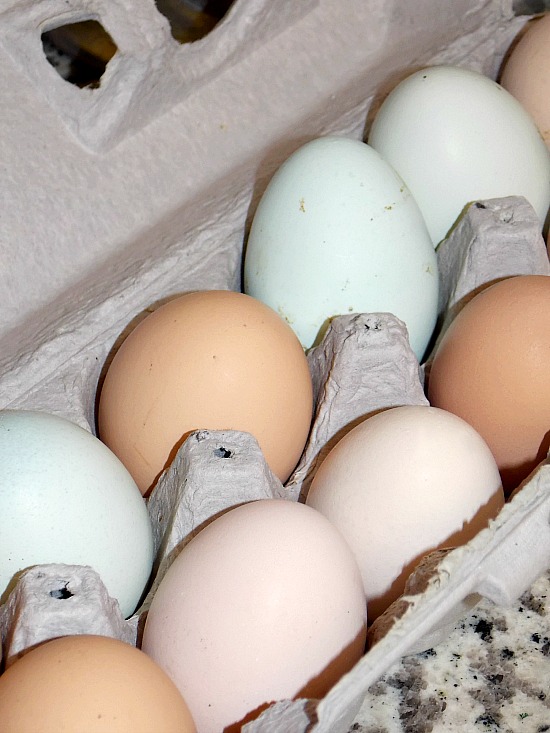
Farm fresh eggs ready to go for Easter decor, dishes and desserts.
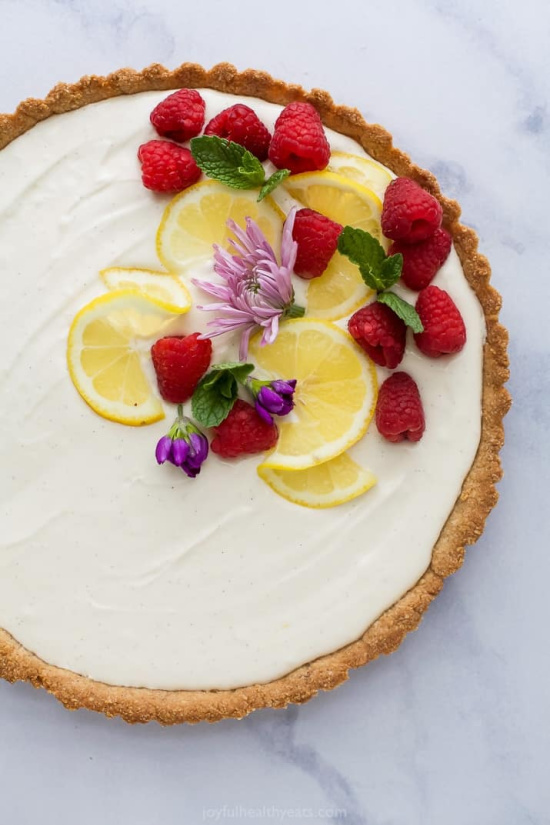
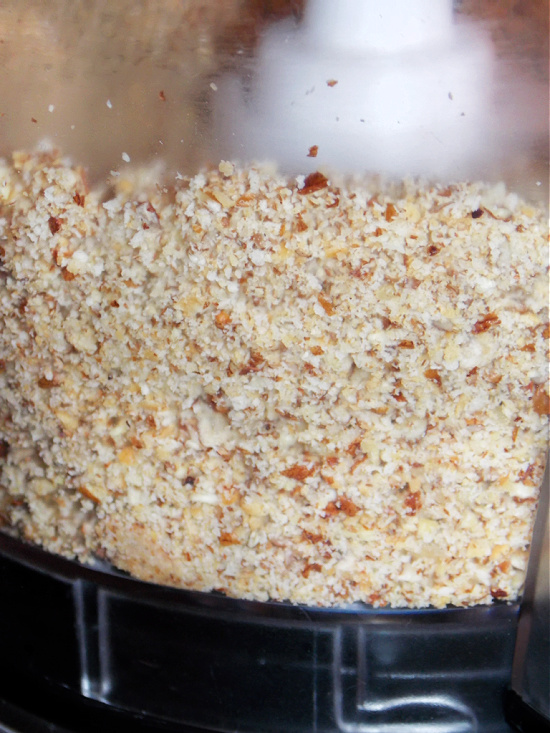
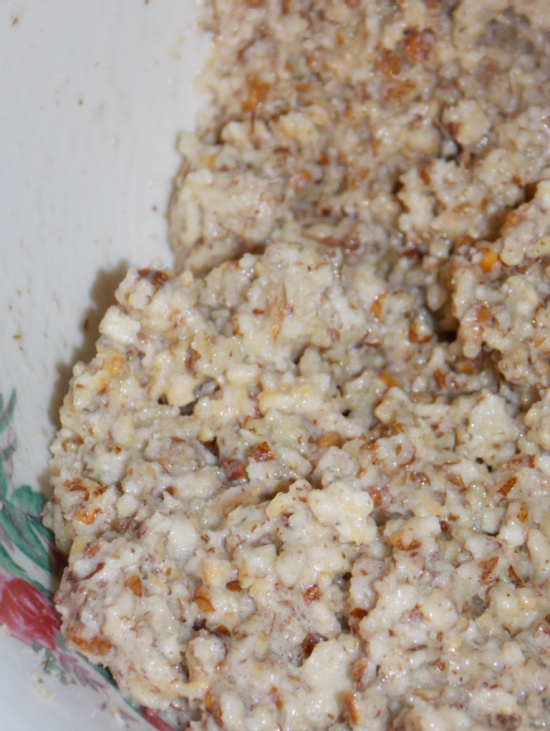
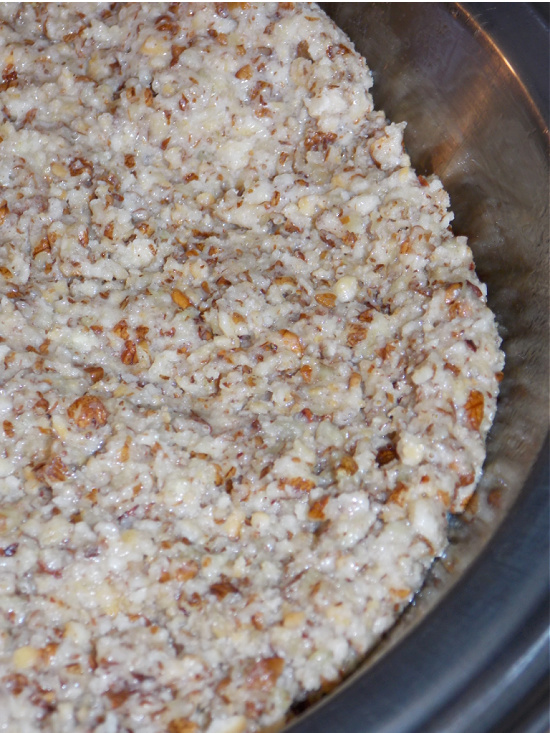
Easy Creamy Lemon Tart Recipe with Almond Crust Recipe
Thoughtful touches and delicious treats dressed with visually impressive details invite charm to spring get-togethers and Easter celebrations.


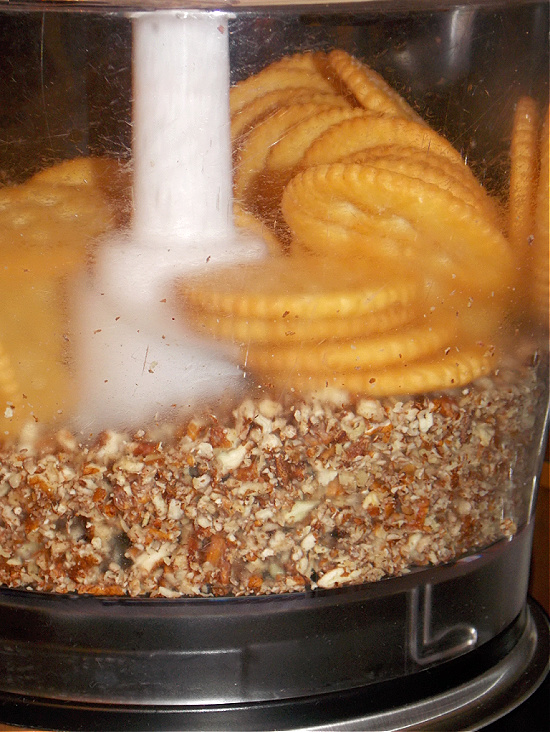
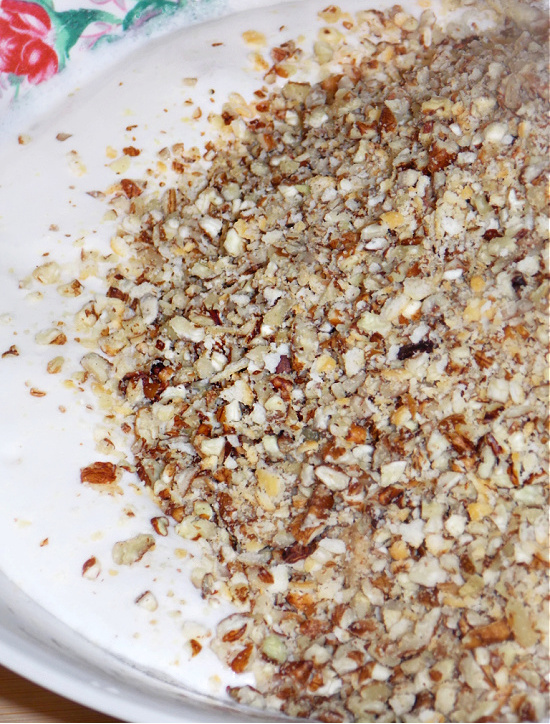
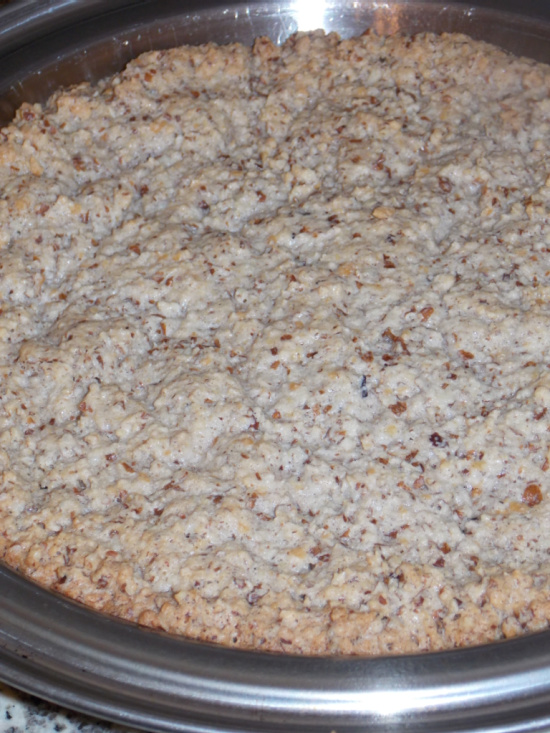
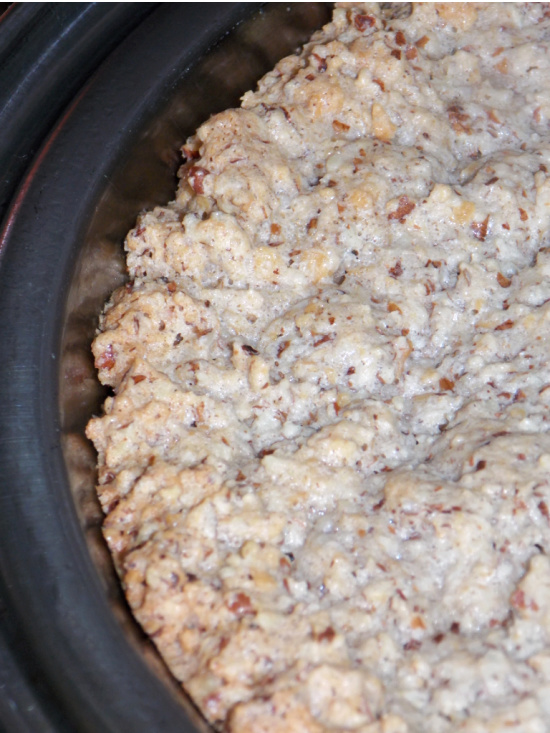


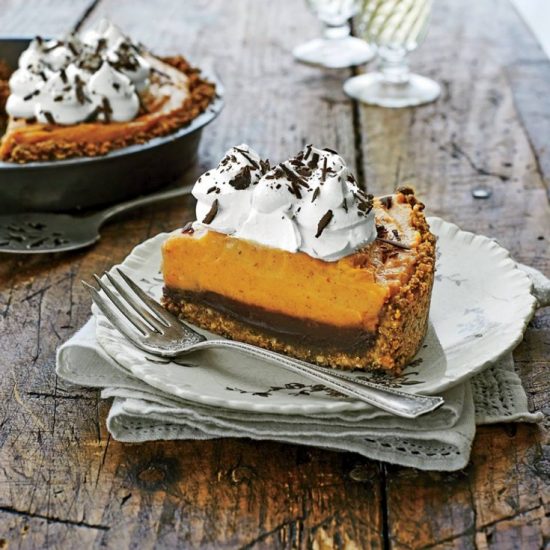

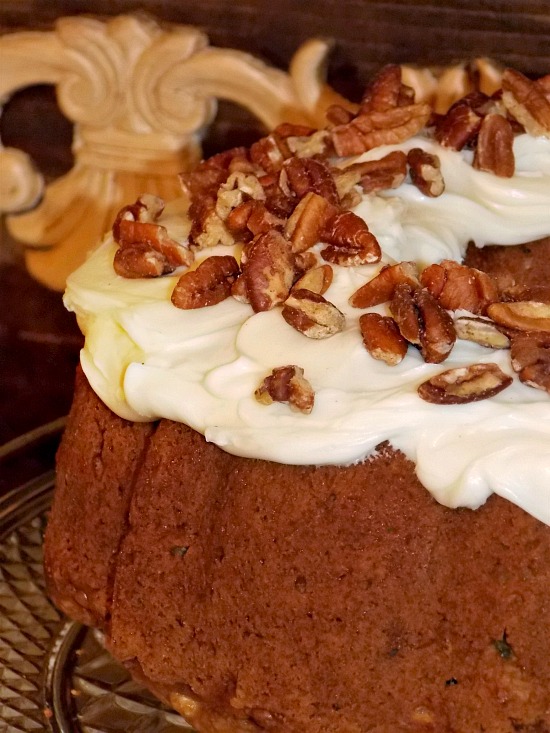
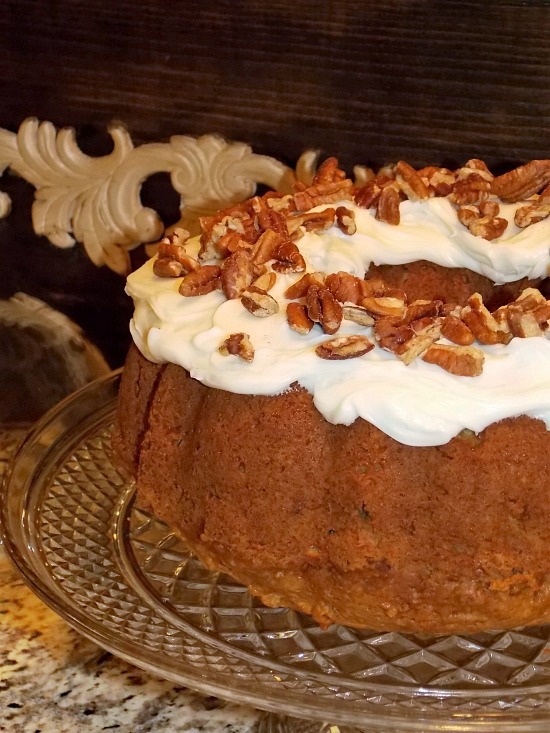

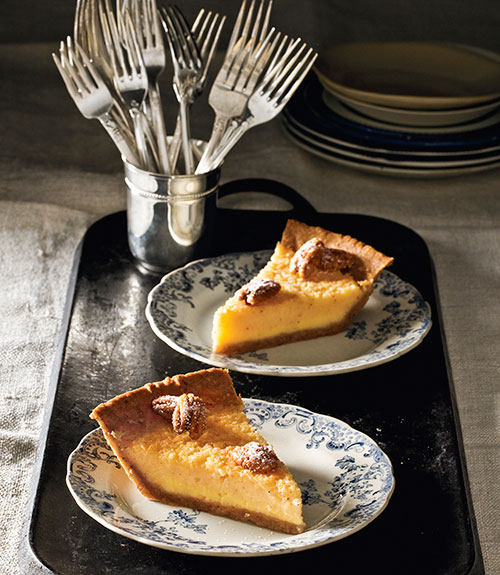
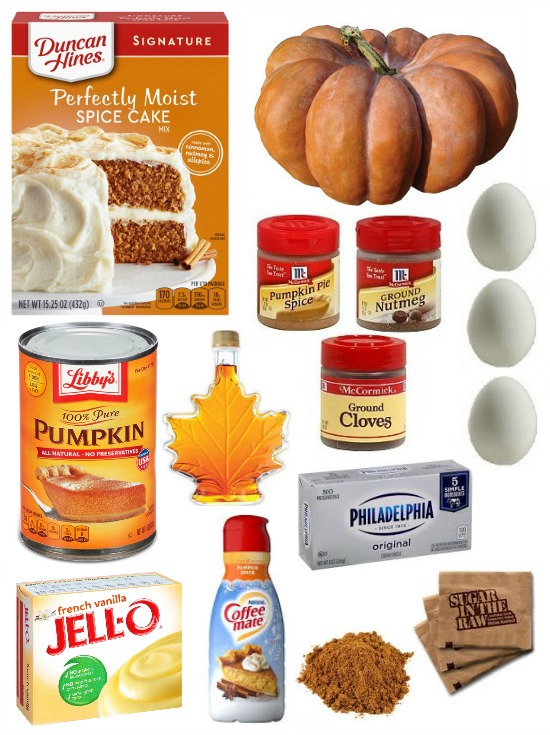
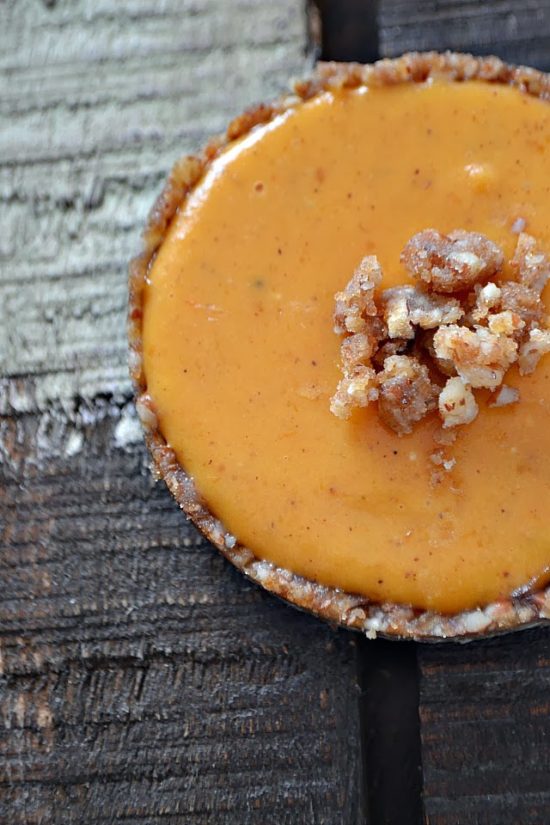 No Bake White Chocolate Pumpkin Cheesecakes with a Pecan Pie Crust
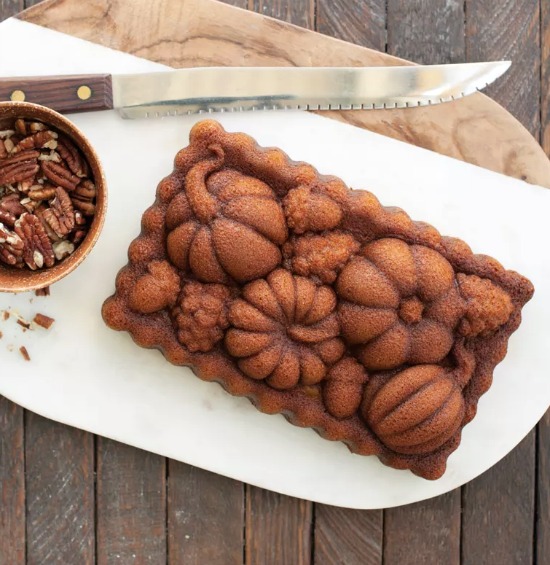
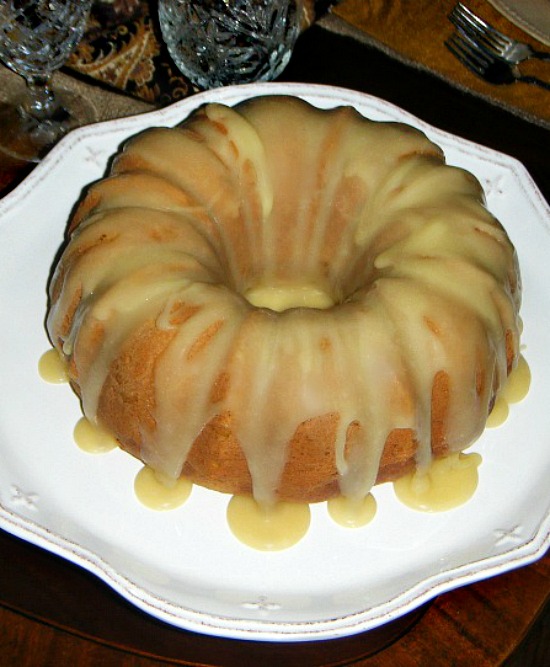
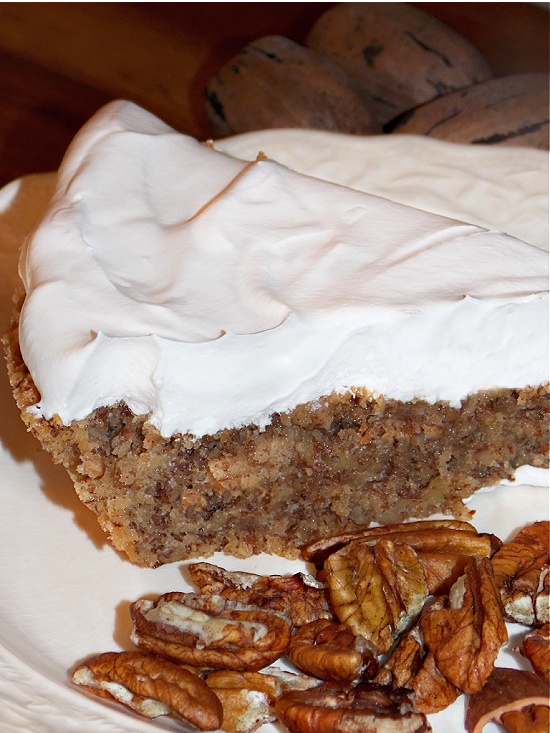
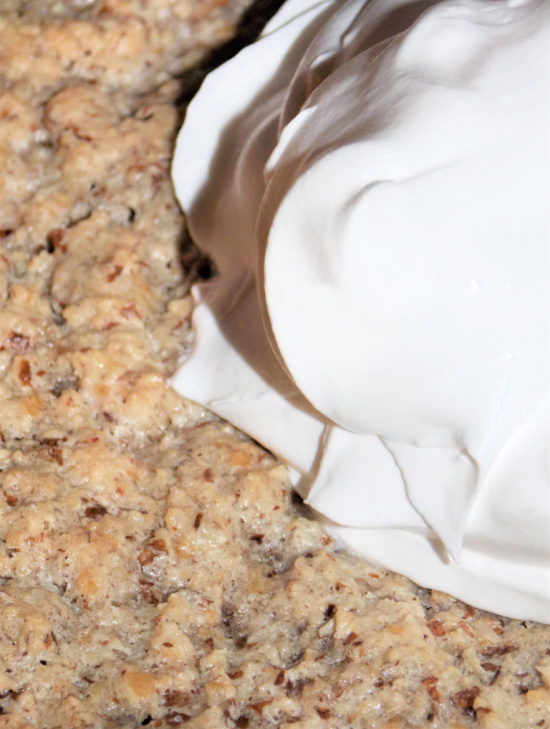
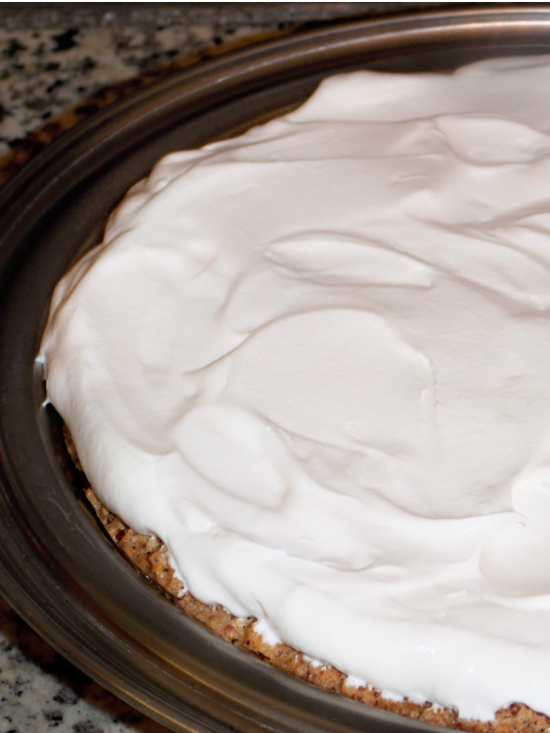
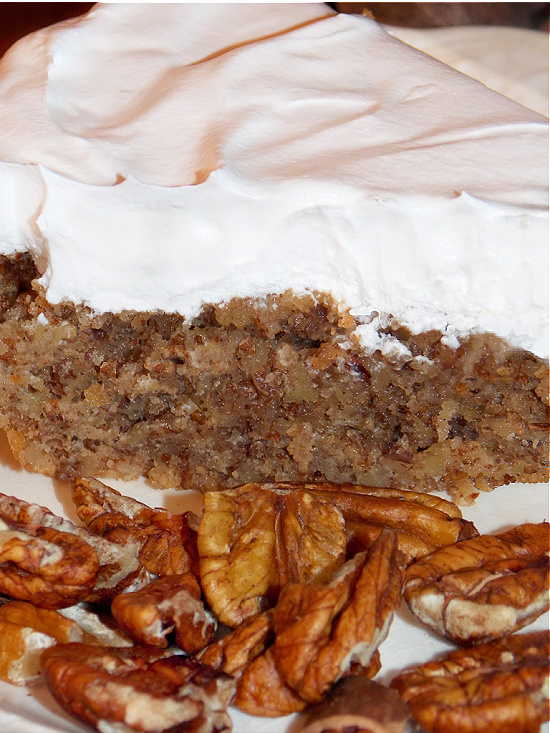
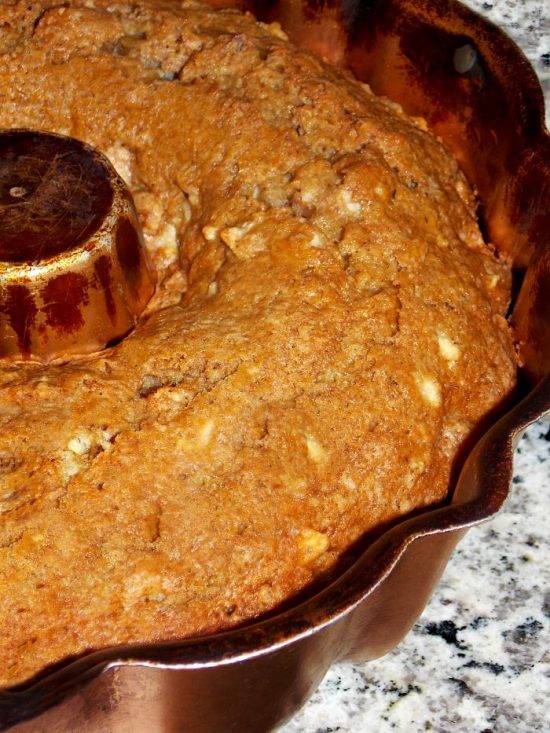
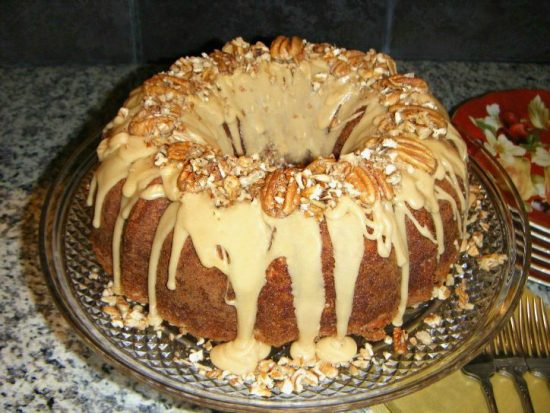
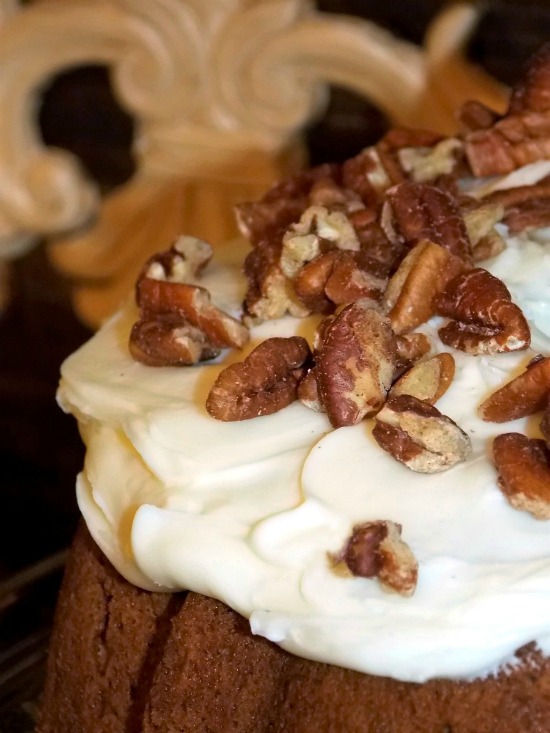
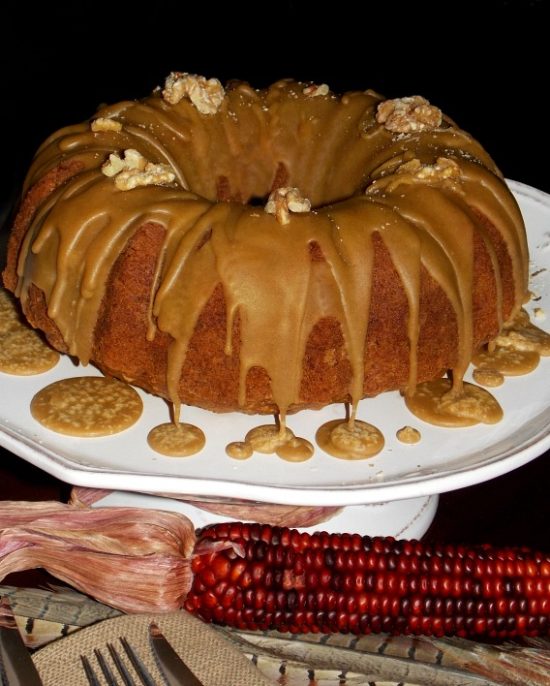
 Butter Pecan Cake