DIY Fall Decor Project Ideas

Crisp air, nature’s bounty, and a hot glue gun is all the inspiration needed to get the DIY fall decor project ideas flowing.
apple-pear-wreath-candle-ring

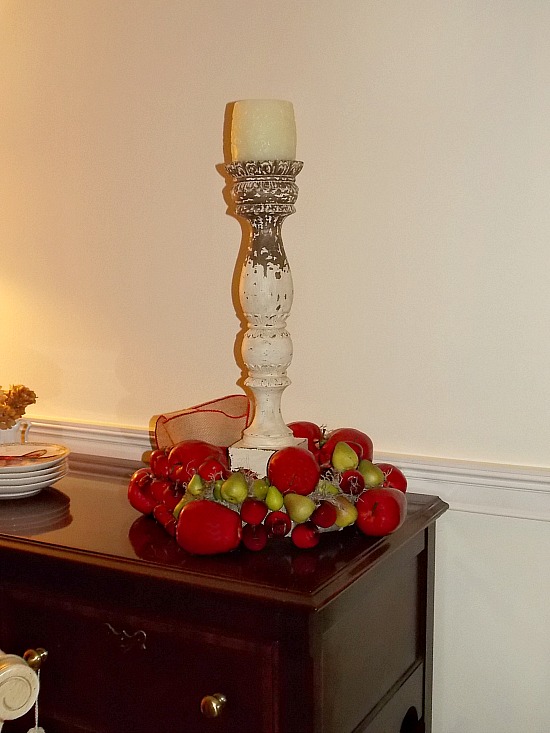
The little apple candle wreath that could is falls into my PhD (Project half Done) studies.

Believe me, the faux apples are not as red as they appear in the images.

They’re red alright,  but not quite as bright red as seen in some of the images.

If I could get the lighting right on both space and camera, I’d be dangerous.

what-you'll-need

Styrofoam-wreath

apple-wreath-supplies-fall

DIY wreath projects need not be a complicated endeavor.

Where’s the fun in that?

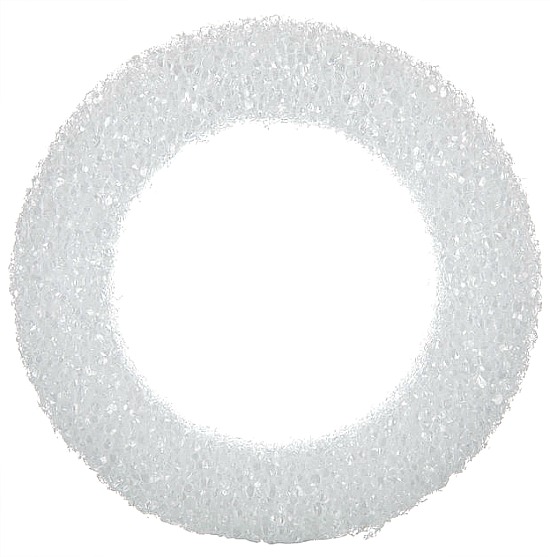
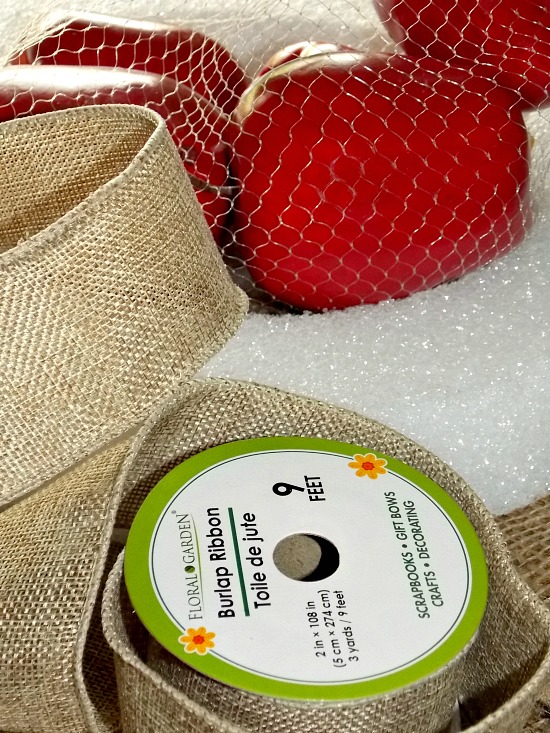
For this particular project I chose a Styrofoam wreath form.
fall-craft-apple-wreath

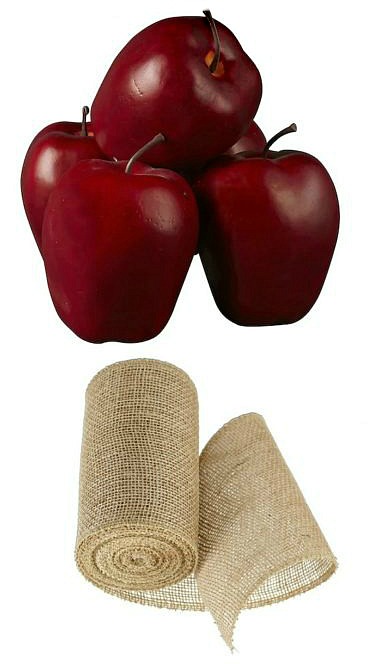
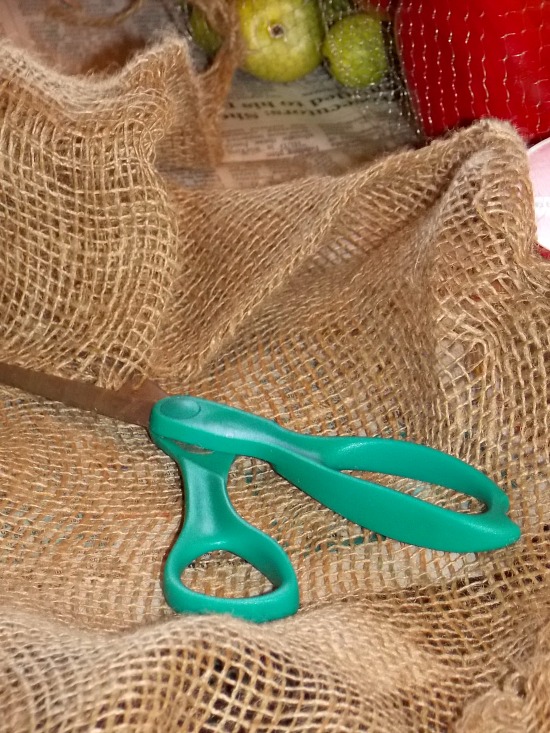
Remnants leftover from the umpteen burlap bags used for everything from placemats to gift bags came together to base wrap the wreath in order to cover the Styrofoam.
scissors-burlap

Hot glue gun used for this step.

wreath-ribbon

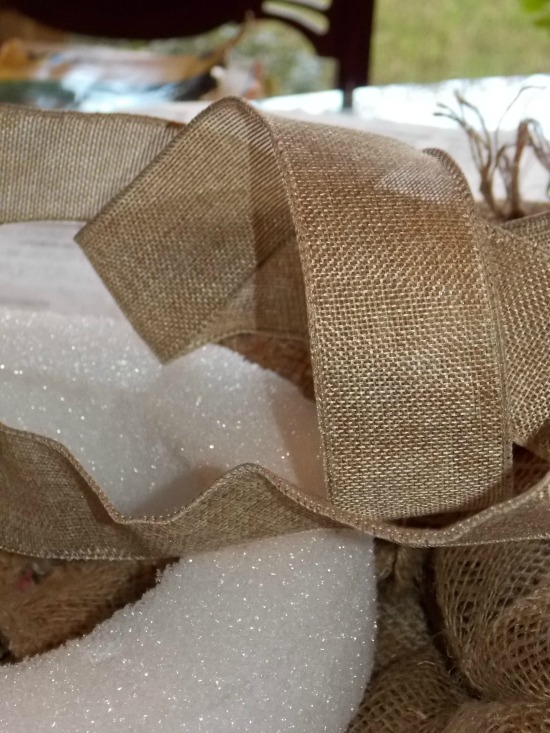
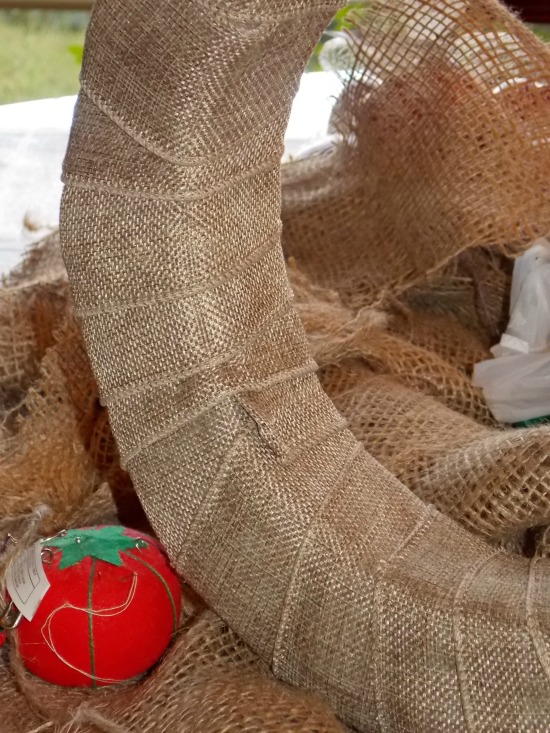
Striving for a more polished look than that of the rustic burlap bags, I wrapped the entire form with burlap ribbon purchased from Dollar Tree, pinning the ribbon with a few straight pins to secure into place.
wrapped-wreath-form-burlap-ribbon

Grab a paper or download a Michaels coupon and let the DIY fall decor project ideas savings begin.

Let me let you all in on a little secret…

DIY projects can get expensive, so clip those coupons.
apple-wreath-materials

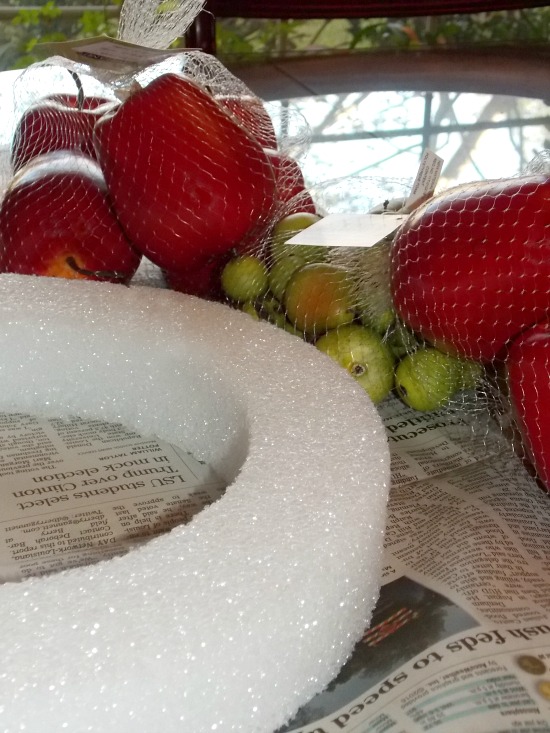
Place faux apples and pears around the form to get an idea of how you want the finished look to turn out.
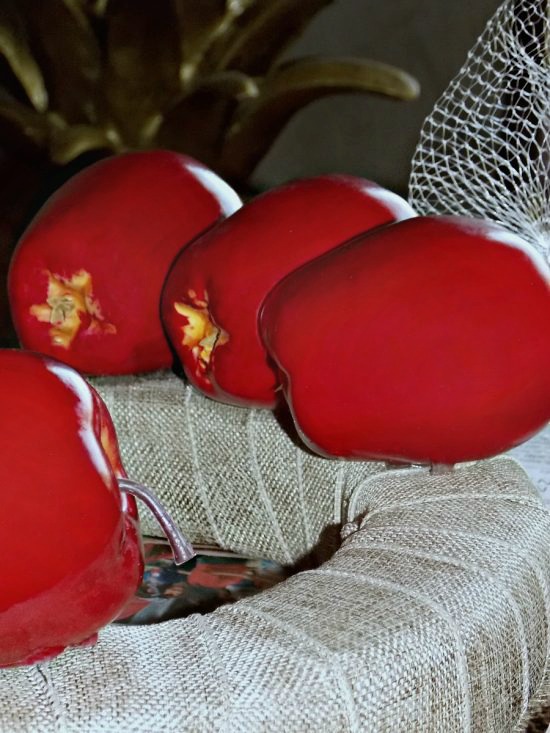
fall-apple-wreath-form

Heat up the glue gun (use caution with these things), and once it gets hot glue the faux fruit in place.
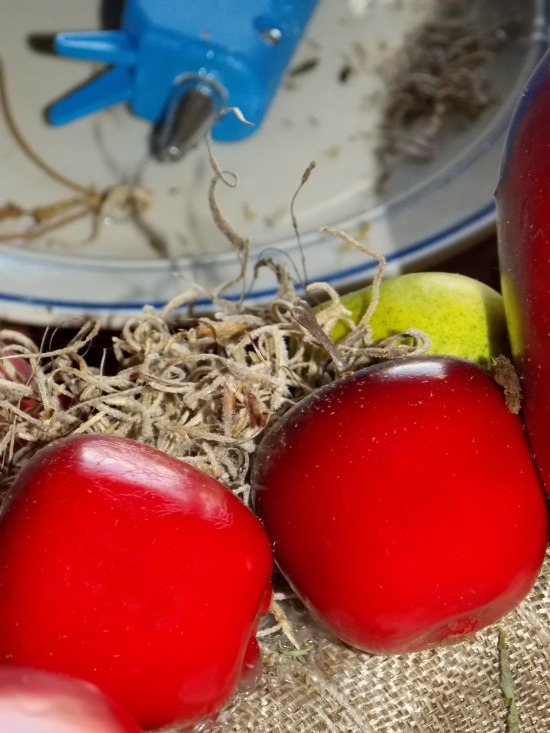
making-a-wreath-for-fall

Spanish moss is not only decorative, it covers a multitude of gaps and DIY mistakes.
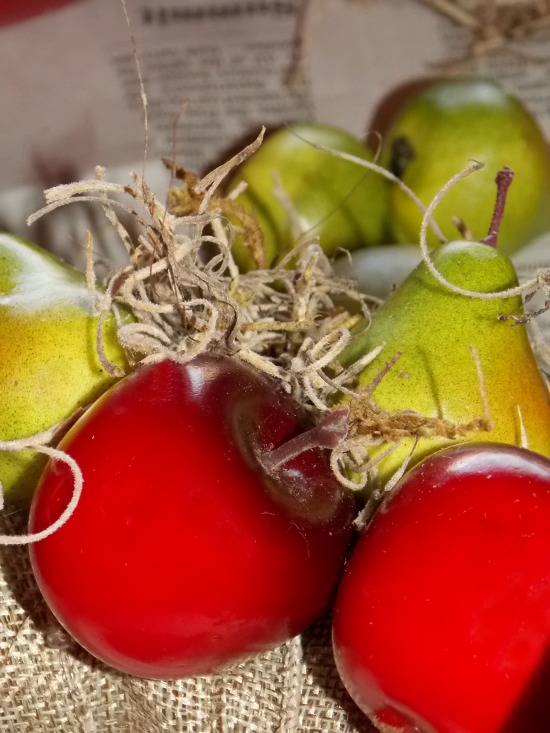
apples-stacked

There you have it.

apple-candle-ring-1

I absolutely love this sweet sweet DIY potpourri wreath from Sweet Something Designs.
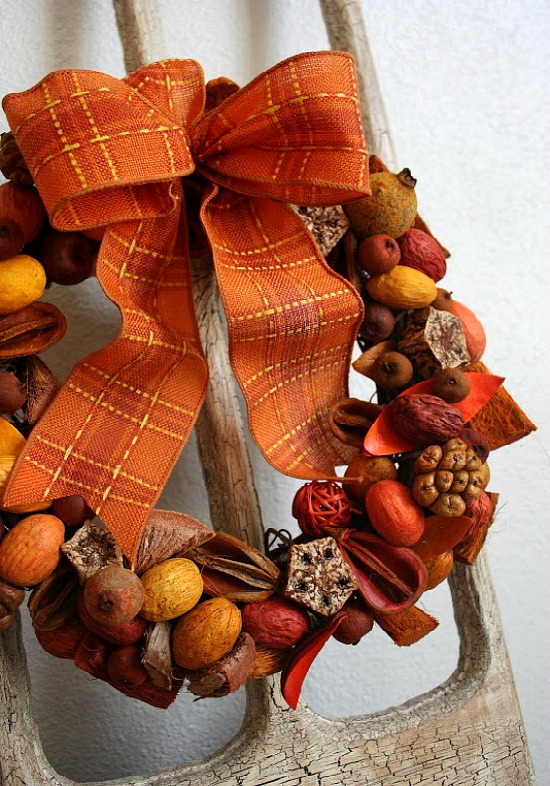
potpourri-wreath-fall

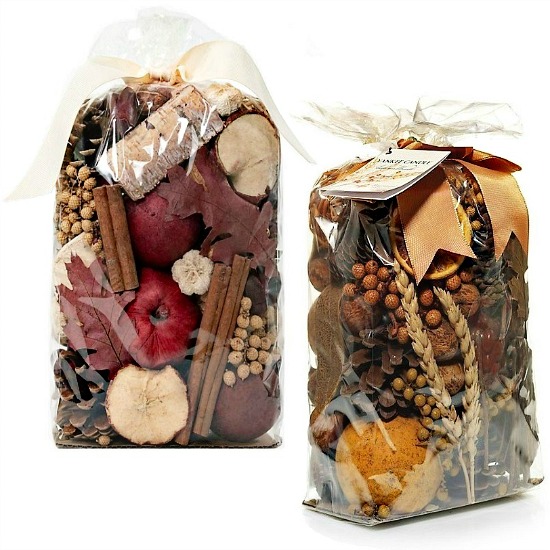
Simple elegance comes to a door or chair frame near you by way of a bag or two of potpourri, a grapevine wreath, your favorite color, texture, and pattern ribbon, and the usual wreath making tools and glue gun to hold fall fabulous all together.

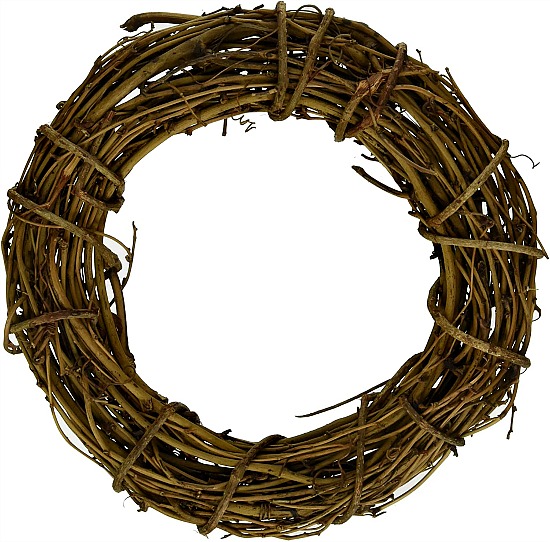
what-you'll-need

grapevine-wreath-medium

potpourri-mix-for-making-fall-wreath-1

Simple instructions of hot gluing potpourri pieces to wreath and topping off the look with a bow in your choice of ribbon.

fall-inspired-ribbon

Laura of Garden Answer posted another wonderful fall wreath how-to video giving us five different options to choose from.

How fall flipping cute is the owl wreath?

owl-wreath-Garden-Answer

what-you'll-need

grapevine-wreath-medium

Grapevine wreath.

Hydrangea.

Pine cones.

An assortment of fall leaves.

Feathers.

Small craft gourds.

Dried and/or fresh floral stems.

Seasonal blooms.

Decorative owl figure.

Laura uses echinacea, rose hips, hydrangea, clematis, sedum, vines, pine cones, autumn leaves, and a most darling owl.
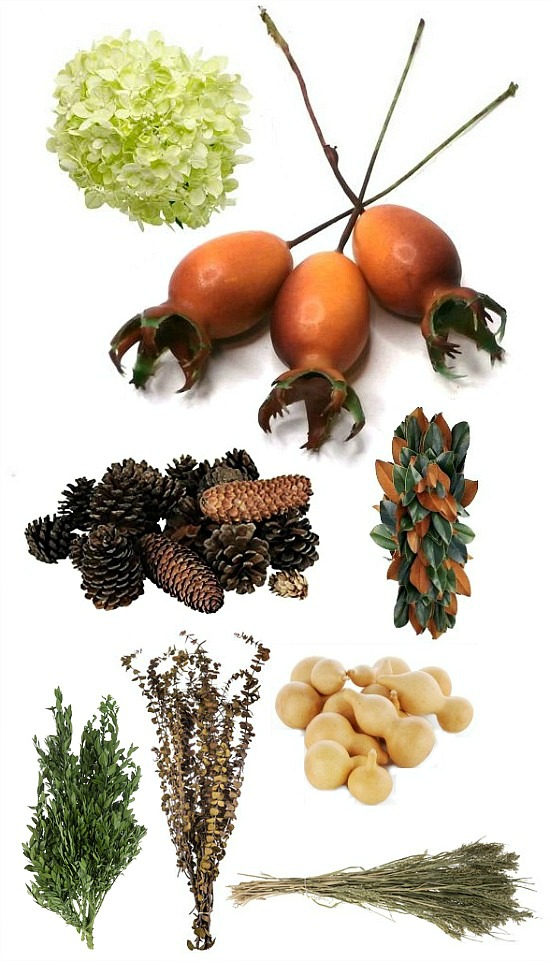
wreath owl supplies

pheasant-feathers-Joann1

Jo-ann Fabric

Owl cute is this!

Pinecone Owl

Pinecone Owl

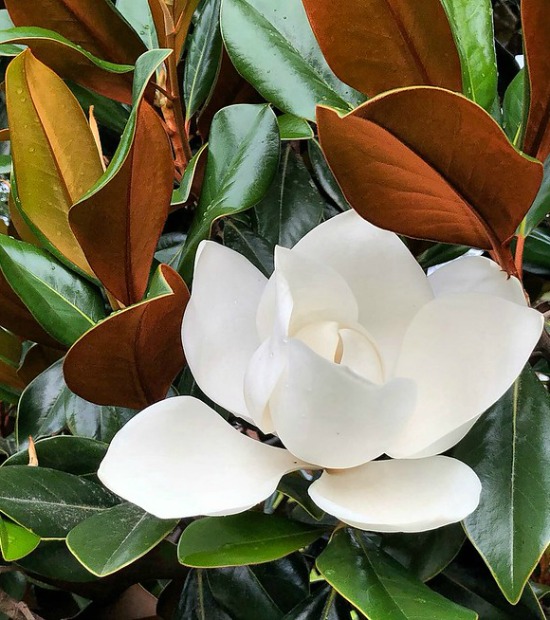
Magnolia tree flower and leaves

Flickr

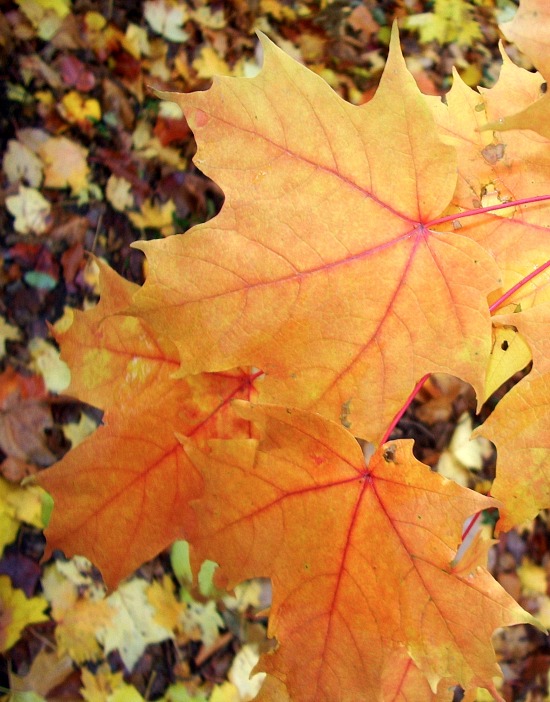
fall-maple-leaves

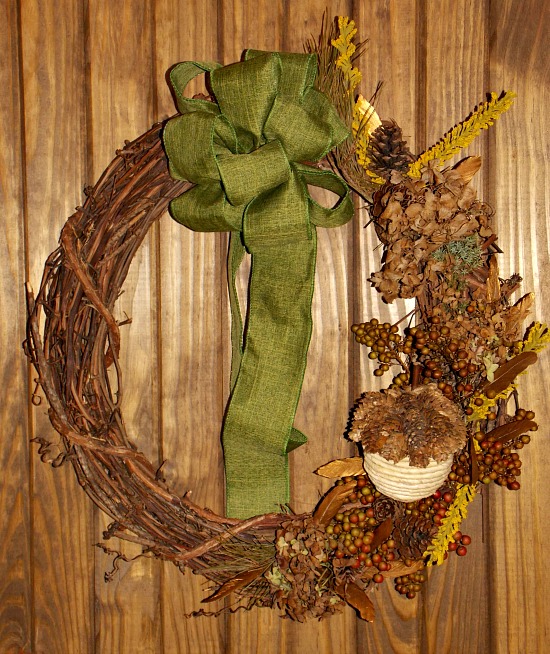
Items sourced and found at Jo-Ann Fabrics on a free shipping Saturday afternoon signals the cart is full of DIY fall decor project ideas.
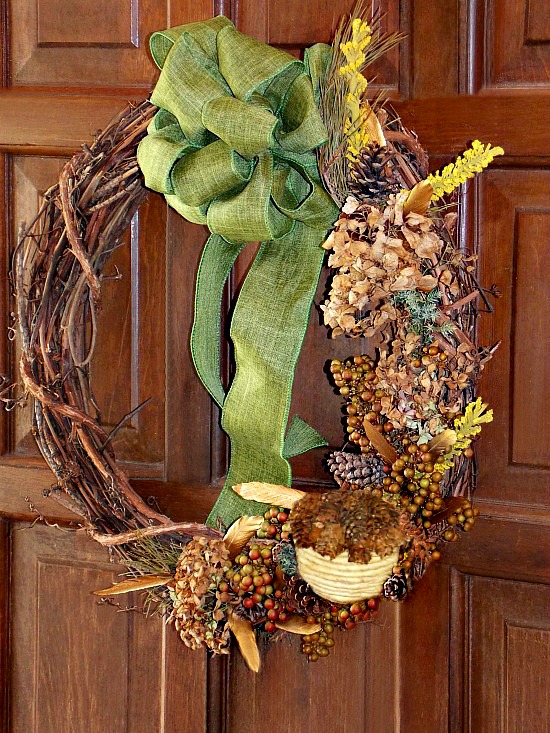
wreath-for-fall-2020

what-you'll-need

Jo-Ann-wreath

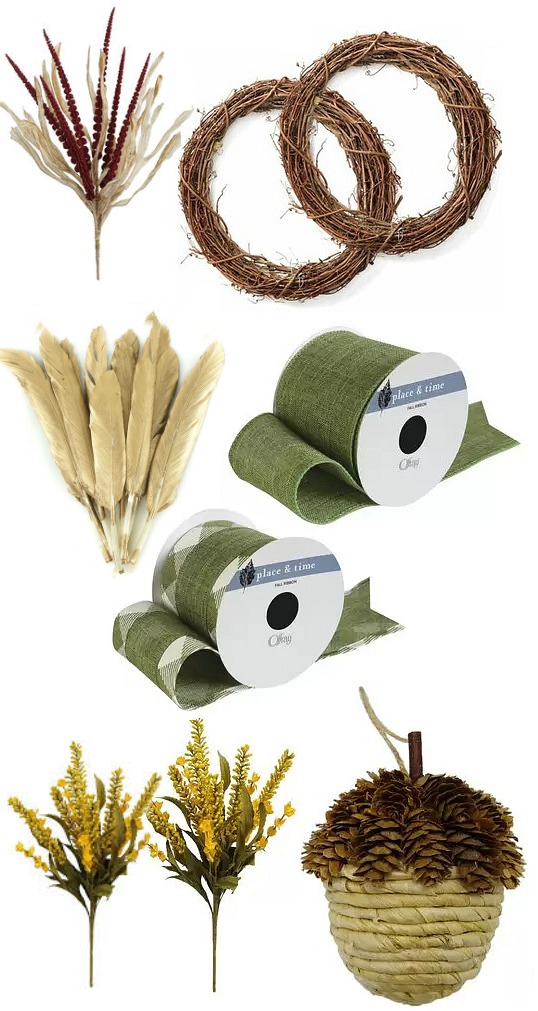
Purchased for this project list:

18″ Grapevine Wreath

Zucker Feather Products 12 pk Duck Gilded Feathers

Bloom Room Autumn 19” Millet Leaf Bush Yellow

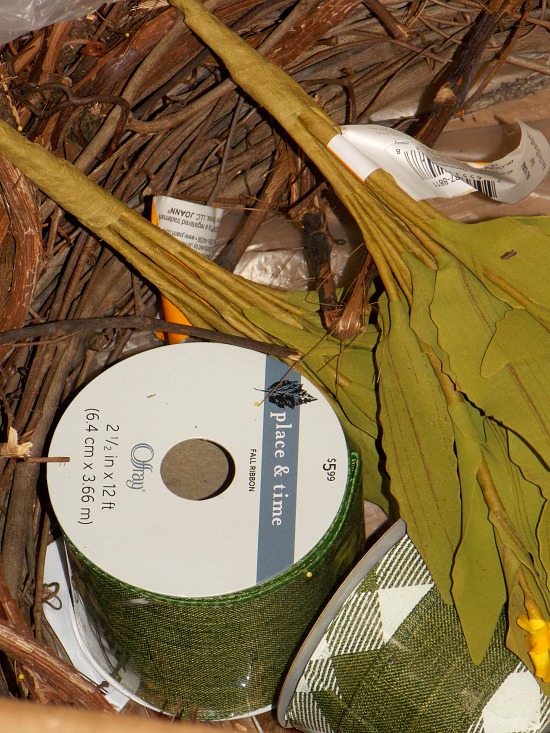
Place & Time Fall Harvest Textured Ribbon 2.5″

Bloom Room Autumn Hanging Pinecone Acorn Natural

From nature:

Pinecones

Nandina

Hydrangea

Juniper

Fresh pine
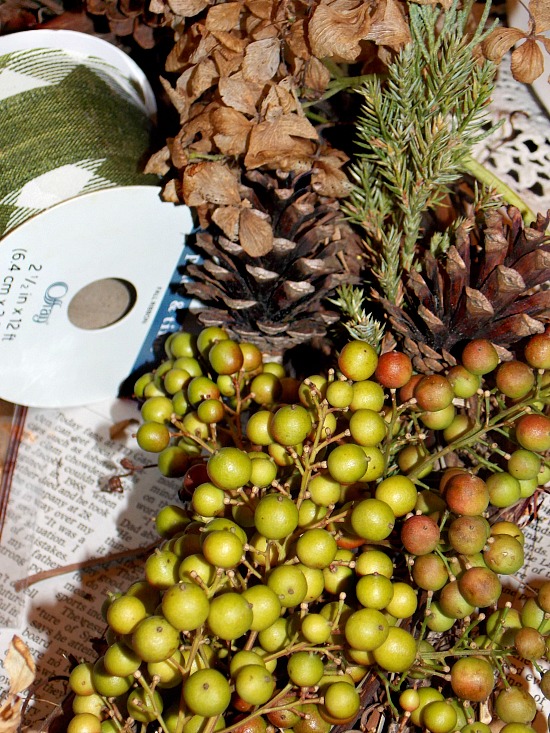
natural-elements

Nandina berries  fresh pine and juniper
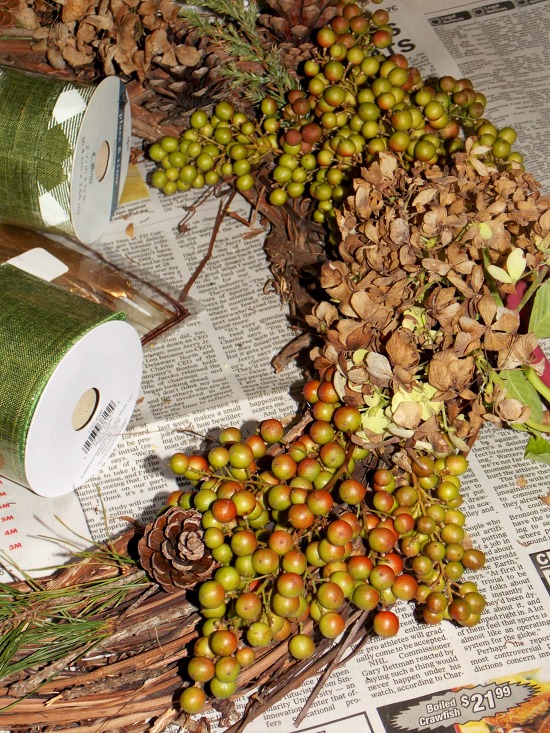
dried-stems-fresh-berries

Placement is ruled by where the bulk of the clippings and stems fit best without much effort in securing to wreath.

Why make things difficult?
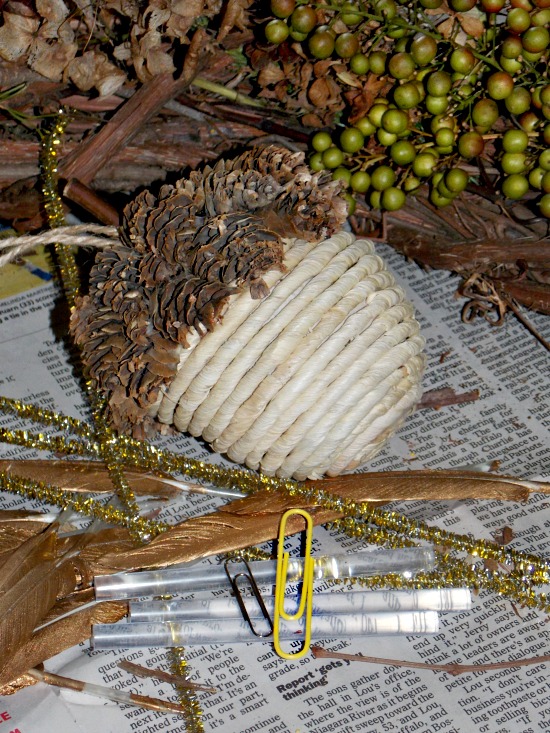
wreath-embellishments

Undone paper clips help to secure stems to the wreath.
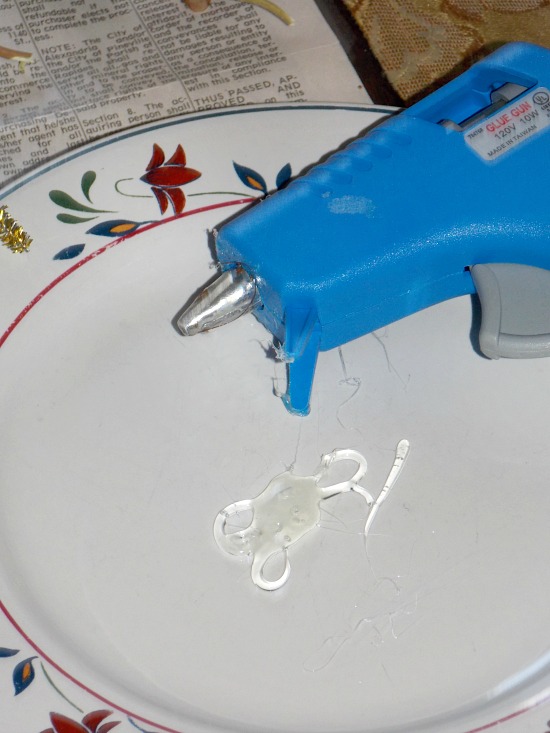
glue-gun-heating-up

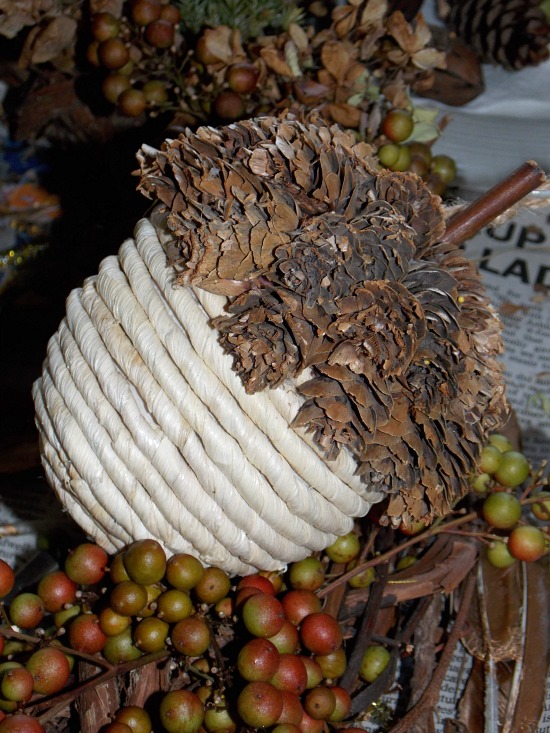
Glue pinecones and hanging pinecone acorn to the wreath.

placement

pine-cone-decor

Professional bow maker will never find its way onto my resume, but I can fake it till I make it with the best of them.
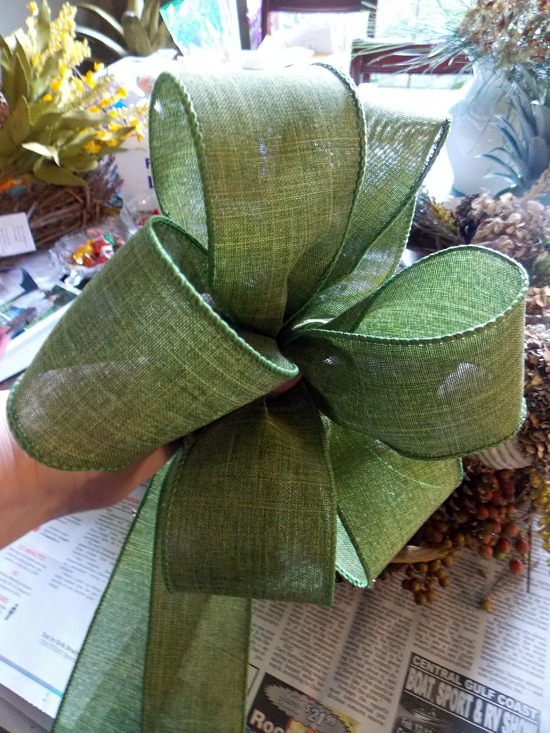
making-bow-with-green-ribbon

A trusty loop and twist method works, and pipe cleaners-stems looped around the center and twisted several times holds everything in place.

Once you decide where on the wreath the bow will go, feed the “ends” of the pipe cleaners-stems in an over and under method through a couple of the wreath twigs in that section.

Gentle pull up on the pipe cleaner-stem ends to pull the bow close to the wreath.
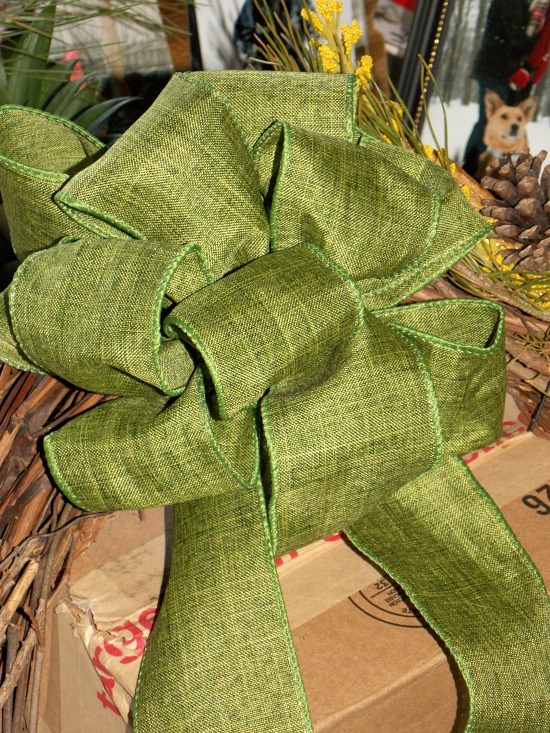
green-bow-for-wreath

Secure the bow in place, twist the ends together, tuck the stems into the wreath twigs to hide, and fluff the bow.
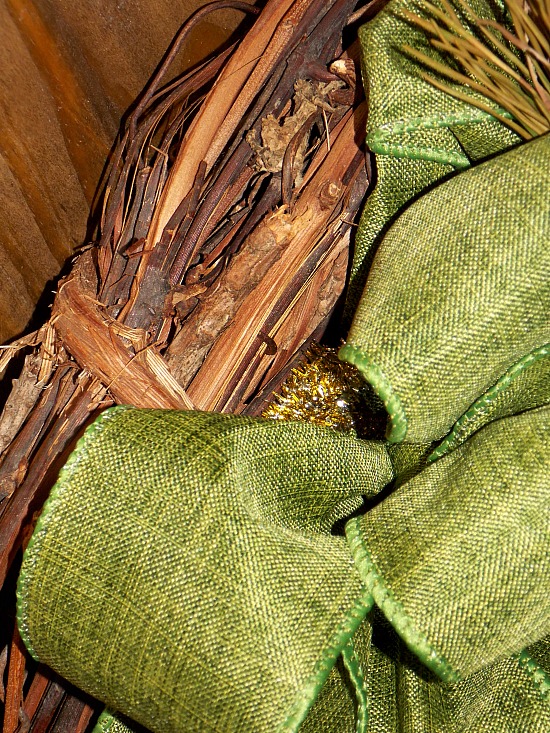
bow 1

Gold feathers tucked in visually strategic spots
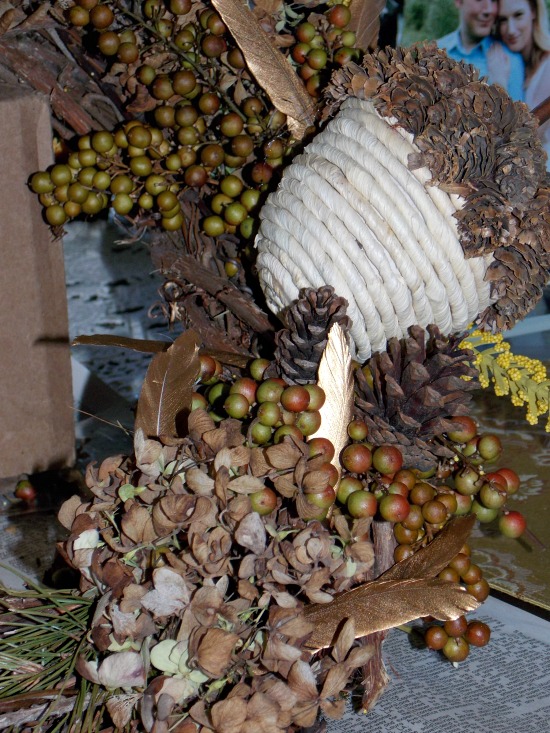
wreath-goodies

wreath DIY fall decor project ideas

As time marches on the nandina is turning a stunning golden crimson.

So fall fabulous!
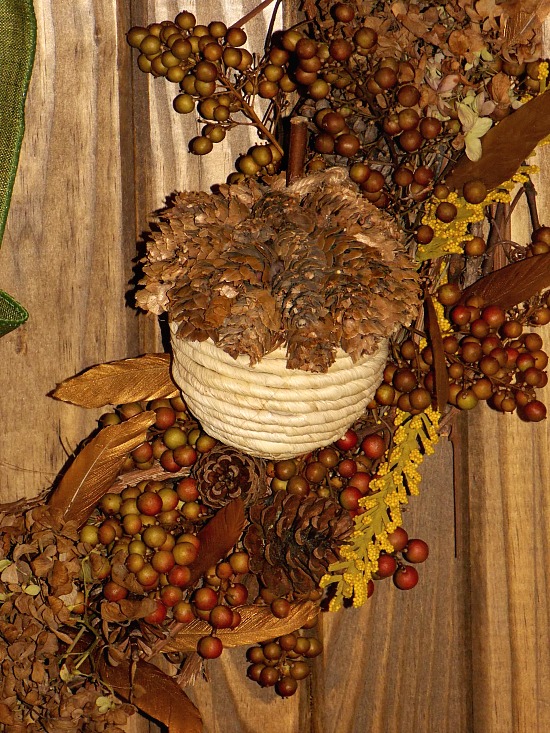
fall-colors-foliage

DIY wreaths naturally mirror the beauty of the season.

Darleen-signature-love

Summer Fabulous in a Jar: Lavender Rose Summer Body Scrub

The look of summer fabulous does not just happen.  Getting our decor, porches, patios, decks, lawns and gardens summer wow ’em ready comes with a fair amount of work.  Unfortunately, this labor of summer outdoor living love does not go unnoticed on the hands, feet and elbows of those who do the time in the summer salt mines putting a lot of elbow grease into it by performing the let’s pretty things up around here task at hand. Consulting my handy dandy Thesaurus for a nicer word for work, I thought these synonyms for the word work make a point.

Task at hand.

Elbow grease.

Salt mines.

Hand.  Grease (oil).  Salt.  I’m thinking a sweet summer season body scrub is in order.

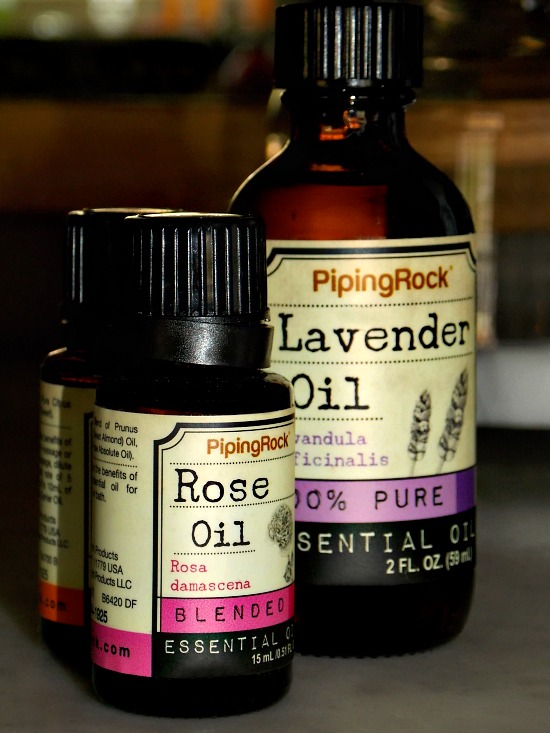
Targeted emails, BOGOS and promo codes complement the necessary essential oils order needed to create the latest addition to my DIY beauty scrub recipe collection.  Let me introduce you to a fabulous summer hand, feet and body beauty treatment– Lavender Rose Summer Body Scrub.
essential oil

I almost forgot to add this little tidbit of inspired information to the post.

crystal kiss dishGodinger Hershey’s Kiss Candy Dish

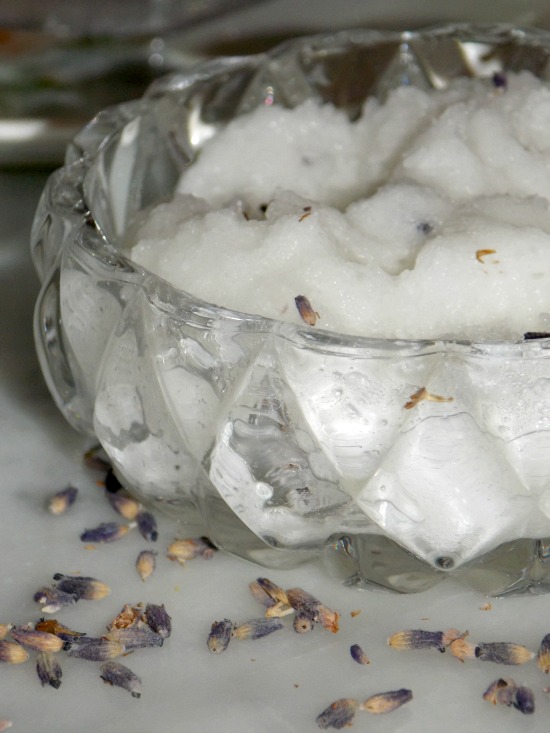
Back at Christmastime I ordered the crystal replica of the Hershey’s Kiss from Godinger Crystal for Dave the Builder’s Christmas stocking gift.  The busy shipping elves at Godinger mistakenly sent me a Reese’s Peanut Butter Cup dish instead of the Hershey’s Kiss dish.  One quick and courteous call to customer service later, the issue professionally became a non-issue resulting in a sweet deal.  With all this talk and type of the rule of kiss aka keep it summer simple, container inspiration stylishly struck.

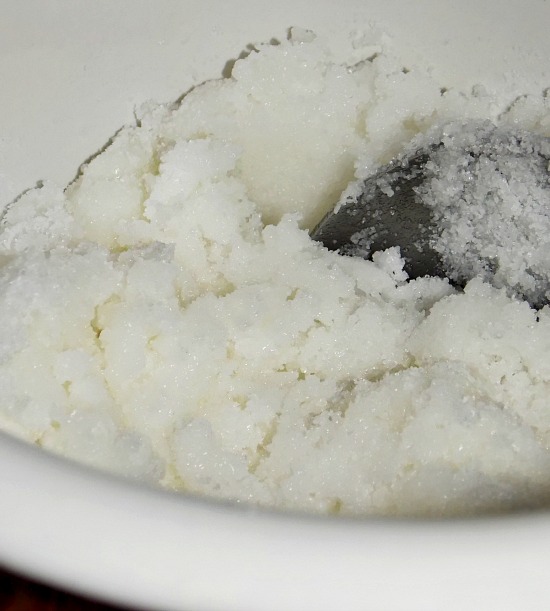
salt sugar coconut oil

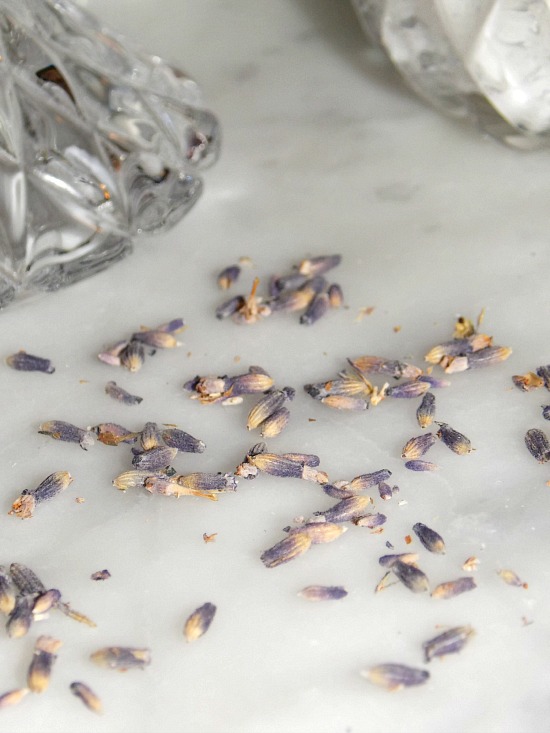
I spooned ¼ cup of the scrub into the kiss dish and added a few of the dried lavender buds for keeping it lavender rose summer body scrub stylishly scented and summer scrub simple.

body scrub jar

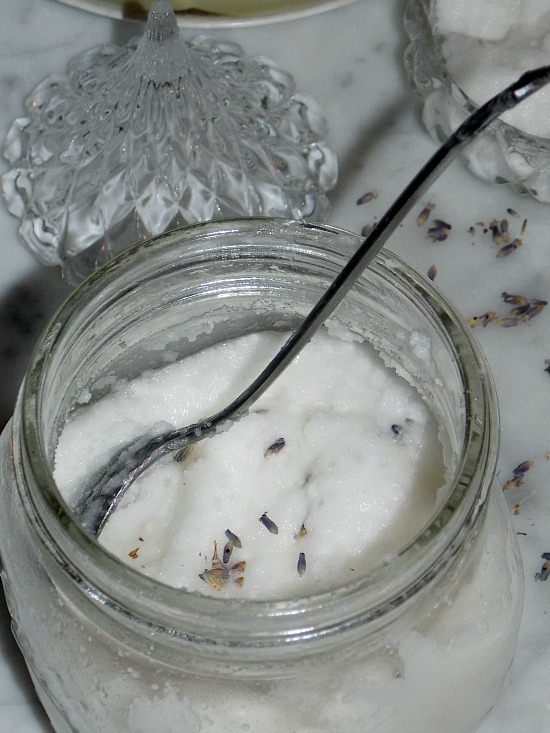
I keep the remaining scrub in a lidded jar, the lavender buds nearby in a lovely vintage dish.  The pairing of lavender and rose together is summer scent divine!

purple lavender

Lavender Rose Summer Body Scrub

Lavender Rose Summer Body Scrub

½ cup sugar
½ cup kosher sea salt
½ cup coconut oil, melted
10 drops lavender essential oil
10 drops rose essential oil
1 tablespoon dried lavender buds

Mix all ingredients together in a bowl.  Spoon scrub into a lidded jar of choice and seal tightly.  Scrub will keep for several weeks.

Pumpkin Pie Spice Sugar Scrub

Good morning, afternoon or evening, friends!

Friday is in sight or here which is always a plus.

Fall is getting its look and feel on, the small surgical procedure I had Tuesday went well, and I love the way the homemade Pumpkin Pie Spice Sugar Scrub turned out.

Anesthesia is drying, and knowing this I wanted to have a hand scrub on hand.

Looking ahead to more fall decorating with the branches and cuttings soon to fill ironstone pitchers and the demijohn Dave the Builder recently found in his rounds, I quickly recalled that getting to and cutting down the aforementioned branches and cuttings do a number on your hands.

Put the pumpkin pie seasoning in the coconut (oil, that is) and treat your hands to a fabulous Pumpkin Pie Spice Sugar Scrub in the morning.

Or noon.
Or night.
You get the point.

pumpkin-pie-scrub

After a day filled with political mudslinging from every channel, network and streaming site, am I the only one who feels like a day at the spa treatment is in order?

Pumpkin Pie Spice Sugar Scrub has got you and your hands covered.

pumpkin pie spice sugar scrub

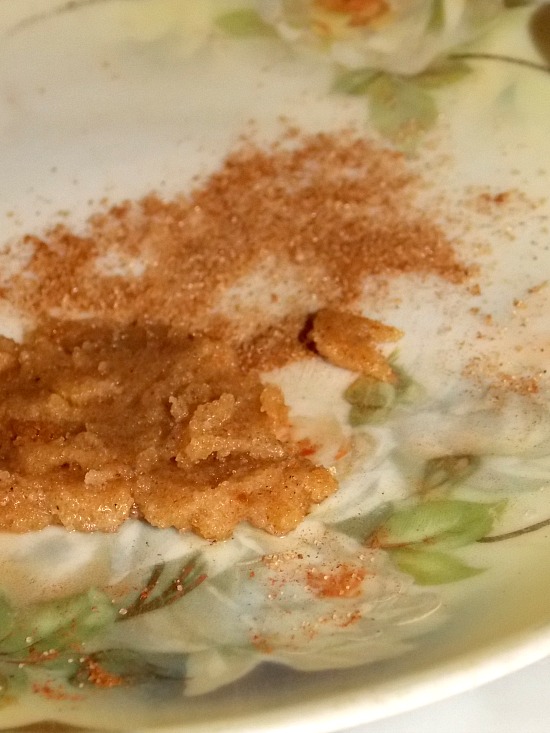
This scrub is super emollient, softens immediately, and can I just tell you- the scent is fall in a bottle.

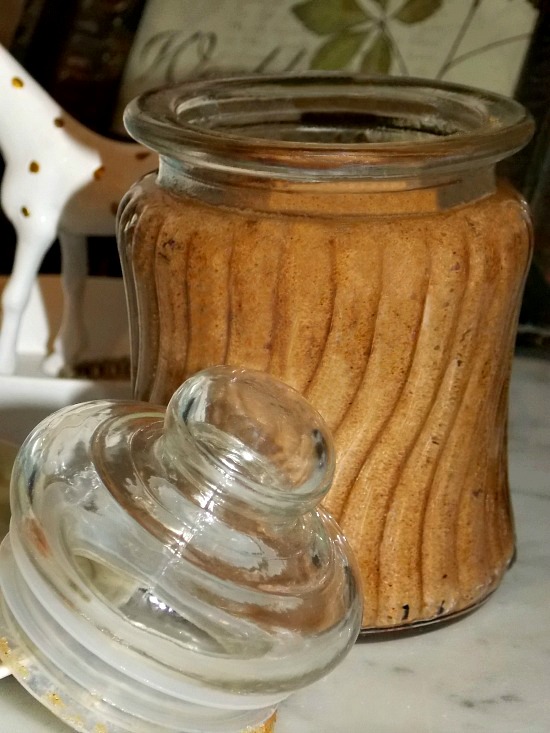
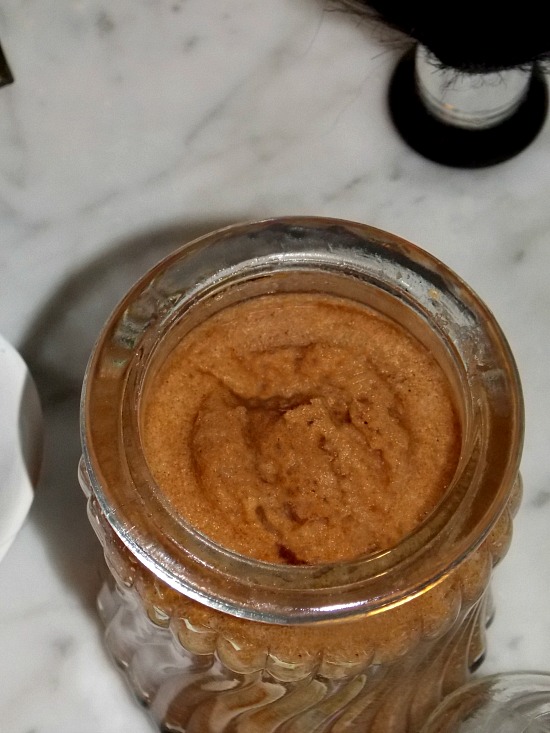
sugar-scrub-container

Mexican vanilla and pumpkin pie spice marry together in notes of fall fragrant harmony.

For the hands:

Dampen hands with tepid water.  Apply a small amount of pumpkin pie spice sugar hand scrub and gently massage in a circular movement to exfoliate and renew skin.  Rinse well with warm water and gently pat dry.

To further promote  at home spa experience,  apply a small amount of your favorite hand cream to seal in the moisture and protect.

sugar-scrub

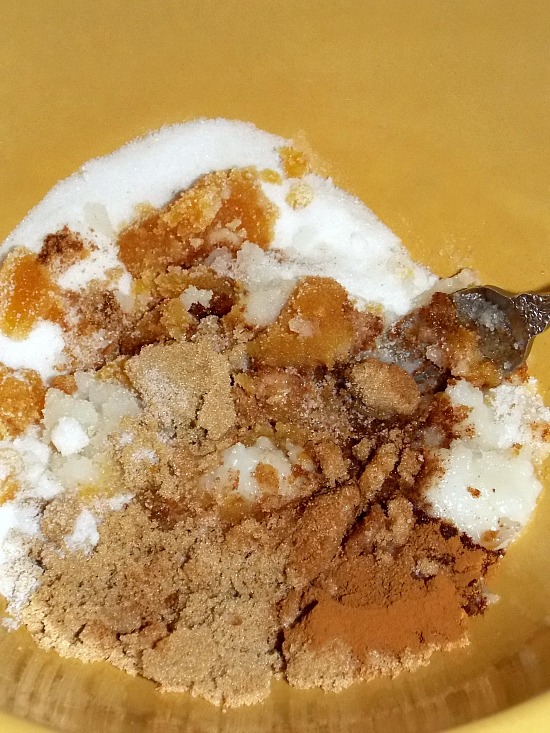
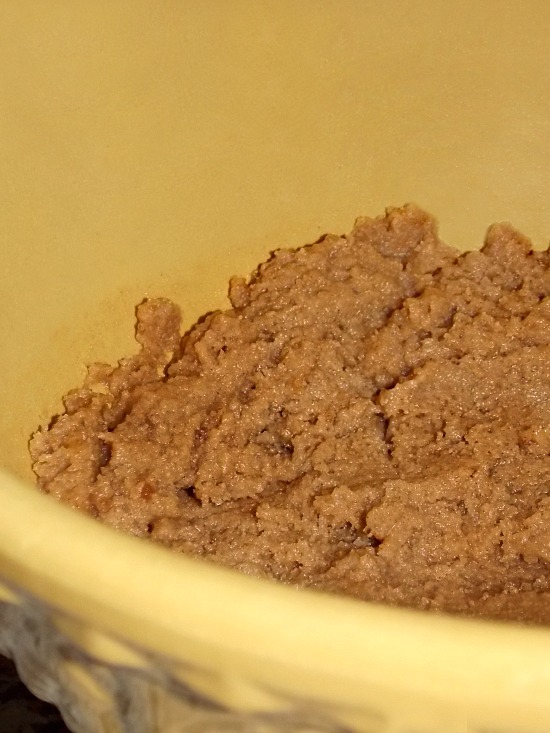
Taking the new mixing bowl out for a recipe mixing test drive.

Now for the recipe.

pumpkin-scrub

Pumpkin Pie Sugar Scrub

Ingredients

½ cup coconut oil; softened

1 cup granulated sugar

½ cup brown sugar

1½ Tablespoon pumpkin pie spice

¼ teaspoon ground cinnamon

2 teaspoons vanilla extract

Directions

In a mixing bowl, mix all ingredients together until blended.  Store the Pumpkin Pie Spice Sugar Scrub in jar(s) with air tight lid(s).

The scrub will keep at room temperature for up to one month.

enjoy


Focal Potential: A DIY Light Fixture Project

Necessity and sticker shock is the mother of all DIY projects.  If I search for an item and either can’t locate it or can’t bring myself to shell out $$$$ in order to make it mine a DIY light fixture project is in the making.  At times I succeed with the project, other times I exceed all expectations, and plenty of times it fails miserably. I’m rolling the dice on this one.

DIY light fixture project

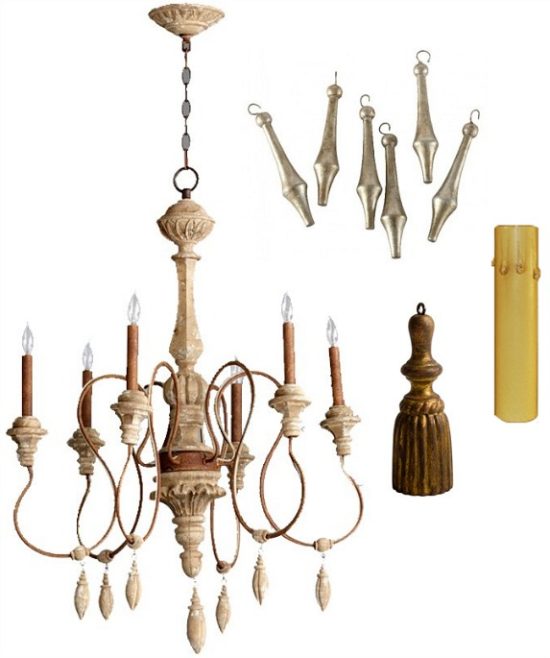
Italian scroll chandeliers cause inspiration to tug at the creative part of my brain. The fixture style is lovely and wildly popular, but the sticker shock gives pause. Ouch!  Truth be told, the drops and the finial are the true eye catchers of the piece. A quick search landed me in a more affordable neighborhood. Gorgeous hand painted chandelier drops from Aidan Gray and a Tara Shaw Italian gilded tassel finial from Layla Grayce will be added to the shopping cart if this “eye”dea of mine falls flat. Here’s what I’m thinking~

Williamsburg chandelier

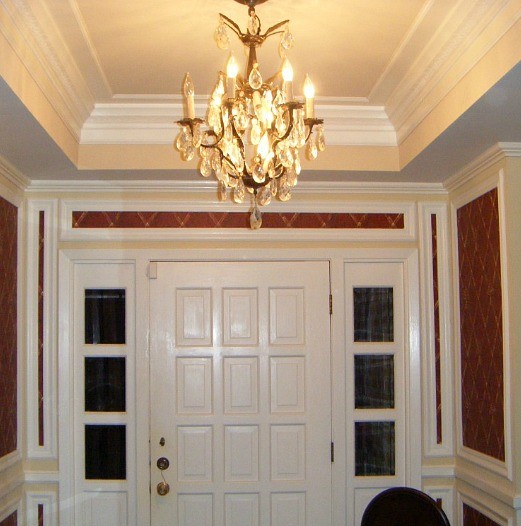
The crystal chandelier is pretty much pristine sans burned out bulb.  I found the fixture on eBay six years ago thinking it would be perfect for a client. When it arrived I immediately knew it was staying out of inventory.  It’s moving to the dining room.

foyer light fixture

The 12 light Williamsburg chandelier is an inherited left over from the original dining room design.  I added the shades last year with pleasing decorative success, but talk about further darkening the room. Personally I love it, but my camera and aging eyes hate the thing. I’ve studied and studied the fixture with a modifying intent. Paint it?  No. Lose the shades?  No.  Move it to the foyer?  Yes! That’s a start, but I want more for this chandelier.

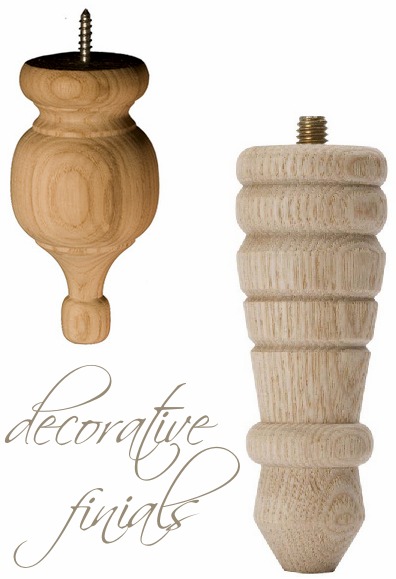
decorative wood finial

We measured the clearance in the foyer noting the links would have to be removed to eliminate any head to fixture contact.  Hurdle #1 cleared. I’ve Googled till I can Google no more with very limited success in locating wooden carved chandelier drops. I asked Dave the Builder if he could channel his inner MacGyver to come up with an idea for the chandelier drops and decorative finial. How about…

chandelier parts

Dave found these craft finials at Lowe’s.  The mixed Oak craft finial (top left) is $2.98 and the Early American table leg (bottom right) is $1.48.

Okay, the upfront cost is minimal.

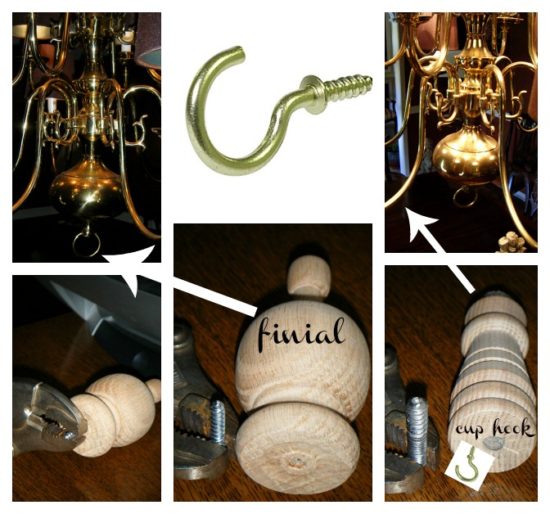
The plan is to create drops out of the table legs by removing the screws with vise-grip pliers, replacing with cup holder hooks, and staining with an umber or antique bronze to create the desired finish.  A distressed effect is also under consideration.  The craft finial will replace the center ring.  We will retrofit it with a new screw to match the opening size of the chandelier, screw it in, and hope it fulfills my decorative dreams.

It’s well worth the try.

My Roots Are Showing

I’ve been told three times this week my roots are showing.

A homemade drain cleaner, a bottle of Clairol, and a lifetime of wisdom put things in check.

Here’s a glimpse into my roots are showing world.

Your roots of the clogged drain kind are showing and the at home solution to the problem-

When we moved into this house three years ago,  right off the bat we had slow to no drainage issues with the bathtub.

The plumbercam scanned the backyard and zeroed  in on the culprit- roots.

Those little darlings continue to deal drainage misery from time to time, this past week being one of those times.

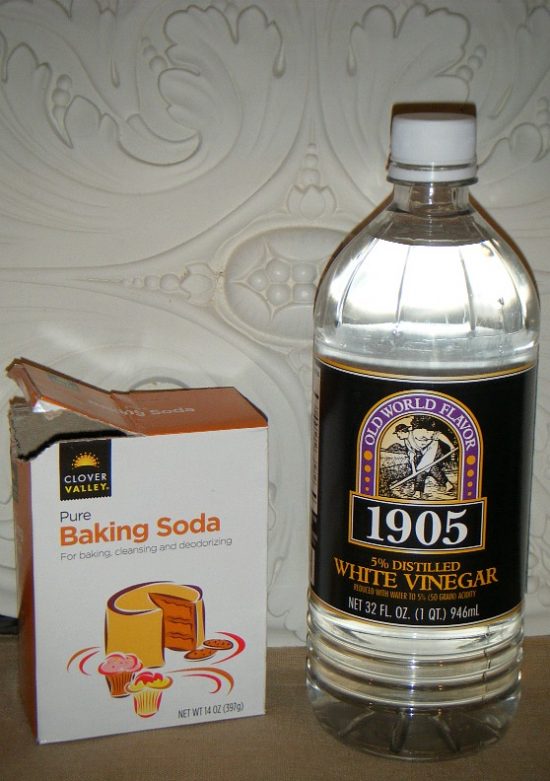
As I contemplated waving the white flag of surrender and once again calling a plumber, a quick Google search resulted in a “recipe” for an inexpensive, kid, environment and pet safe unclogging solution that worked like a charm!

It more than likely did not dissolve the root, but it solved the slow drain issue.

vinegar and baking soda

DIY Drain Unclogging Solution

¼ cup baking soda

1 cup white vinegar

hot water

Shake ¼ cup of baking soda into the clogged drain.  Pour 1 cup of white vinegar over the baking soda in the drain.  Let this combination sit and perform unclogging magic for 15-30 minutes. Pour hot water (be careful not to burn yourself) through the drain for a 1-2 minutes.


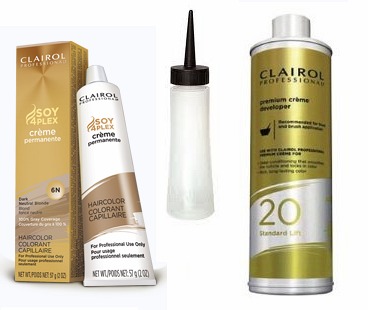
Clairol hair color

Your roots of the Clairol kind are showing-

Through the beauty of natural sunlight and a mirror it has been brought to my attention my roots of the Clairol kind are showing.

Problem?

What problem?

If  an easy solution of baking soda and vinegar can take care of one root problem, Clairol surely can fix the other.

Remember my advice from a previous post to never miss an opportunity to color your world, especially when your world needs a root touch-up.

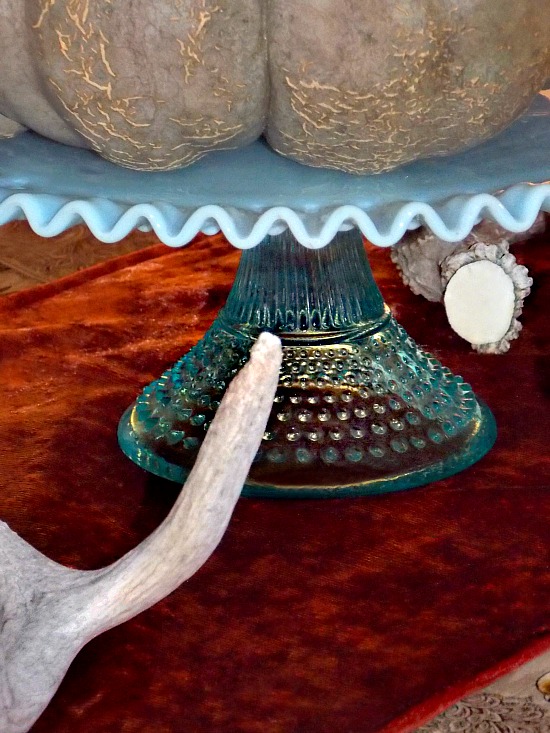
hobnail-cake-plate

Your roots of the what makes you, You kind are showing-

I don’t know about the apple falling far from the tree, but I do know the roots of said tree continue to ground me.

They weave their way through the memories deeply rooted in things like the hobnail cake plate bought on a buying trip with my maternal grandmother, the antiques dealer.

This time of year takes my thoughts back to summers spent in East Tennessee with my paternal grandparents.

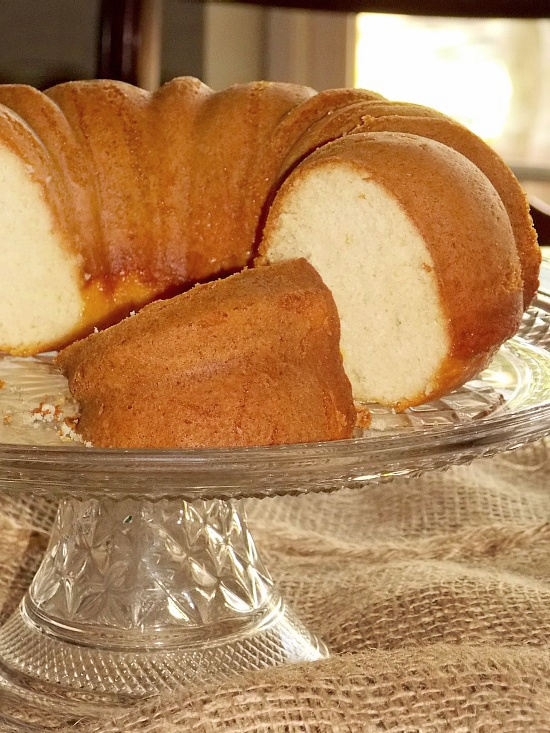
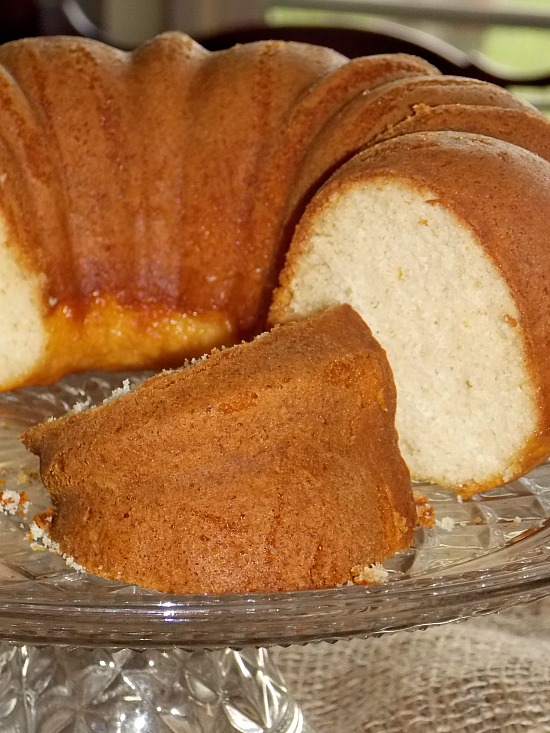
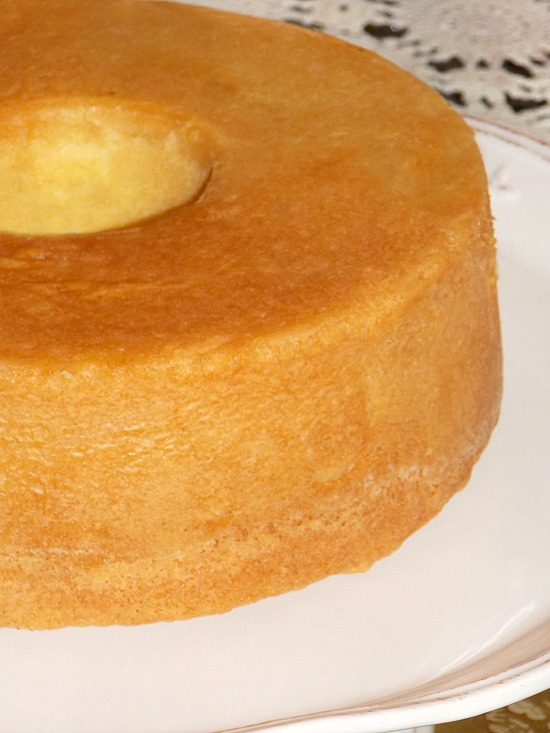
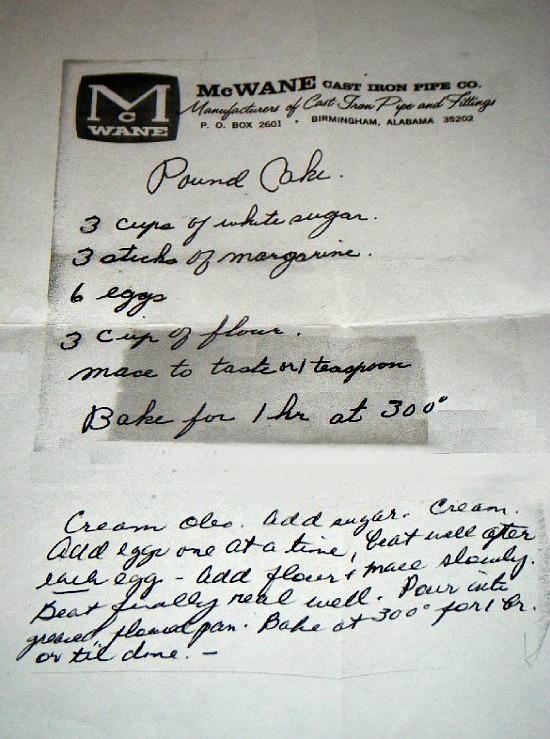
My grandmother, the consummate baker, was known for her pound cakes.

grandmothers-pound-cake-with-nutmeg-recipe

There’s no denying my family roots are showing when I follow to the letter her handwritten pound cake recipe.

grandmothers-pound-cake-with-nutmeg-1

I know without a shadow of a doubt my roots are showing each and every time the exact life lesson words my parents said to me when I was a kid travel out of my mouth, making a beeline to the ears of my own child.

Who said that?

My roots continue to show when I see my son’s eyes stare back at me in my own reflection in the mirror, and in the conscious decision I make to see only the smiles on the faces of loved ones and old friends rather than the wrinkles, receding hairlines, and extra pounds we face on this side of 50.

Simple products make it easier to alleviate some roots from showing, and wisdom makes it possible and easier to appreciate when the roots that matter most are showing.

Love your style!

From Prefab to Post Fab: Customizing Bookcases Part 2

Prefab to post fab customizing bookcases enhancements for that custom built-in look as promised.

Yes, decoristas, you too can build, design and style a better mousetrap (bookcase).

Customizing a bookcase with moldings, panelings, trims and embellishments takes an average, plain and otherwise boring bookcase from prefab drab to post style fab.

decorative molding

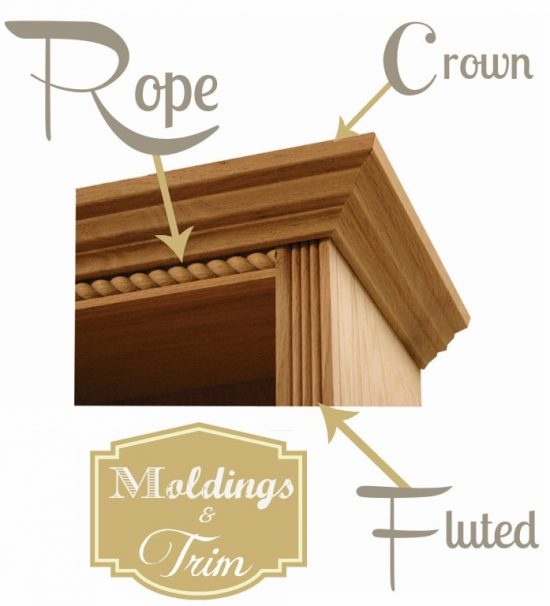
Crown and trim moldings easily punctuate the custom look.

Most basic prefab 5-shelf bookcases are approximately 6′ tall, but not all ceiling heights are created equal.

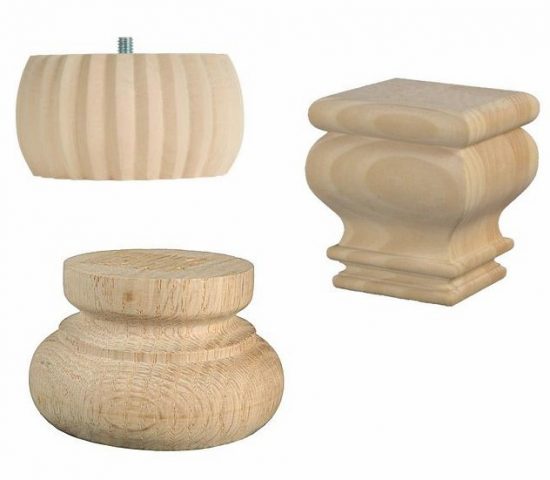
Decorative furniture feet will take the bookcase to new heights.

furniture feetWaddell Bun Foot ||  Square Bun Foot   || Pumpkin Bun Pine Foot
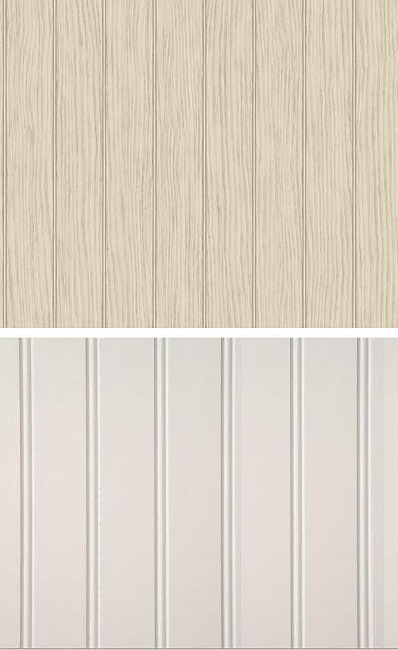
The custom look is enhanced by adding for example by updating the back of the bookcase.

Beadboard paneling or beadboard pattern wallpaper take the look from common to custom.

beadboard

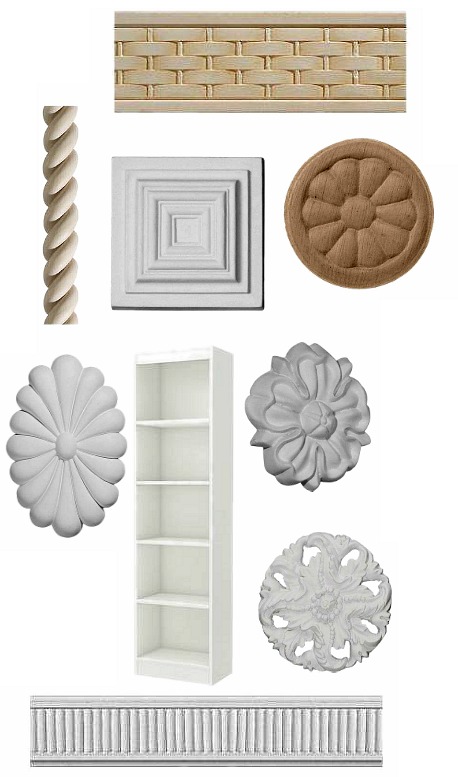
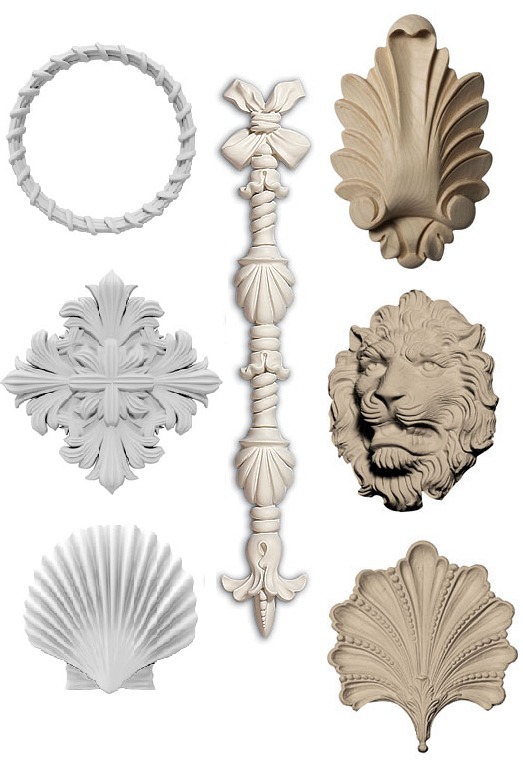
The art of customizing bookcases is further enhanced by adding ornamental appliques and onlays.

appliques-onlays

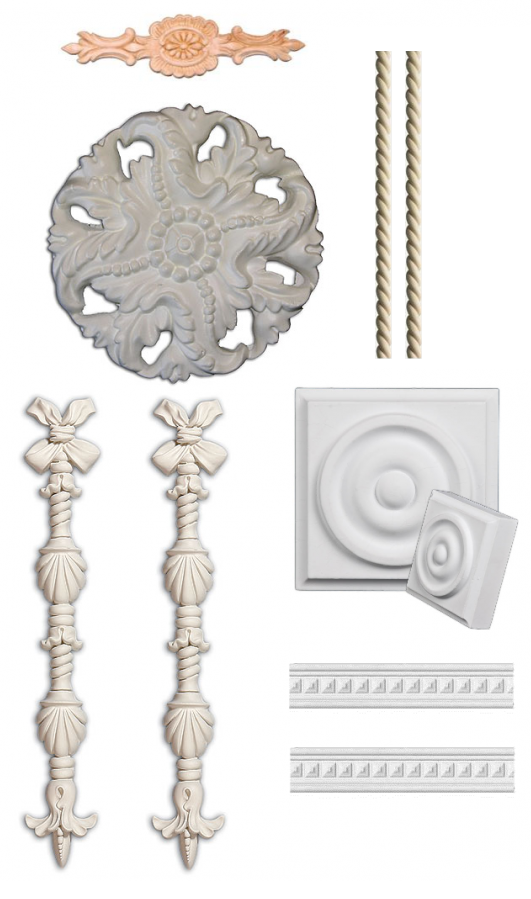
Ornamental appliques and onlays applied to the front, side or back panels take the ordinary to the extraordinary.

appliques-moldings

Molding Installation and Applique and Onlay Application Recap:

The bookcase has an assembled height of 71.25 inches.

Decorative molding will have to be cut as it is usually sold in 8 ft lengths.

Measure the selected area of the bookcase where the molding will be placed.

Keep things as simple as you can by marking the area on the molding to be cut with a pencil.

Carefully make the cuts on the molding using a miter saw.

Sand each finished cut with sand paper to smooth edges.

For Top Crown:

Nail the crown molding into place at  the top and sides of the unit.

Fill the gaps with caulk and allow to dry for approximately 30 minutes before paint application.

For Appliques and Onlays:

Determine desired placement of applique or onlay.

Apply small beads of Liquid Nails Paneling and Molding Construction Adhesive or a preferred wood glue to the applique or onlay and put in place.

Small bead applications of adhesive or glue will help to prevent it from running out from under the sides when pressure is applied.

Apply pressure for a few minutes to ensure tight adhering.

dining-chair-pullArmac Martin

Decorative furniture hardware remains one of the most inexpensive and dramatic accent updates known to decoristas.

Inspiring design features are ripe for replication.

A strategically placed decorative pull(s) or door knocker on a front trim, side or back panel takes the piece to custom built-in statement piece status.

cabinet-ring-pulls

We’ll look at how to go from prefab drab to post style fab by creating polished style in the stacks in part 3 appropriately titled From Prefab to Post Fab: Customizing Prefabricated Bookcases Part 3.


From Prefab to Post Fab: Customizing Prefabricated Bookcases

A basic meet your needs bookcase can be transformed into an anything but basic bookcase in a weekend.

Storage is a universal need from office to home and beyond, and a stylish bookcase or bookcases meets that need and masters the built-in look.

If you don’t have a carpenter on speed dial or the $$$$ for a custom built-in bookcase(s), a DIY project of the customizing prefabricated bookcases kind is the way to go.

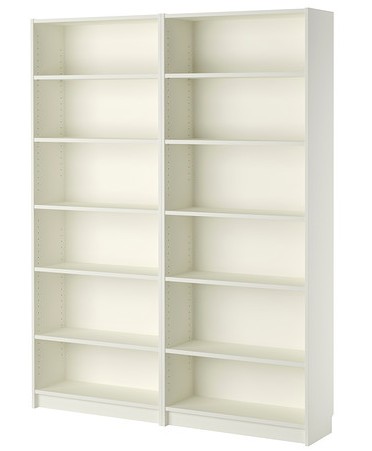
billy-bookcase-white__0255285_PE399413_S4IKEA Billy Bookcase

white bookcase

The search for a white prefab bookcase is not a daunting hunt- they are everywhere and affordable.

The South Shore Furniture Freeport Pure White 5-Shelf Bookcase shown above and below is from Home Depot.

At almost 6′ feet tall and an affordable price point, this particular style bookcase is an inexpensive, no frills(yet) great foundation to build upon.

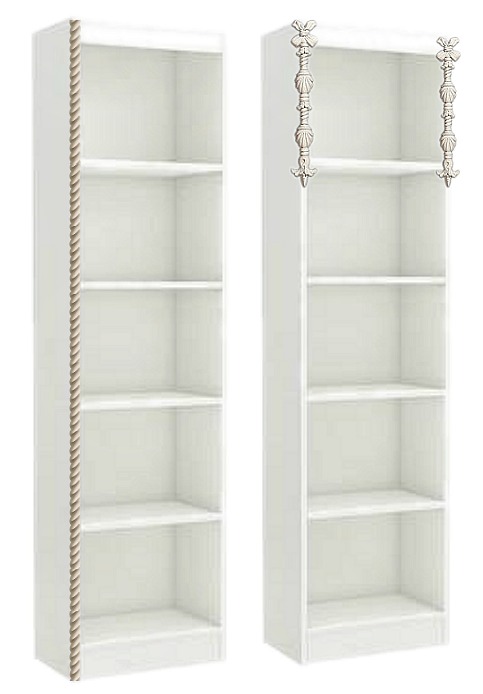
bookcase-embellishments

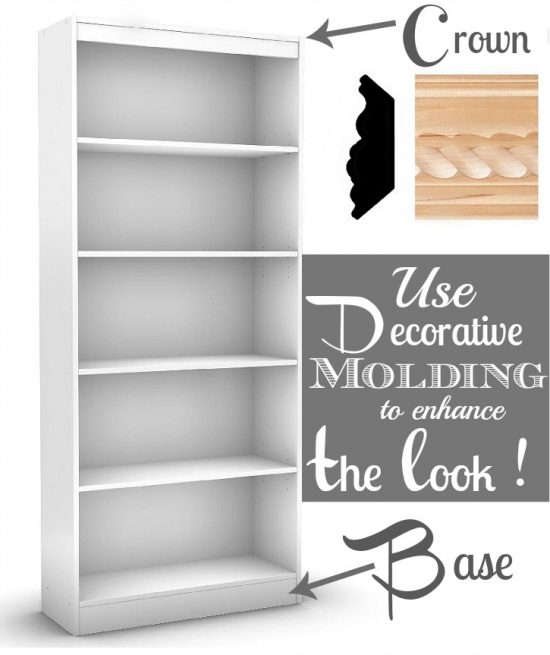
The addition of molding and pre- primed embellishments to the top, base, and sides of the unit will set the designer wheels in motion.

It is amazing how decorative molding, trim, and accents will upgrade the bookcase to designer piece status.

If using more than one unit, screw the pieces together before adding the accents.

Anchoring the bookcase(s) to the wall with “L” brackets will keep the bookcases(s) in place and prevent tipping over.

moldings


crown molding

The bookcase has an assembled height of 71.25 inches.

Decorative molding will have to be cut as it is usually sold in 8 ft lengths.

Measure the selected area of the bookcase where the molding will be placed.

Keep things as simple as you can by marking the area on the molding to be cut with a pencil.

Carefully make the cuts on the molding using a miter saw.

Sand each finished cut with sand paper to smooth edges.

For Top Crown:

Nail the crown molding into place at  the top and sides of the unit.

Fill the gaps with caulk and allow to dry for approximately 30 minutes before paint application.

For side trim and accents:

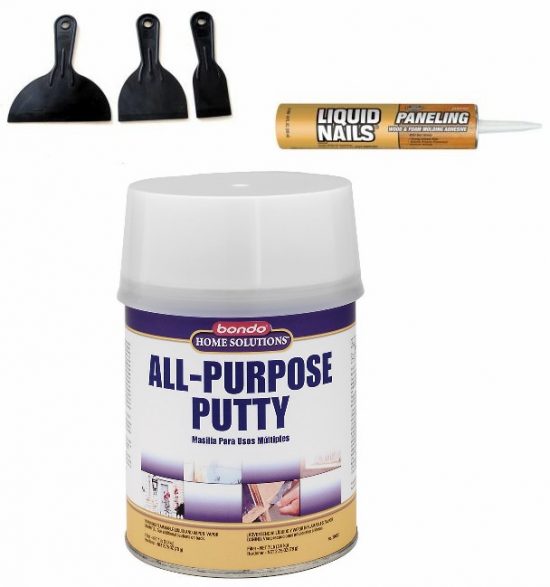
Apply small beads of Liquid Nails Paneling and Molding Construction Adhesive to the molding or accents and put in place.

Apply pressure for a few minutes to ensure tight adhering.

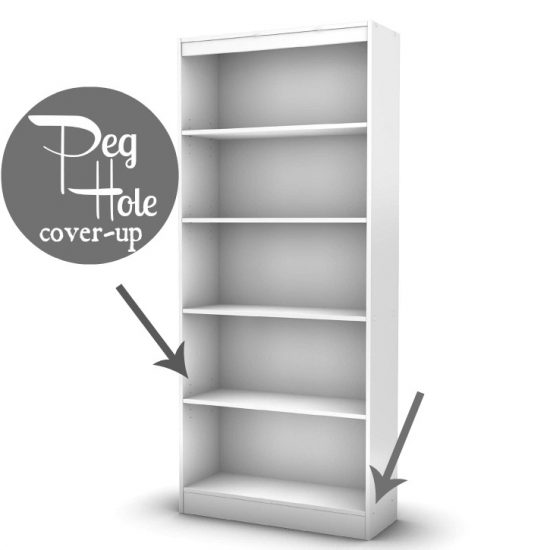
Once the shelves are in their desired positions, you may want to consider covering all or some of the exposed peg holes and any other exposed screw holes.

Using a putty knife, apply Bondo Home Solutions All-Purpose Putty over each hole to fill and cover.

putty

Smooth away excess with putty knife.

Allow to dry (approximately 45 minutes) and sand the area smooth.

All needed materials for this step are available at home improvement, hardware, and big box stores.

Now we’re ready to take things to the next phase of decorative wow factor.

Stay tuned for more ideas, suggestions, and resource information.

Love your style!


Homemade Rose Water

Homemade Rose water is fast becoming one of my favorite DIY beauty routine indulgences.

Noticing I was running low on my favorite store brand, and with too long of a ship from store to me turnaround time, I decided to glance at the ingredients and perhaps give it a go with formulating my own homemade rose water concoction.

rose-bouquet-Paul

My skin is sensitive to everything, so it was important for me to try the toner before I posted the recipe.

On the first round of production I came up with a homemade rose water toner that I absolutely love!

This toner is non-drying and non-irritating to my sensitive skin – a very skin friendly toner and freshener.

rose-water-ingredients-1

Homemade Rose Water Toner For Sensitive Dry Skin

Ingredients

1 ½ cups rosewater(see recipe below)

¼ cup witch hazel

10 drops glycerin (add more for normal skin and less for oilier skin types)

Directions

Combine homemade rosewater, witch hazel and glycerin together in sterile container.  Shake well.

Keep rosewater toner refrigerated in sealed, sterilized jar.

Refrigerated rosewater toner will keep for up to ten to fourteen days.

Moisten a cotton ball with the rosewater toner, gently applying to cleansed skin and before applying moisturizer.

Toners aid oily skin in the absorption of excess oil, and in all skin types removes residue left behind from cleanser while nourishing your complexion.

deep-pink-roses

Homemade Rose Water

Ingredients

1 cup rose petals

2 cups distilled water

Directions

Rose petals must be freshly picked and be completely free of pesticides or chemicals.  Use only the petals, not the stems or leaves. Place petals in a colander, gently and quickly washing  petals to remove impurities and/or insects.

rinsed-rose-petals1

Place gently washed rose petals in a heavy pot with distilled water. Simmer on low heat for one hour.

rose-petal-simmer1

Remove pot from burner and allow water to completely cool.

Using a fine strainer, strain rosewater into a  sterile container.

enjoy-hydrangea